
A clean install of Windows 11 gives your PC a fresh start. This process wipes your hard drive and installs a new copy of the operating system. To perform a clean install of Windows 11, you’ll need to create bootable installation media, back up your data, and follow the setup wizard. Doing a clean install of Windows 11 can be a very effective way to revitalize your PC. It removes old files, outdated drivers, and any lingering software conflicts that could be slowing you down. Remember to back up your data before you begin! With a little preparation and these steps, you’ll have a fresh, optimized Windows 11 system ready to go.
Before starting, check if your computer meets the Windows 11 minimum system requirements. You’ll need a 64-bit processor, 4GB of RAM, and 64GB of storage. Make sure you have a valid Windows license key too.
The clean install process takes about an hour. It’s a good way to fix problems or remove unwanted programs. When you’re done, you’ll have a fresh Windows 11 system ready for setup.
Fresh Start: Clean Installing Windows 11
A clean install of Windows 11 can give your computer a fresh start. It wipes your hard drive clean and installs a brand-new copy of the operating system. This can help resolve performance issues, remove stubborn malware, or simply give you a clean slate. Here’s how to do it.
Before You Begin
Before you start the clean install process, it’s crucial to take a few preparatory steps. These will help ensure a smooth transition and prevent data loss.
- Back Up Your Data: This is the most important step! Back up all your important files, documents, photos, and anything else you want to keep. You can use an external hard drive, cloud storage, or any other backup method you prefer.
- Check System Requirements: Make sure your computer meets the minimum system requirements for Windows 11. You can find these on the official Microsoft website.
- Get Your Windows 11 Installation Media: You can download a Windows 11 disk image (ISO file) from Microsoft. You’ll need to create a bootable USB drive or DVD using this ISO file. Microsoft provides a tool to help you do this easily.
Installation Steps
Once you’ve completed the preparation, you can proceed with the clean install.
- Boot from Installation Media: Insert your bootable USB drive or DVD and restart your computer. You’ll need to change the boot order in your BIOS settings to boot from the installation media instead of your hard drive.
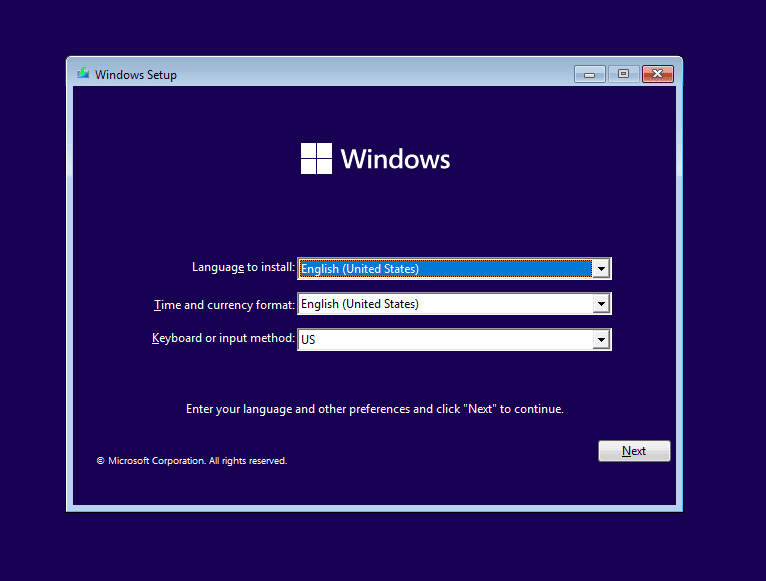
- Start the Setup Process: Follow the on-screen instructions in the Windows Setup wizard.
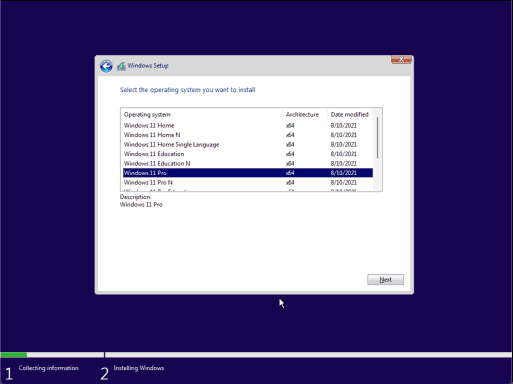
- Select “Custom Install”: When prompted to choose an installation type, select “Custom: Install Windows only (advanced)”.
- Choose Your Hard Drive: Select the hard drive where you want to install Windows 11. Warning: This will erase all data on the selected drive. Make sure you have a backup!
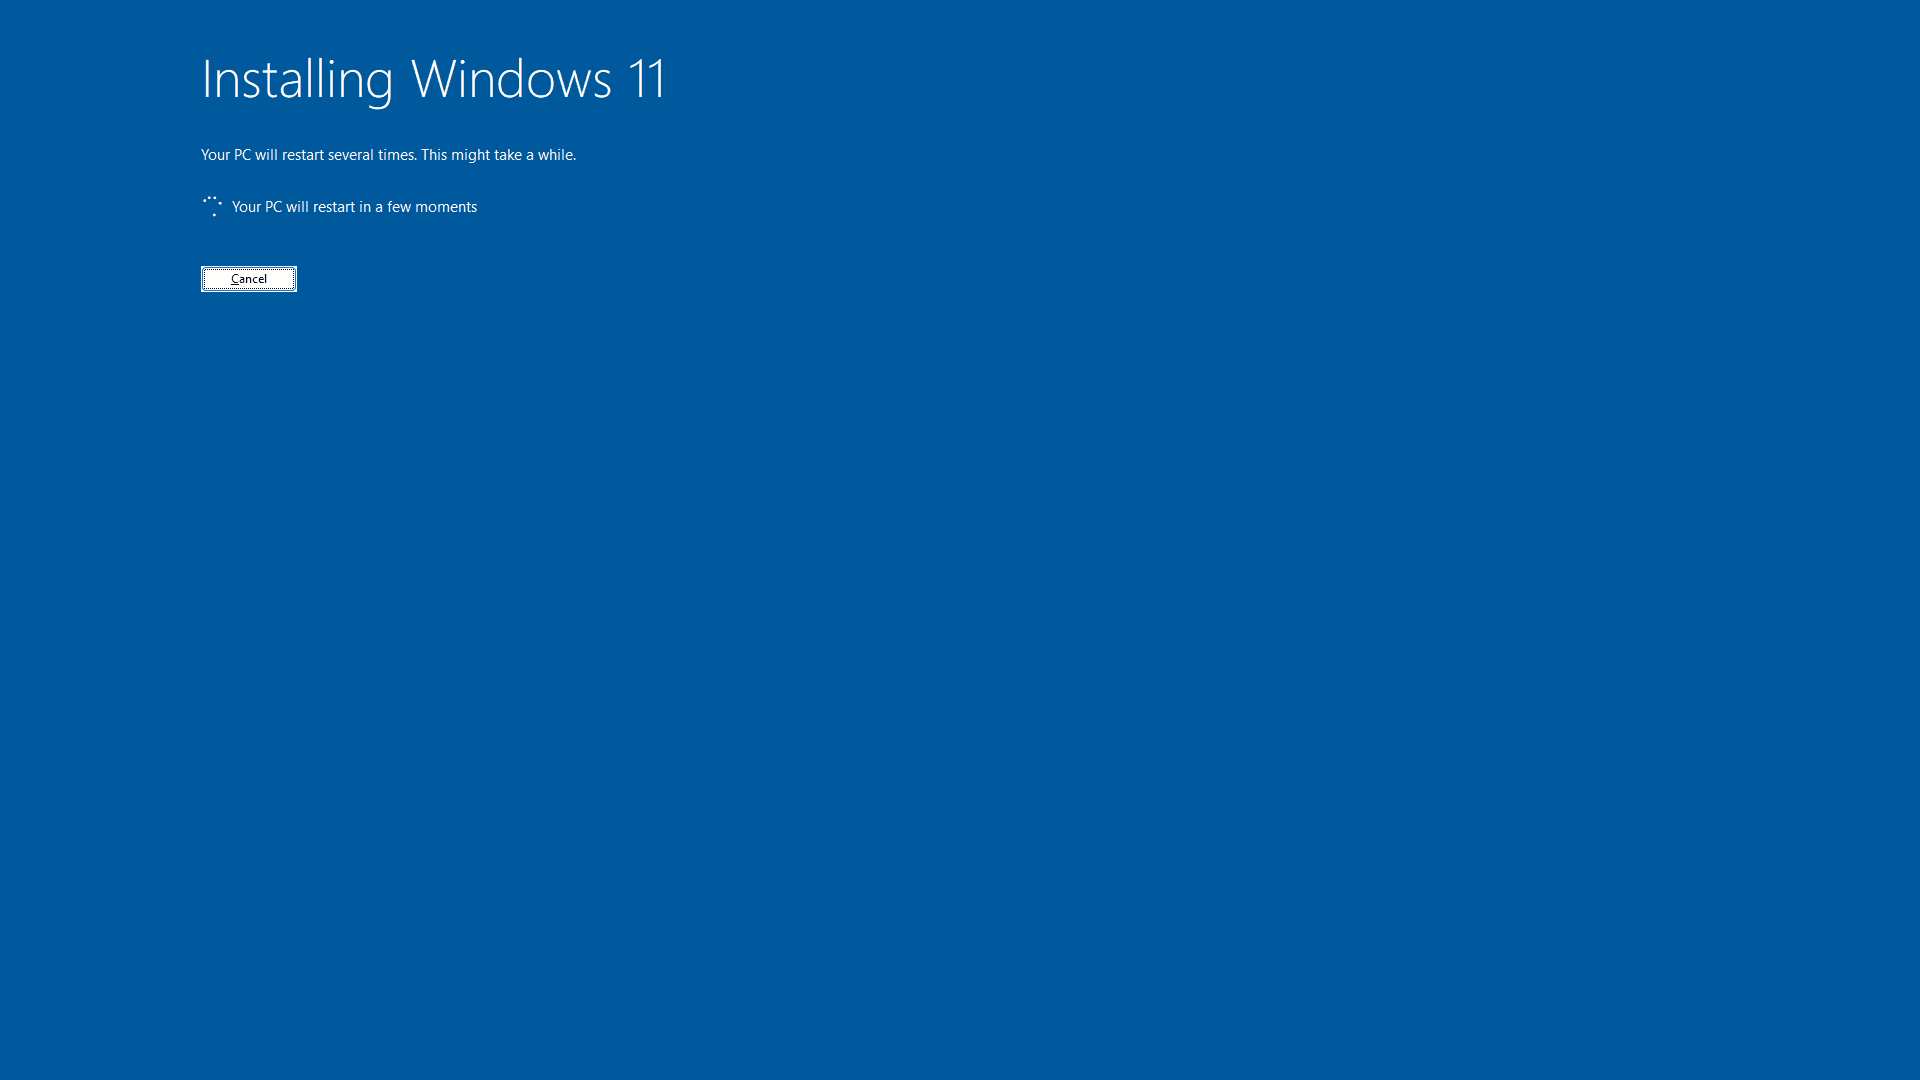
- Wait for Installation to Complete: The installation process will take some time. Your computer may restart several times.
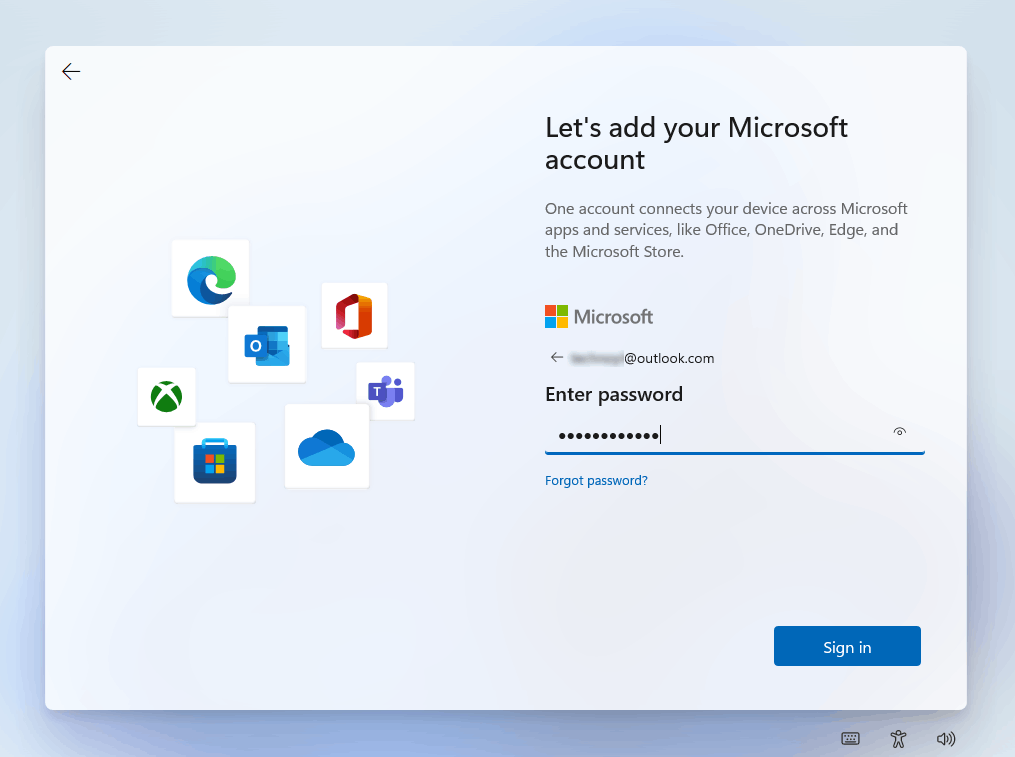
- Configure Windows: After the installation is complete, you’ll be prompted to personalize your Windows settings, create a user account, and connect to the internet.
After Installation
Once Windows 11 is installed, you’ll need to do a few more things.
- Install Drivers: Install the necessary drivers for your hardware, such as graphics card, network adapter, and sound card. You can usually find these on the manufacturer’s website.
- Install Programs: Reinstall your essential applications and programs.
- Restore Your Data: If you made a backup, restore your files and data to your new Windows 11 installation.
Troubleshooting
| Problem | Possible Solution |
|---|---|
| Computer won’t boot from installation media | Check BIOS settings to make sure the boot order is correct. |
| Error messages during installation | Make sure your computer meets the system requirements. Try using a different USB drive or DVD. |
| Drivers not working | Download the latest drivers from the manufacturer’s website. |
Understanding Clean Installs
A clean install of Windows 11 essentially wipes your computer’s hard drive clean and installs a fresh copy of the operating system. Think of it like moving into a brand-new house – you’re starting with a completely blank slate. This means that all your existing files, programs, and settings will be erased. That’s why it’s crucial to back up anything important before starting this process!
Here’s what a clean install does:
- Removes everything: It deletes all files, folders, and programs from your hard drive.
- Starts fresh: It installs a new, unadulterated version of Windows 11.
- Can improve performance: It can often resolve performance issues caused by old files, corrupted data, or software conflicts.
- Helps with troubleshooting: It can be a helpful troubleshooting step if you’re experiencing persistent problems with your computer.
It’s important to distinguish a clean install from other options like a “reset” or “refresh.” These other options may keep some of your files or settings, while a clean install removes everything. A clean install is the most thorough way to start over with a fresh Windows 11 system.
Key Takeaways
- Create bootable Windows 11 installation media before starting
- Back up important files and data to prevent loss
- Follow the setup wizard to complete the clean install process
Preparing for Installation
Before installing Windows 11, take a few key steps to ensure a smooth process. Check your system’s compatibility, create installation media, back up your data, and obtain a valid license.
System Requirements Check
Windows 11 has strict hardware requirements. Your PC needs a 1 GHz or faster processor with at least 2 cores. It must have 4 GB of RAM and 64 GB of storage. A graphics card compatible with DirectX 12 is needed.
TPM 2.0 and Secure Boot are must-haves. Check if your PC has these in the BIOS settings. Many newer computers have them built-in.
To verify compatibility, use the PC Health Check app from Microsoft. It scans your system and tells you if it can run Windows 11.
Creating Installation Media
You’ll need a USB drive with at least 8 GB of space to make bootable installation media. The Media Creation Tool from Microsoft’s website is the easiest way to do this.
Download and run the tool. Choose “Create installation media for another PC” when prompted. Select your language, edition, and architecture. Pick USB flash drive as the media type.
The tool will download Windows 11 and create the bootable drive. This process may take some time, depending on your internet speed.

Backing Up Your Data
Before starting the installation, back up all your important files. This step is crucial as a clean install erases everything on your drive.
Use an external hard drive or cloud storage like OneDrive to save your files. Don’t forget to back up your browser bookmarks and email data.
Create a list of your installed programs. You’ll need to reinstall them after the clean install.
Consider making a system image backup. This saves a copy of your entire system, including settings and programs.

Obtaining Windows 11 License
You need a valid Windows 11 license to activate your new installation. If you’re upgrading from Windows 10, your digital license will transfer automatically.
For a new PC, you’ll need to buy a license from Microsoft or an authorized retailer. Keep the product key safe – you’ll need it during installation.
If you’ve bought a new PC with Windows 11 pre-installed, the license is already tied to your hardware. You won’t need to enter a key during reinstallation.
How to Do a Clean Install of Windows 11 (and What It Means)
A clean install of Windows 11 wipes your computer’s hard drive and installs a fresh copy of the operating system. It’s like starting with a brand-new computer. All your files, settings, and programs will be erased. This is why it’s super important to back up your data before you begin!
Steps for a Clean Install
- Back up your data! Seriously, this is the most important step. Save all your important files to an external hard drive, cloud storage, or another backup location.
- Check if your computer can run Windows 11. Make sure it meets the minimum system requirements. You can find these on Microsoft’s website.
- Download the Windows 11 installation files. Get the official Windows 11 disk image (ISO file) from Microsoft. You’ll use this to create a bootable USB drive or DVD.
- Boot your computer from the USB drive or DVD. You might need to change the boot order in your BIOS settings.
- Follow the on-screen instructions. The Windows Setup wizard will guide you through the process.
- Choose “Custom Install.” This lets you do a clean install instead of an upgrade.
- Select the hard drive where you want to install Windows 11. Remember, this will erase everything on that drive!
- Wait for the installation to finish. This might take a while, and your computer may restart a few times.
- Set up Windows 11. Personalize your settings, create a user account, and connect to the internet.
- Install drivers for your hardware. This includes things like your graphics card, network adapter, and sound card.
- Reinstall your programs and apps.
- Restore your data from your backup.
Will a Clean Install Delete My Files?
Yes, a clean install will erase all the files on the hard drive where you install Windows 11. It’s essential to back up your important data before you start the process. If you don’t back up your files, they will be lost permanently.
How to Completely Wipe a PC
A clean install of Windows 11 is a very effective way to completely wipe your PC. It removes all files, programs, and settings, giving you a fresh start. Just remember to back up your data first!


