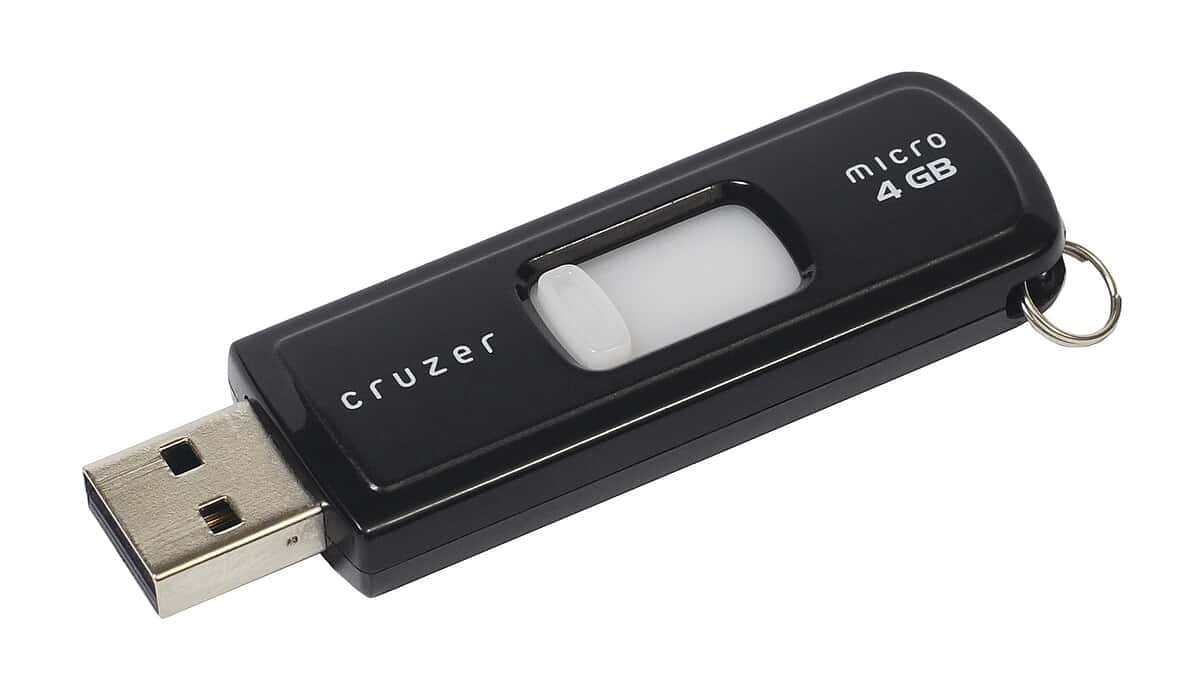
To install or upgrade to Windows 11, you will need a bootable USB. This is essential for new PCs without an existing operating system or for computers needing a fresh installation of Windows 11. You can create a bootable USB using the Media Creation Tool, a utility by Microsoft, which makes it simple to turn a standard USB flash drive into installation media. In this guide, we will outline the requirements and provide a straightforward method for creating a bootable USB drive for Windows 11.
Creating a bootable Windows 11 drive is the first step for installing or reinstalling the operating system. You can easily create your own installation media using either the Media Creation Tool or Rufus. To do this, you will need a USB flash drive with at least 8GB of storage and to download the official Media Creation Tool from Microsoft’s website. This tool will handle the downloading of Windows 11 and its transfer to the USB drive. Once the USB drive is prepared, it can be used to install Windows 11 on any compatible PC.
It’s important to ensure that your computer meets the minimum system requirements for Windows 11 to ensure a successful installation process. The media creation tool simplifies the creation of a bootable Windows 11 USB. It downloads the appropriate Windows 11 file and formats the USB drive to make it bootable. This method is beneficial because it automates the file preparation and creation of installation media, saving users time and reducing the potential for errors during the setup.
Creating Your Windows 11 Installation USB
Required Tools
- A Windows 11 ISO file (download from Microsoft’s website).
- A USB flash drive with at least 8GB of storage.
- A computer with an internet connection.
- The Media Creation Tool or Rufus (both available for free online).
Using the Media Creation Tool
- Download and run the Media Creation Tool.
- Accept the license terms.
- Choose “Create installation media (USB flash drive, DVD, or ISO file) for another PC.”
- Select your language, edition, and architecture (64-bit is recommended).
- Choose “USB flash drive” and select your USB drive.
- Follow the on-screen instructions to complete the process.
Using Rufus
- Download and run Rufus.
- Select your USB drive from the “Device” dropdown menu.
- Click “SELECT” and choose your Windows 11 ISO file.
- Click “START” and follow the on-screen instructions.
Important Note:
Creating a bootable USB drive will erase all data on the drive. Back up any important files before proceeding.
Troubleshooting Table
| Problem | Possible Solutions |
|---|---|
| USB drive not detected | Ensure the drive is properly connected. Try a different USB port. |
| Error messages during creation | Check your internet connection. Re-download the ISO file. |
| USB drive not bootable | Ensure your BIOS/UEFI settings are configured to boot from USB. |
Key Takeaways
- A bootable USB for Windows 11 facilitates a fresh installation of the operating system.
- Creating a bootable USB requires a USB flash drive and Microsoft’s Media Creation Tool.
- The tool automates downloading Windows 11 and preparing the USB drive.
Creating a Windows 11 Bootable USB
Creating a bootable USB drive is essential for installing Windows 11 on a new computer or updating an existing system. This process requires careful preparation of the USB drive and the use of specific tools to make the drive bootable.
Preparing the USB Drive
Before starting, you need a USB flash drive with at least 8 GB of space. Use DiskPart to prepare the drive. First, connect the USB drive, open the Command Prompt as an administrator, and enter diskpart. Then run list disk to identify your flash drive, select disk followed by the number of your USB drive, and clean to format it. Create a primary partition and format it to FAT32 for UEFI compatibility.
Downloading and Utilizing the Media Creation Tool
Go to the official Microsoft website to download the Media Creation Tool. This tool helps create USB installation media for Windows 11. Launch the tool, accept the license terms, and select “Create installation media for another PC”. Choose the edition, language, and architecture for Windows 11.
Setting Up Installation Files
The Media Creation Tool will download the necessary files. If you prefer to use a downloaded ISO file, mount the file and copy its contents to your USB drive. Ensure the files are placed in the root directory of the flash drive.
Finalizing Bootable USB Creation
Once the installation files are copied, the USB drive is now bootable. You may need to adjust the BIOS or firmware settings on the PC where you will install Windows 11 to prioritize booting from USB.
Booting and Installing
With the bootable USB drive ready, insert it into the target PC and restart it. You might need to enter the BIOS to change the boot order, allowing the system to start from the USB. Follow the on-screen instructions to begin the Windows 11 installation.
Post-Installation Steps
After Windows 11 installs, remove the USB drive. Windows will prompt you to complete the setup, including configuring your Microsoft account, product key, and updates. Once complete, you can recover your data, if you have a backup, and enjoy your Windows 11 system.
Remember to check for any Windows Updates and enable Secure Boot in the BIOS if your PC supports it for added security.


