Adding an email account to your iPhone is a quick and easy process. In just a few steps, you can have your emails synced to your device, making it simple to stay connected on the go. To add an email account, go to Settings, tap Mail, then Accounts, and select Add Account.
This guide will take you through the steps to add your email account, whether it’s through a popular provider like Gmail or Outlook or manually if it’s a different email service. By following these instructions, you’ll have your email set up in no time and be ready to send and receive messages directly from your iPhone.
Whether you are new to the iPhone or simply setting up a new email account, these instructions are designed to be straightforward. Setting up your email on your iPhone enables you to manage your inbox effectively, access important messages, and stay productive.
How to Add an Email Account to iPhone
Adding an email account to your iPhone lets you stay on top of messages from your inbox without needing to switch apps or devices. Whether you’re using Gmail, Outlook, Yahoo, or a custom domain, here’s how to get your email up and running on your iPhone in just a few steps.
📩 Method 1: Add Email Using the Mail App (Automatic Setup)
- Open the Settings app on your iPhone.
- Scroll down and tap Mail.
- Tap Accounts > Add Account.
- Choose your email provider (e.g., iCloud, Google, Outlook, Yahoo, AOL).
- Enter your email address and password.
- Follow the on-screen instructions to sign in and allow permissions.
- Choose what you want to sync (Mail, Contacts, Calendars, Notes).
- Tap Save.
Your email will now appear in the built-in Mail app, and new messages will start syncing automatically.
🛠️ Method 2: Manual Setup for Other Email Providers
If your email provider isn’t listed (e.g., a work or school email), you’ll need to enter server details manually.
- Go to
Settings > Mail > Accounts > Add Account. - Tap Other, then Add Mail Account.
- Enter:
- Your name
- Email address
- Password
- A description (this is how the account will be labeled)
- Tap Next, and choose between IMAP or POP.
- Enter the incoming and outgoing mail server info:
- Incoming Mail Server
- Host Name: e.g., imap.yourdomain.com
- Username: your full email address
- Password
- Outgoing Mail Server
- Host Name: e.g., smtp.yourdomain.com
- Username: same as above
- Password
- Incoming Mail Server
- Tap Next, and your iPhone will verify the settings.
- Select what you want to sync, then tap Save.
🔄 Where to Access Your Email
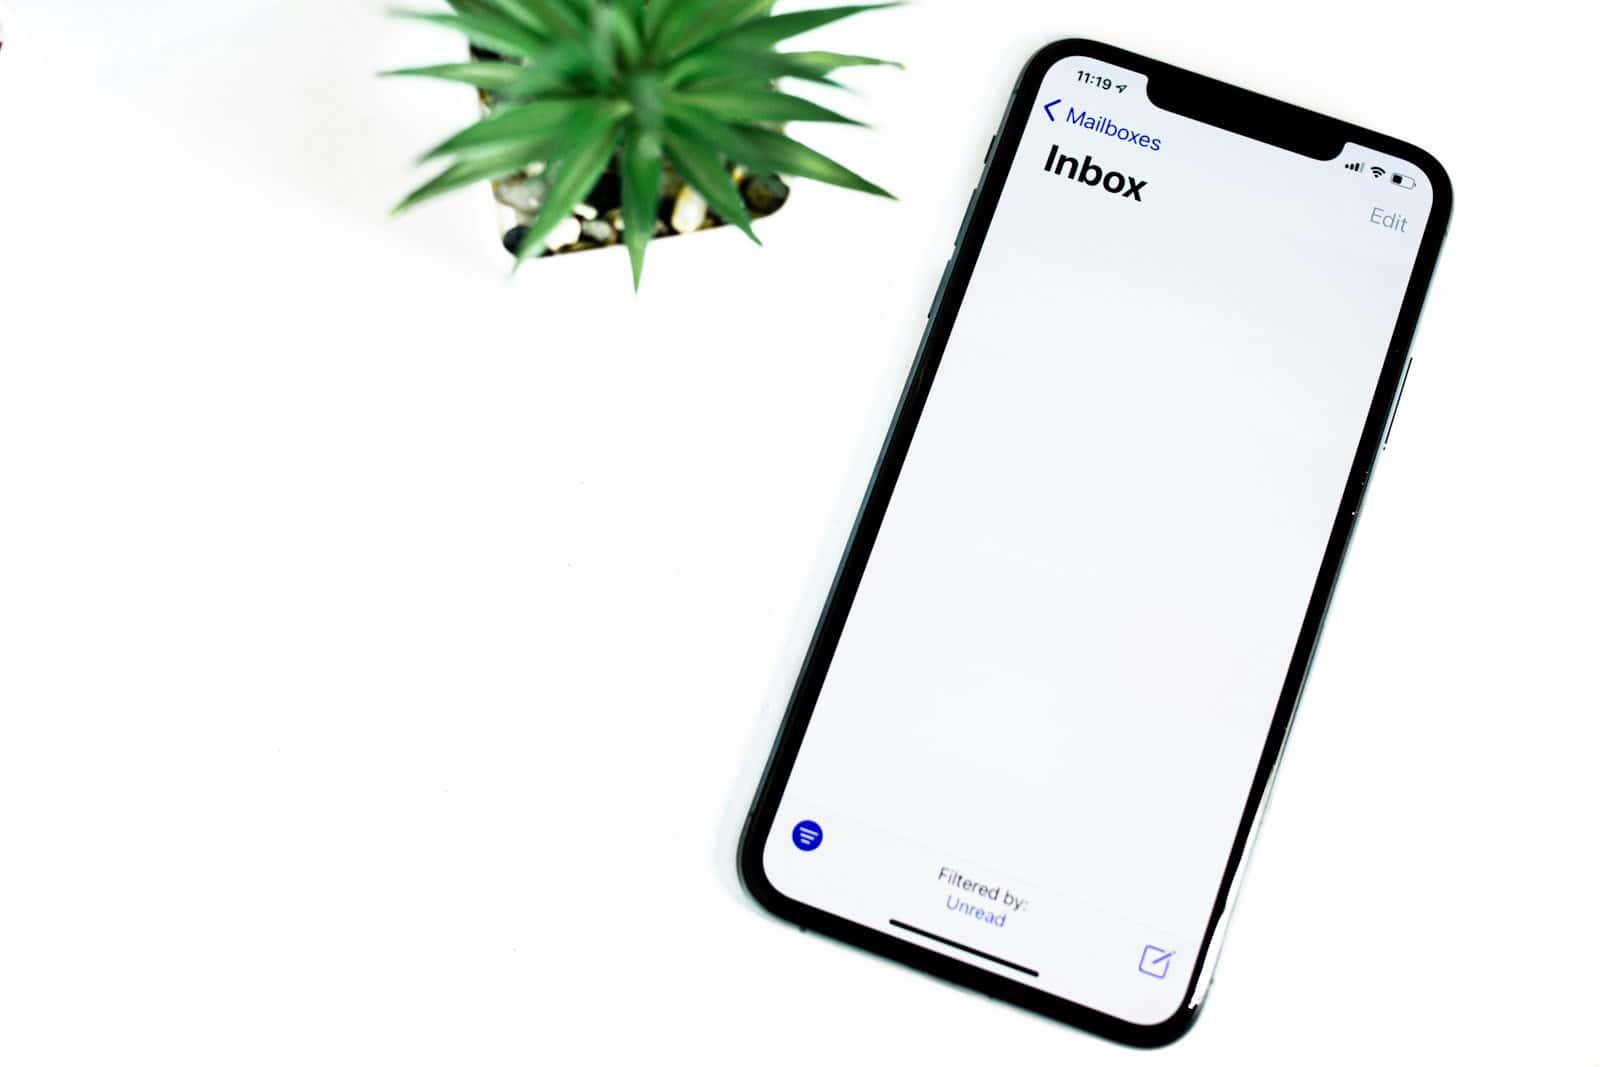
Once the account is added, open the Mail app to view your inbox. If you added multiple accounts, tap the Mailboxes button in the top-left corner to switch between them.
✏️ Need to Edit or Remove an Email Account?
- Go to
Settings > Mail > Accounts. - Select the account you want to manage.
- From here, you can change sync settings or tap Delete Account to remove it.
Key Takeaways
- Go to Settings, tap Mail, select Accounts, and Add Account.
- Choose your email provider and enter your email address and password.
- You can also set up your account manually if needed.
Setting Up Email on Your iPhone
Adding an email account to your iPhone is simple and can be done in just a few steps. You’ll also learn how to manage your accounts and sync settings to keep your inbox organized.
Adding Your Email Account to iPhone Mail
To add an email account to your iPhone, start with the Settings app. Open Settings and scroll to Mail. Tap Accounts, then choose Add Account. Select your email provider from options like iCloud, Google, Yahoo, and Outlook. Enter your email address and password.
If your email provider is not listed, choose Other. Tap Add Mail Account and fill in your details: name, email address, and password. iOS will try to find your email settings automatically. If it can’t, you’ll need to enter your IMAP or POP settings manually. This includes incoming and outgoing mail server details.
After entering the information, tap Next. The Mail app will verify your credentials. If successful, tap Save to add your account. Your email will now appear in the Mail app.
Managing Email Accounts and Sync Settings
Once your email account is added, managing your accounts is straightforward. Go back to Settings > Mail > Accounts. Tap the account you want to manage. Here, you can adjust sync settings for Mail, Contacts, Calendars, and Reminders.
To make an email account your default, go to Settings > Mail > Default Account, and choose the one you prefer. For those with multiple email addresses, this helps streamline sending emails from the correct account.
To delete an account, tap the account in Settings > Accounts, then tap Delete Account. Your data will be removed from the device, but not from the email server. Use these settings to keep emails organized and your inbox clean.


