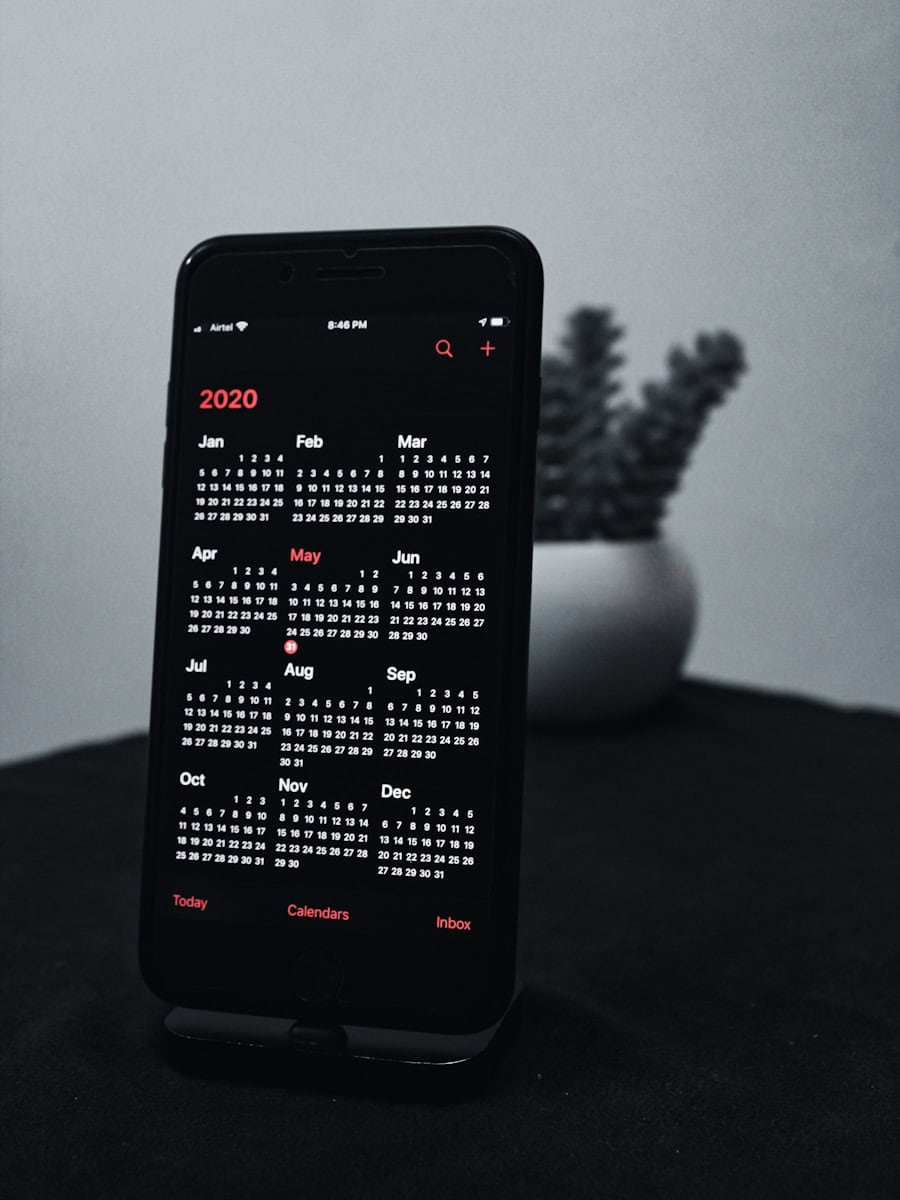
Sharing your iPhone calendar is one of the most efficient ways to keep your personal and professional life running smoothly. Whether you’re coordinating a family schedule, managing project timelines with colleagues, or simply trying to make group event planning easier, the iPhone’s built-in Calendar app offers a streamlined way to collaborate in real time—without needing extra apps or complicated setups.
How to Share Your Calendar on iPhone
Apple’s Calendar app works seamlessly with iCloud, allowing real-time syncing and sharing with others. Here’s how to get started:
- Open the Calendar app on your iPhone.
- Tap “Calendars” at the bottom of the screen.
- Under the iCloud section, find the calendar you want to share.
- Tap the “i” info button next to the calendar name.
- Tap “Add Person” under the “Shared With” section.
- Enter the Apple ID email address of the person you want to share with.
- Choose whether to give them View Only or Edit access.
- Tap Add—the person will receive an invitation to accept.
Once accepted, events you add, change, or delete on that shared calendar will update in real time for everyone connected to it.
Sharing with Non-Apple Users
If the person you’re sharing with doesn’t use iCloud or an Apple device, you can make the calendar public instead:
- In the same calendar info screen, toggle on “Public Calendar”.
- Tap “Share Link…” to copy the URL, which you can send to anyone. They can view your calendar in a web browser or subscribe to it in services like Google Calendar, but they won’t be able to edit it.
Why Sharing Calendars Matters
Calendar sharing isn’t just about convenience—it’s a productivity booster. Here’s how:
- Families can use shared calendars for tracking school events, sports practices, and appointments.
- Couples often use a shared calendar for date nights, bills, and vacation planning.
- Teams and co-workers can use shared work calendars for deadlines, meetings, and collaborative projects.
- Freelancers or business owners can share availability with clients for easy scheduling.
Advanced Tips for Power Users
- Color-code calendars to separate personal, work, or shared schedules at a glance.
- Use Siri to quickly add events to shared calendars with voice commands.
- Set alerts and travel time so shared events sync with your reminders and Maps.
iPhone Calendar Alternatives with More Features
While Apple’s built-in Calendar app is great for basic sharing, some users prefer third-party apps with richer collaboration tools:
- Google Calendar: Offers cross-platform compatibility and better integration with Gmail and Google Meet.
- Fantastical: A premium calendar app for iOS with natural language event creation, weather integration, and enhanced sharing.
- Calendly or When2Meet: Best for professional scheduling and coordinating with people outside your ecosystem.
Final Thoughts
Sharing your calendar on iPhone turns your device into a powerful coordination hub. It’s easy to set up, simple to manage, and keeps everyone on the same page—literally. Whether you’re trying to streamline your home life or stay aligned with your team, calendar sharing is one of those small features that delivers big impact.
Key Takeaways
- Open the Calendar app and tap ‘Calendars’
- Tap the “i” icon next to your iCloud calendar to share
- Add a person by entering their email address
Setting up and Sharing Calendars on iPhone
Sharing calendars on an iPhone makes it easier to coordinate events and schedules with others. With iCloud, you can create, share, and manage calendars effortlessly.
Creating a New Calendar in iCloud
To create a new calendar, open the Calendar app. Tap the Calendars button at the bottom of the screen. Choose Add Calendar to create a new one. Name the calendar and choose a color to differentiate it. Tap Done to save it.
You can use this calendar for specific events or schedules. It helps keep things organized. You add new events as needed.
Sharing Calendars with Specific People
Sharing a calendar with specific people is simple. Open the Calendar app and go to Calendars. Tap the i next to the calendar you wish to share. In the Shared With section, tap Add Person. Enter the email address of the person you want to share with and tap Add.
Invite your friends or colleagues. They receive an invitation and can choose to accept it. You can allow them to view or edit the calendar.
Making Your Calendar Public
To make a calendar public, go to the Calendar app. Tap Calendars at the bottom of the screen. Next to the calendar you want to share, tap the i icon. Turn on Public Calendar. Tap Share Link to copy the URL.
Anyone with the link can view the calendar. Use this for sharing schedules or events publicly. They don’t need an iCloud account to see it.
Editing Calendar Sharing Settings
Editing sharing settings allows you to manage who has access. Open the Calendar app and select Calendars. Tap the i icon next to the shared calendar. In the Shared With section, you can add or remove people. Tap a person’s name to adjust their permissions.
You can also remove someone if needed. This helps keep control over who can view or edit your calendar.
Managing Shared Calendars Across Devices
Shared calendars sync across all devices. Ensure you are signed in with your Apple ID. Shared calendars appear in the Calendar app on all your devices, including your iPhone, iPad, and Mac.
You can access and manage shared calendars from any device. Any changes made update immediately, keeping everything in sync. This makes it easy to stay organized and up-to-date.


