Many users face the frustrating issue of “No Service” on their iPhone 5. This problem can be disruptive, especially when you need to stay connected. Often, the reason for no service is simple settings that need adjustment. Updating carrier settings or checking for system updates can sometimes resolve the issue.
Airplane Mode might be on, which disables all service connections. Turning it off and on again can sometimes restore service. Additionally, resetting network settings can address more stubborn issues.
Checking with your carrier can also help if the problem persists. They may provide further guidance or inform you if there’s a larger network issue in your area.
No Service on iPhone: Troubleshooting Tips and Solutions
Seeing “No Service” or “Searching…” on your iPhone can be frustrating, especially when you need to make an important call or send a message. This comprehensive guide will walk you through every troubleshooting step to get your iPhone connected again.
What Does “No Service” Mean?
When your iPhone displays “No Service,” it means your device cannot connect to your carrier’s cellular network. This prevents you from making calls, sending SMS texts, or using cellular data (though Wi-Fi still works).
Common Variations:
- “No Service”
- “Searching…”
- “SOS Only” or “SOS”
- “No SIM” or “Invalid SIM”
- Signal bars with an “X”
Quick Fixes to Try First
Before diving into complex solutions, try these simple fixes that resolve most issues:
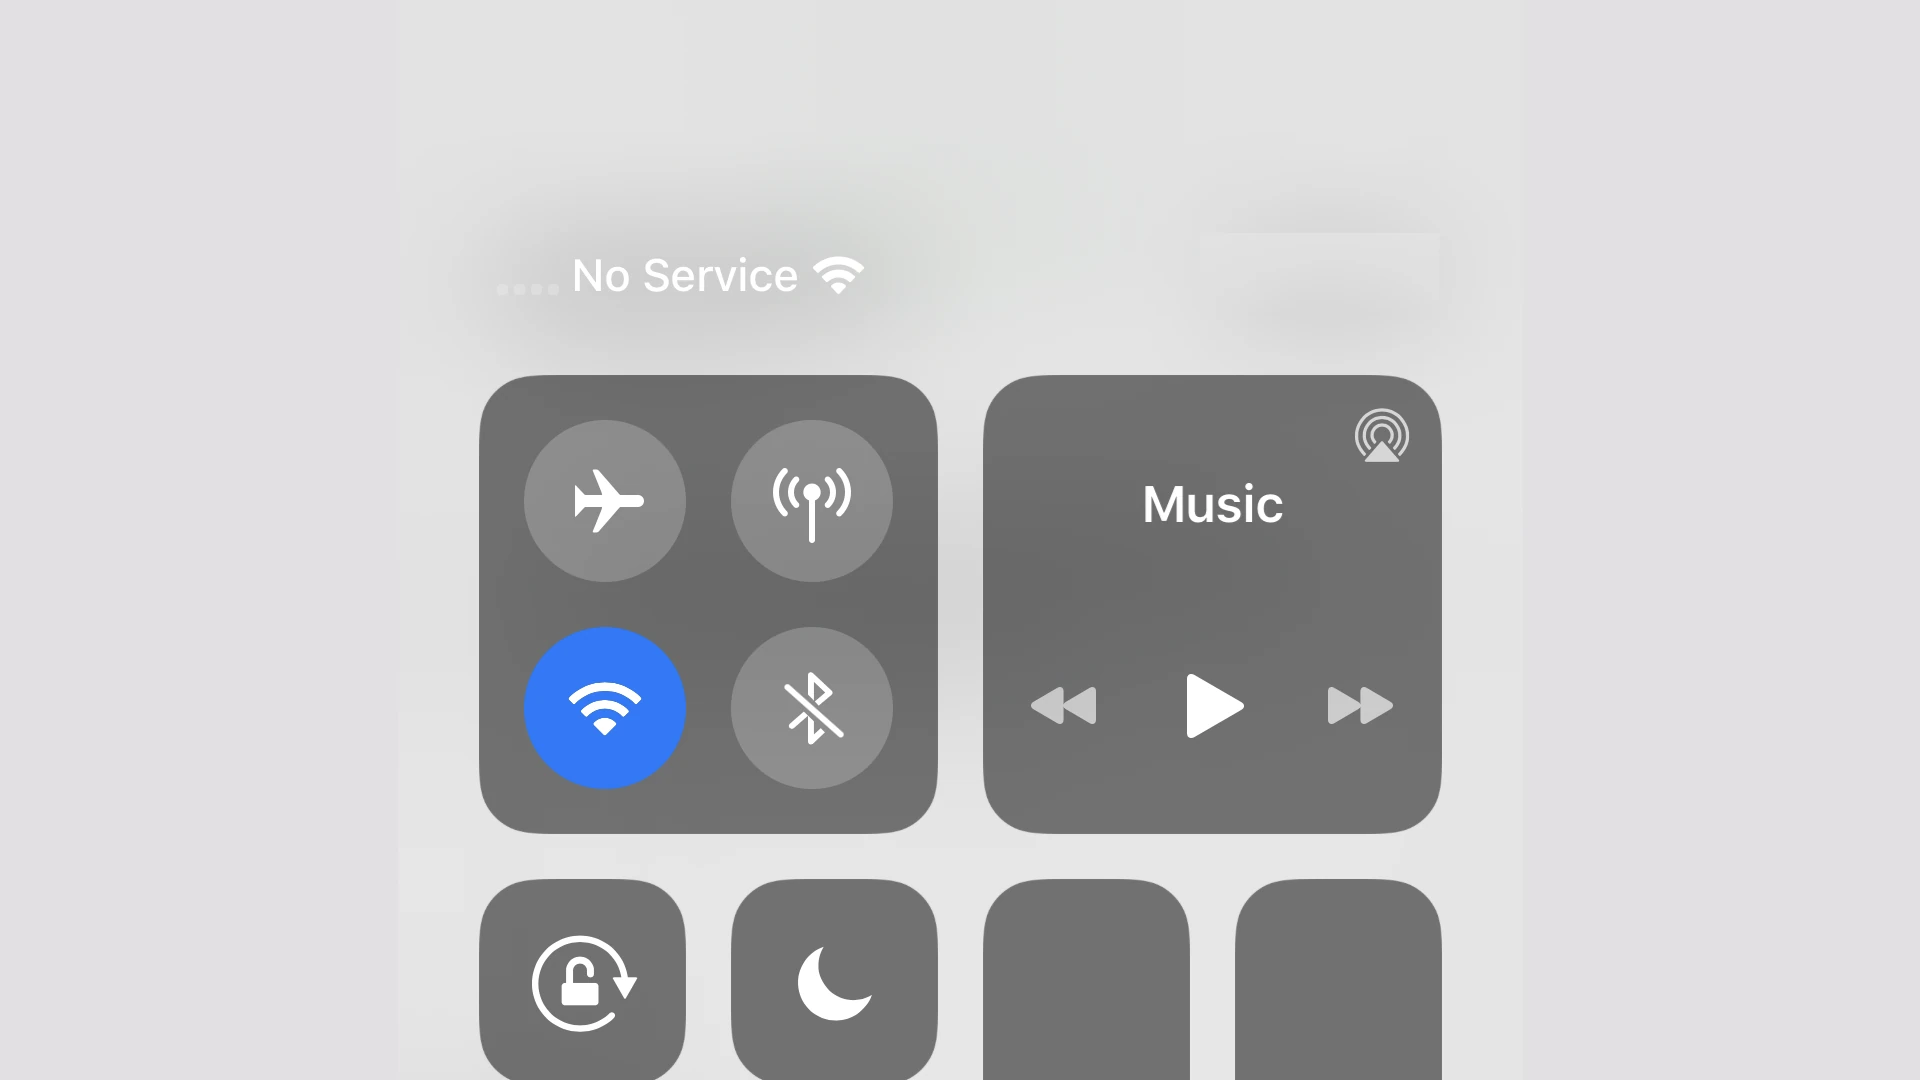
1. Toggle Airplane Mode
This is the quickest fix and works surprisingly often:
- Open Control Center (swipe down from top-right on iPhone X or later, swipe up from bottom on older models)
- Tap the Airplane Mode icon (airplane symbol)
- Wait 15-30 seconds
- Tap it again to turn Airplane Mode off
- Wait for your iPhone to reconnect
Alternative method:
- Go to Settings
- Toggle Airplane Mode on, wait, then off
2. Restart Your iPhone
A simple restart fixes many temporary glitches:
iPhone 8 or later:
- Press and quickly release Volume Up
- Press and quickly release Volume Down
- Press and hold Side button until Apple logo appears
iPhone 7/7 Plus:
- Press and hold Volume Down + Side button until Apple logo appears
iPhone 6s or earlier:
- Press and hold Home + Top (or Side) button until Apple logo appears
3. Check for Carrier Outages
Before troubleshooting further, verify it’s not a network issue:
- Visit your carrier’s website or social media
- Check sites like DownDetector.com
- Ask others on the same carrier if they have service
- Contact your carrier’s customer service
Check Your Physical Connections
Verify SIM Card
A loose or dirty SIM card is a common culprit:
- Locate the SIM tray (usually on the right side of iPhone)
- Use a SIM ejector tool (or a paperclip) to gently push into the small hole
- Remove the tray carefully
- Inspect the SIM card:
- Check for dust, dirt, or damage
- Ensure proper gold contact orientation
- Look for scratches or discoloration
- Clean if needed with a soft, lint-free cloth
- Reinsert firmly and ensure tray is flush with the phone
Note: iPhone 14 and later (US models) use eSIM only and have no physical SIM tray.
Check for Physical Damage
Examine your iPhone for:
- Water damage indicators (look in SIM tray slot)
- Cracks or damage near antennas (top and bottom edges)
- Bent or damaged SIM tray
- Recent drops or impacts
Software Solutions
4. Update Carrier Settings
Carrier settings updates can fix connectivity issues:
- Connect to Wi-Fi
- Go to Settings > General > About
- Wait 30 seconds
- If an update is available, you’ll see a popup
- Tap Update
Manual check:
- Go to Settings > General > About
- Look for Carrier – it should show your carrier name and version number
5. Update iOS
Outdated iOS versions may have connectivity bugs:
- Go to Settings > General > Software Update
- If an update is available, tap Download and Install
- Ensure your iPhone is charged (50%+) or plugged in
- Back up your data first (recommended)
Current iOS version: iOS 18.x (as of December 2025)
6. Reset Network Settings
This clears all network configurations and often resolves stubborn issues:
⚠️ Warning: This will erase saved Wi-Fi passwords, VPN settings, and cellular settings.
- Go to Settings > General > Transfer or Reset iPhone
- Tap Reset
- Select Reset Network Settings
- Enter your passcode
- Confirm the reset
- Your iPhone will restart
After restart, you’ll need to:
- Reconnect to Wi-Fi networks
- Reconfigure VPN (if applicable)
- Re-enter Wi-Fi passwords
7. Remove and Reinstall eSIM (iPhone 14+ US models)
For eSIM-only iPhones:
- Go to Settings > Cellular
- Tap your cellular plan
- Tap Remove Cellular Plan
- Confirm removal
- Restart your iPhone
- Contact your carrier to reinstall eSIM
Note: Have your carrier account information ready before removing eSIM.
8. Disable/Enable Cellular Data
Sometimes toggling cellular data helps:
- Go to Settings > Cellular (or Mobile Data)
- Toggle Cellular Data off
- Wait 30 seconds
- Toggle it back on
9. Select Network Manually
Your iPhone might not be connecting to the right network:
- Go to Settings > Cellular > Network Selection
- Turn off Automatic
- Wait while your iPhone searches for networks
- Select your carrier manually from the list
- If this doesn’t work, turn Automatic back on
10. Check for Restrictions
Ensure cellular data isn’t restricted:
- Go to Settings > Screen Time > Content & Privacy Restrictions
- If enabled, tap Cellular Data Changes
- Ensure it’s set to Allow
11. Toggle LTE/5G Settings
Network mode issues can cause connectivity problems:
- Go to Settings > Cellular > Cellular Data Options
- Tap Voice & Data
- Try switching between:
- 5G Auto
- 5G On
- LTE
- Test each setting for a few minutes
12. Disable Wi-Fi Calling (Temporarily)
Wi-Fi Calling can sometimes interfere:
- Go to Settings > Phone > Wi-Fi Calling
- Toggle Wi-Fi Calling on This iPhone off
- Check if cellular service returns
- Re-enable after testing
Advanced Troubleshooting
13. Check Account Status with Carrier
Contact your carrier to verify:
- Account is active and in good standing
- Payment is current (suspended accounts show “No Service”)
- Phone is activated properly
- IMEI is registered on their network
- No account restrictions or holds
- SIM card is active and properly provisioned
14. Verify iPhone Isn’t Locked or Blacklisted
- Check if your iPhone is carrier-locked:
- Go to Settings > General > About
- Look for Carrier Lock or Network Provider Lock
- Should say “No SIM restrictions”
- Check if your iPhone is blacklisted:
- Visit CheckMend.com or IMEI.info
- Enter your IMEI (Settings > General > About)
- Verify it’s not reported lost/stolen
15. Test with Another SIM Card
If possible, test with a different SIM:
- Borrow a SIM card from the same carrier
- Insert it into your iPhone
- If it works: Your original SIM is faulty (contact carrier for replacement)
- If it doesn’t work: The issue is with your iPhone
16. Check Date & Time Settings
Incorrect date/time can cause connectivity issues:
- Go to Settings > General > Date & Time
- Enable Set Automatically
- Ensure time zone is correct
17. Remove VPN or Configuration Profiles
VPNs or profiles can interfere with cellular:
- Go to Settings > General > VPN & Device Management
- Tap any VPN or profile
- Select Delete VPN or Remove Profile
- Restart iPhone and test
18. DFU Restore (Last Resort)
Device Firmware Update (DFU) restore is the deepest restoration:
⚠️ Warning: This erases EVERYTHING. Back up first!
iPhone 8 or later:
- Connect to computer with iTunes/Finder
- Press and release Volume Up
- Press and release Volume Down
- Press and hold Side button
- When screen goes black, hold Side + Volume Down for 5 seconds
- Release Side button but keep holding Volume Down for 5 more seconds
- Screen should stay black (if Apple logo appears, start over)
- iTunes/Finder will detect iPhone in recovery mode
- Click Restore
For older iPhones: Instructions vary by model; consult Apple Support.
Common Causes and Their Solutions
Cause 1: iOS Update Bug
Solution: Wait for carrier settings update or next iOS update, or downgrade iOS if possible (requires technical knowledge)
Cause 2: Expired or Unpaid Account
Solution: Contact carrier to resolve billing issues and reactivate service
Cause 3: Physical Antenna Damage
Solution: Requires professional repair; visit Apple Store or authorized service provider
Cause 4: Water Damage
Solution: Professional repair needed; check if covered under AppleCare+ or insurance
Cause 5: Carrier Coverage Gap
Solution: Move to area with better coverage, enable Wi-Fi Calling, or consider switching carriers
Cause 6: Hardware Failure
Solution: Apple repair or replacement necessary
Location-Specific Issues
“No Service” in Specific Locations
If you only lose service in certain areas:
- Check carrier coverage map for that location
- Enable Wi-Fi Calling for indoor areas with poor signal
- Try different network modes (toggle between 5G/LTE)
- Report dead zones to your carrier
“No Service” After Travel
After international travel or roaming:
- Disable then re-enable roaming:
- Settings > Cellular > Cellular Data Options > Data Roaming
- Manually select your home network
- Contact carrier to ensure international services are deactivated properly
When to Contact Apple Support
Contact Apple if:
- You’ve tried all troubleshooting steps
- Multiple SIM cards don’t work
- “No Service” appeared after iOS update
- Physical damage is visible
- Your iPhone is under warranty or AppleCare+
How to Contact Apple:
Apple Support App:
- Download from App Store
- Select your iPhone
- Choose “No Service” issue
- Schedule appointment or chat
Phone:
- Call 1-800-MY-APPLE (1-800-692-7753)
- Available 24/7
In Person:
- Visit an Apple Store (book Genius Bar appointment)
- Visit Apple Authorized Service Provider
Online:
- Visit support.apple.com
- Use iMessage to chat with Apple Support
When to Contact Your Carrier
Contact your carrier if:
- Your account may have issues
- You need a new SIM card
- Service works on other phones with your SIM
- You recently changed plans
- You’re having area-specific outages
Major US Carrier Support:
Verizon: 1-800-922-0204 | verizon.com/support AT&T: 611 or 1-800-331-0500 | att.com/support T-Mobile: 611 or 1-800-937-8997 | t-mobile.com/support
Prevention Tips
Prevent Future “No Service” Issues:
- Keep iOS updated to latest version
- Update carrier settings when prompted
- Handle SIM card carefully during removal
- Use protective case to prevent physical damage
- Avoid extreme temperatures that can affect components
- Enable Find My before issues occur (helps with warranty claims)
- Keep account current with carrier
- Test service regularly after iOS updates
Key Takeaways
- Adjusting settings can quickly fix no service issues.
- Reset network settings for more persistent problems.
- Carrier support might be necessary for unresolved issues.
Understanding ‘No Service’ on iPhone 5
Many iPhone 5 users face “No Service” issues due to various factors. This section will examine common causes, network and coverage problems, and SIM card challenges.
Identifying Common Causes of Service Issues
“No Service” on an iPhone 5 can stem from multiple sources. Basic troubleshooting steps often begin with checking Airplane Mode. Make sure it’s off, as Airplane Mode disables all wireless connections. Restarting the phone can also resolve minor glitches that lead to this issue.
Software Problems and Hardware Issues can also cause “No Service.” An outdated iOS version may have bugs affecting the cellular network. Hardware issues like Water Damage can disrupt the phone’s ability to connect to networks.
Another area to inspect is the Cellular Data settings. Verify that cellular data is turned on, and the iPhone isn’t set to Roaming in an area not covered by the carrier.
Exploring Network and Coverage Complications
The Carrier plays a big role in service quality. Not all carriers support all network bands used by the iPhone 5. Check if your carrier supports the frequencies needed by your phone model.
Coverage Areas matter a lot. If you are in a spot with poor coverage, the phone may struggle to connect to the network. Looking at a Coverage Map can help determine if your location is a problem.
Cell Towers and their distance affect your signal strength. If you’re far from a tower, your phone may show fewer bars or constantly search for service. Network Outages might also be the culprit. Contacting the carrier can reveal if there’s a broader issue affecting service in your location.
Examining SIM Card-Related Challenges
The SIM Card is essential for cellular connection. A damaged or improperly inserted SIM card could cause “No Service.” Make sure the SIM card is inserted correctly in its tray.
Issues can also arise from an old or unsupported SIM card. Requesting a new card from your carrier may solve the problem.
Sometimes, resetting network settings helps. Go to Settings > General > Transfer or Reset iPhone > Reset > Reset Network Settings. This action doesn’t delete personal data but resets Wi-Fi passwords and VPN settings.
Account and payment issues can also cause service problems. Ensure your account is in good standing and all payments are up to date with your carrier to avoid service disruptions.


