Many iPhone users encounter issues when trying to connect their device to iTunes. Seeing the message “iTunes could not connect to this iPhone” can be frustrating. Often, this problem is caused by outdated software, a faulty USB cable, or even simple connection glitches.
Solving this issue can be straightforward. Checking if your iTunes and iOS are up to date helps. Using a different USB cable or even another computer can quickly determine if the issue lies with the hardware or software. These simple steps can save you from a lot of trouble.
Staying connected is important. When simple troubleshooting doesn’t work, Apple’s support can provide more detailed solutions. You’re not alone in facing this, and there are ways to get back to a seamless connection.
iTunes Could Not Connect to This iPhone
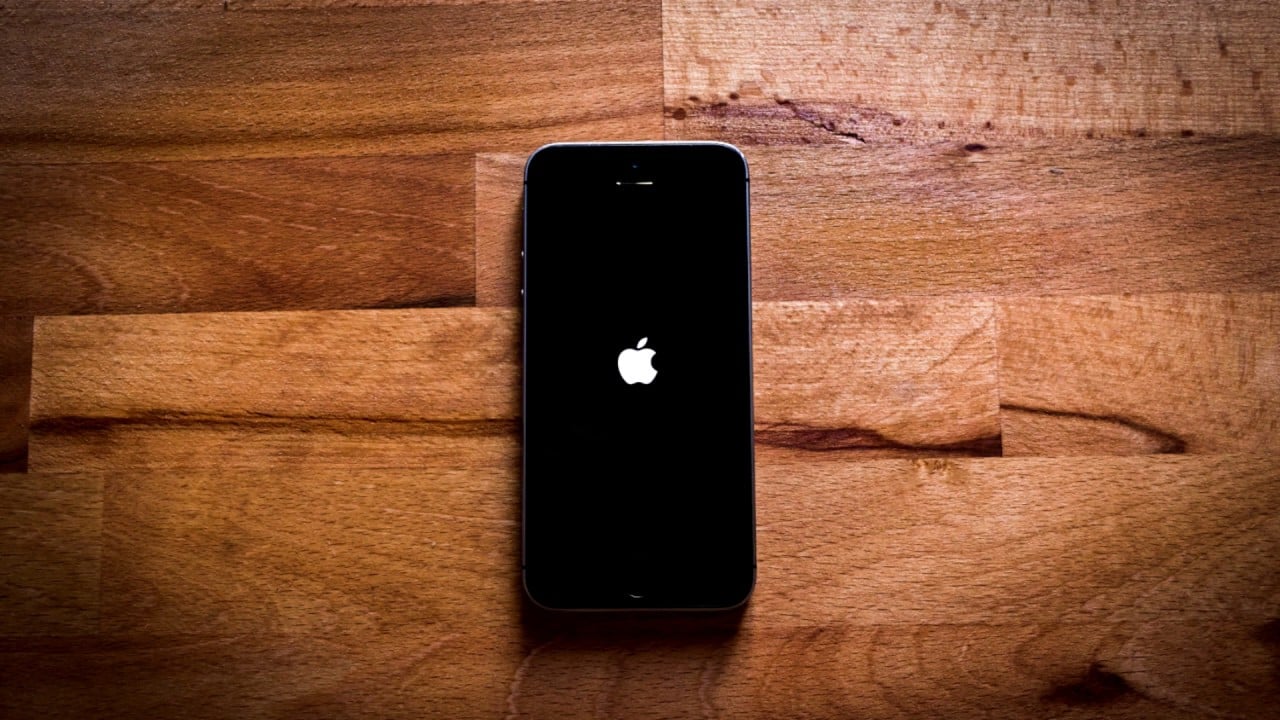
When you connect your iPhone to your computer, iTunes (or Finder on macOS Catalina and later) should automatically recognize it.
If you see an error like “iTunes could not connect to this iPhone. An unknown error occurred” or “The value is missing”, it means something is interfering with the connection — often a driver, cable, or software issue.
This guide will walk you through how to fix it.
🔍 Step 1: Check the Basics
Before diving into advanced fixes, confirm the simple things first:
- Use an Original Apple Cable
- Non-certified Lightning cables can cause connection errors.
- Try another cable or USB port.
- Unlock Your iPhone
- Make sure your iPhone is unlocked and on the Home screen when connecting.
- Tap “Trust This Computer”
- When prompted on your iPhone, tap Trust and enter your passcode.
- If you accidentally tapped “Don’t Trust,” disconnect and reconnect your iPhone.
- Restart Both Devices
- Restart your iPhone and your computer to clear temporary connection issues.
(source: Apple Support – If your computer doesn’t recognize your iPhone or iPad)
⚙️ Step 2: Update Everything
Outdated software is one of the most common causes of iTunes connection errors.
- Update iTunes / Finder
- On Windows: Open iTunes → Help → Check for Updates.
- On Mac: Use Finder (macOS Catalina or later) or update via System Preferences → Software Update.
- Update Your iPhone
- Go to Settings → General → Software Update.
- Update Your Computer
- On Windows, check Windows Update.
- On Mac, update macOS to the latest version.
(source: Macworld – How to fix iTunes could not connect to this iPhone)
🧰 Step 3: Reset iTunes and Apple Mobile Device Services (Windows)
If you’re on Windows and still getting errors like 0xE80000A or The value is missing, try this:
- Close iTunes completely.
- Press Ctrl + Shift + Esc to open Task Manager.
- End these processes if they’re running:
- iTunesHelper.exe
- AppleMobileDeviceService.exe
- Bonjour Service
- Restart Apple Mobile Device Service:
- Press Windows + R, type
services.msc, and press Enter. - Find Apple Mobile Device Service, right-click → Restart.
- Press Windows + R, type
- Reopen iTunes and reconnect your iPhone.
(source: HelpDeskGeek – Fix iTunes Could Not Connect to This iPhone)
🔌 Step 4: Reinstall Apple Drivers (Windows Only)
If your iPhone still isn’t recognized:
- Disconnect your iPhone.
- Press Windows + R, type:
%ProgramFiles%\Common Files\Apple\Mobile Device Support\Drivers - Right-click usbaapl64.inf or usbaapl.inf → Install.
- Reconnect your iPhone and open iTunes.
If that doesn’t work, uninstall and reinstall iTunes completely:
- Go to Control Panel → Programs → Uninstall a program.
- Remove iTunes, Apple Mobile Device Support, and Apple Application Support.
- Reinstall iTunes from the official Apple site.
🔐 Step 5: Check Security and Permissions
Sometimes antivirus or firewall software can block iTunes from connecting.
- Temporarily disable antivirus/firewall software and try again.
- Ensure iTunes has administrator privileges (right-click → Run as administrator on Windows).
- On macOS, go to System Settings → Privacy & Security → Full Disk Access and ensure Finder or iTunes has permission.
🧠 Step 6: Try DFU or Recovery Mode (Advanced)
If iTunes still can’t detect your iPhone, you may need to use Recovery Mode or DFU Mode to restore it.
- Put your iPhone into Recovery Mode:
- For iPhone 8 or later: Press and quickly release Volume Up, then Volume Down, then hold Side button until you see the recovery screen.
- Connect it to your computer.
- iTunes or Finder should now detect your iPhone and prompt you to Update or Restore.
(source: StellarInfo – Fix iTunes Could Not Connect to This iPhone: The Value Is Missing)
🧩 Step 7: When to Contact Apple Support
If none of the above steps work, your issue might be hardware-related (e.g., damaged Lightning port or logic board).
Contact Apple Support or visit an Apple Store for diagnostics:
👉 Apple Support – iPhone Connection Issues
✅ Quick Summary
| Issue | Likely Cause | Fix |
|---|---|---|
| iTunes doesn’t detect iPhone | Cable or trust issue | Use original cable, tap “Trust This Computer” |
| “Unknown error” (0xE80000A) | Driver or service issue | Restart Apple Mobile Device Service |
| “Value is missing” | Corrupted iTunes installation | Reinstall iTunes |
| Detected in Finder but not iTunes | Outdated software | Update iTunes or macOS |
| Still not connecting | Hardware fault | Contact Apple Support |
💬 Final Thoughts
The “iTunes Could Not Connect to This iPhone” error can usually be fixed with basic updates or driver resets.
Start with the simple steps — cable, trust, and restart — before moving to advanced options like reinstalling iTunes or using Recovery Mode.
With patience and the right sequence of fixes, you can get your iPhone recognized again and back to syncing smoothly.
Key Takeaways
- Update both iTunes and iOS to the latest version.
- Try a different USB cable or computer.
- Contact Apple Support if basic troubleshooting fails.
Troubleshooting Connection Issues
Fixing the problem when iTunes can’t connect to your iPhone involves checking USB connections, updating software, resolving errors, and managing drivers. These steps can help you identify and fix the issue.
Checking USB Connections and Ports
First, check if your USB cable and port are working. Use an Apple USB or Lightning cable as third-party cables can cause issues. Try different ports on your computer. Damaged or dirty ports may prevent connection.
Check if the cable works with another iPhone. If it doesn’t, replace the cable.
Updating Software
Make sure your software is updated. Check if your iPhone has the latest iOS version. Go to Settings > General > Software Update on your device.
Update iTunes to the latest version. On a Mac, go to the App Store. On a PC, update iTunes from the Microsoft Store. This helps solve compatibility issues.
Resolving iTunes and iOS Errors
Errors like “iTunes error 0xE8000015” can occur. Resetting the Lockdown folder can help. On your computer, rename the folder to “Lockdown.old”. Reconnect your iPhone and tap Trust on the device.
Restart your devices to clear temporary issues.
Managing Device Drivers and Services
Ensure your Apple Mobile Device USB driver is up-to-date. On a PC, open Device Manager, find the driver, right-click, and choose Update driver.
Ensure no restrictions on your iPhone. Go to Settings > General > Restrictions and check all permissions.
Restart the Apple Mobile Device Service on your computer. This service helps connectivity. Open the Services app, find “Apple Mobile Device Service”, right-click, and choose Restart.
Following these steps can help resolve iTunes connection issues effectively.