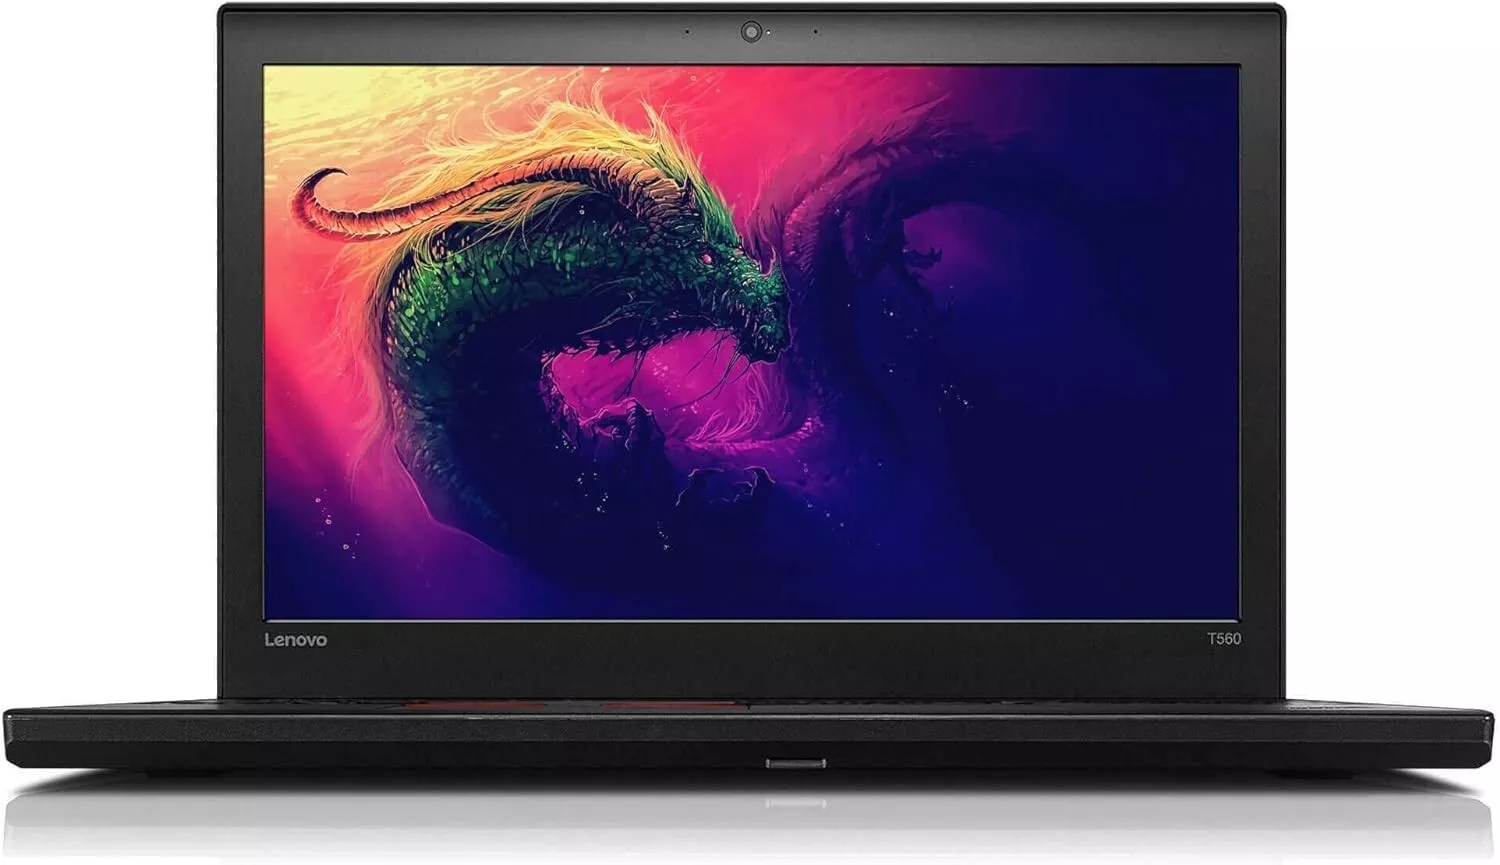
A camera that isn’t working on a Lenovo laptop can interrupt video calls and online meetings. This issue often comes from hardware problems, software glitches, or outdated drivers. Restarting your laptop and checking camera permissions in Windows settings can fix many camera problems.
If your Lenovo laptop camera isn’t working, you can take several steps to solve the issue. Start by checking your privacy settings and camera drivers. If that doesn’t help, try using the hardware troubleshooter or checking for anything blocking the camera. The Lenovo Vantage app can also help with diagnostics and camera settings.
If nothing works, contact Lenovo support for further help. Lenovo offers specific tools to diagnose and fix camera issues. The Lenovo Vantage app allows you to enable the camera and update drivers. For more serious problems, you may need to reinstall camera drivers or use Windows Device Manager.
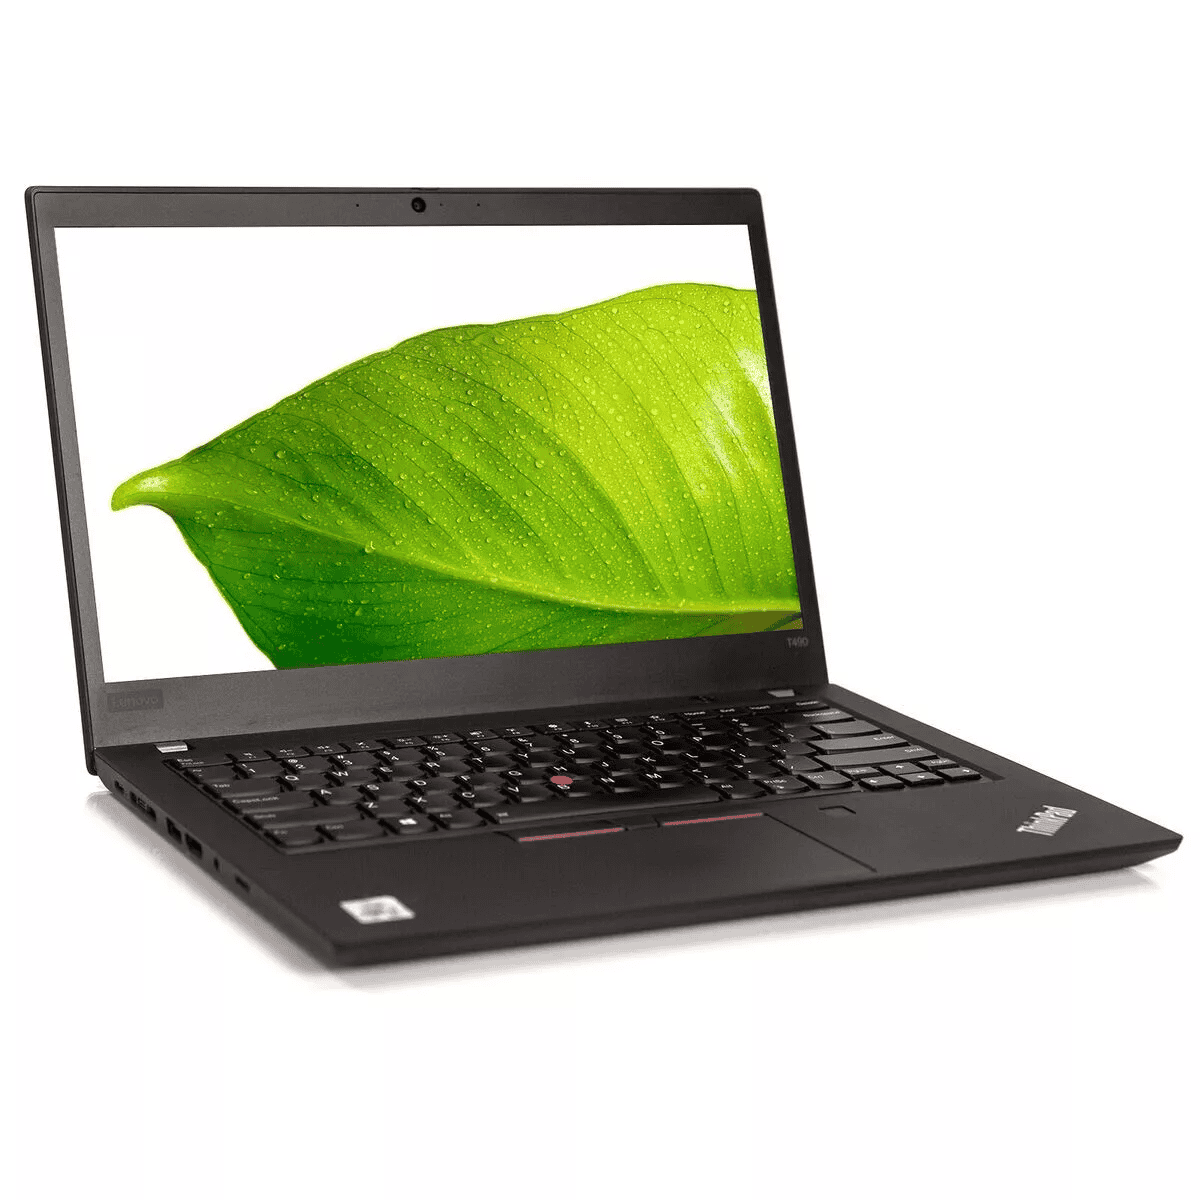
For users who depend on their laptop cameras for work, regular system updates and maintenance can be very helpful. Keeping the operating system and Lenovo software updated helps prevent camera problems and ensures everything runs smoothly during important video calls.
Troubleshooting Your Lenovo Laptop Camera
Having trouble with your Lenovo laptop camera? Don’t worry, it’s a common problem with several potential solutions. Here’s a step-by-step guide to help you get your camera back in working order.
1. Check Your Privacy Settings
Windows has privacy settings that control camera access. Make sure your camera is enabled:
- Go to Start > Settings > Privacy & security > Camera.
- Ensure Camera access for this device is turned On.
- Under Allow apps to access your camera, make sure it’s also turned On.
2. Update or Reinstall Camera Drivers
Outdated or corrupted camera drivers can cause problems. Try updating or reinstalling them:
- Search for Device Manager in the Windows search bar and open it.
- Expand the Cameras or Imaging devices category.
- Right-click on your camera and select Update driver.
- If that doesn’t work, try right-clicking and selecting Uninstall device. Then, restart your computer, and Windows will usually reinstall the driver automatically.
3. Check for Physical Obstructions
Make sure there’s nothing blocking your camera lens. This might seem obvious, but it’s a common oversight.
4. Run the Hardware Troubleshooter
Windows has a built-in troubleshooter that can sometimes identify and fix camera problems:
- Go to Start > Settings > System > Troubleshoot > Other troubleshooters.
- Find Camera and click Run.

5. Lenovo Vantage
Lenovo Vantage is a utility that comes pre-installed on Lenovo laptops. It can help you manage your camera settings and troubleshoot problems:
- Open Lenovo Vantage.
- Go to Device > My Device Settings > Display & Camera.
- Check your camera settings and try running any built-in diagnostics.
6. Check for BIOS Updates
In some cases, a BIOS update might be necessary to fix camera issues. You can usually find BIOS updates on the Lenovo support website for your specific laptop model.
7. Third-Party Apps
If you’re using a third-party video conferencing app like Zoom or Skype, make sure the app has permission to access your camera. You can usually find these settings within the app itself.
8. Contact Lenovo Support
If you’ve tried all the above steps and your camera is still not working, it might be a hardware problem. Contact Lenovo support for further assistance.
Beyond Troubleshooting: Enhancing Your Lenovo Laptop Camera Experience
Once you have your camera working, here are some tips to improve its performance:
- Good Lighting: Make sure you have adequate lighting. Avoid backlighting, which can make you appear dark.
- Camera Placement: Position your laptop so the camera is at eye level.
- Clean the Lens: Use a soft, dry cloth to gently clean the camera lens.
- External Webcam: If you need better image quality, consider using an external webcam.
Key Takeaways
- Check camera permissions and restart the laptop as initial troubleshooting steps
- Use Lenovo Vantage app to enable the camera and update drivers
- Regularly update the system and Lenovo software to prevent camera issues
Troubleshooting Lenovo Laptop Camera Problems
Camera issues on Lenovo laptops can often be resolved through simple checks and software adjustments. These steps cover key areas to address common camera problems.
Checking Basic Camera Functionality
Open the Windows Camera app to test if the camera works. If the app doesn’t launch or shows a black screen, the camera may be disabled or have driver issues. Check if the camera appears in Device Manager under “Imaging devices” or “Cameras.” A yellow exclamation mark indicates a problem.
Ensure the camera isn’t physically blocked. Some Lenovo models have a privacy shutter over the lens. Slide it open if present. For external webcams, check the USB connection and try a different port.
Restart the laptop to clear temporary glitches. If issues persist, check for Windows updates that might resolve camera compatibility problems.
Adjusting Camera Privacy Settings
Windows 10 and 11 have built-in privacy settings for camera access. Open Settings > Privacy > Camera. Ensure “Allow apps to access your camera” is switched on. Check that specific apps have permission to use the camera.
Some Lenovo laptops have a keyboard shortcut (often F8) to toggle camera privacy mode. Press this key to see if it enables the camera. Look for a small LED next to the camera lens that indicates when it’s active.
Updating Camera Drivers via Device Manager
Outdated or corrupted drivers often cause camera issues. Open Device Manager and expand the “Imaging devices” or “Cameras” category. Right-click on the integrated camera and select “Update driver.”
Choose “Search automatically for updated driver software.” If Windows doesn’t find a new driver, visit Lenovo’s support website. Enter your laptop model and download the latest camera driver.
After installing new drivers, restart the laptop. If problems persist, try uninstalling the camera driver in Device Manager, then restart. Windows will reinstall a fresh copy of the driver.
Utilizing the Lenovo Vantage App for Camera Issues
Lenovo Vantage is a built-in tool for managing hardware settings and updates. Open the app from the Start menu. Navigate to “My Device Settings” or “Hardware Settings.”
Look for a “Camera” or “Display & Camera” section. Here you can toggle camera settings and check for available updates. Lenovo Vantage often provides tailored driver updates not found through Windows Update.
Use the app’s system diagnostic tools to run a camera check. This can identify hardware faults. If Vantage detects issues it can’t fix, it may suggest contacting Lenovo support for further assistance.

