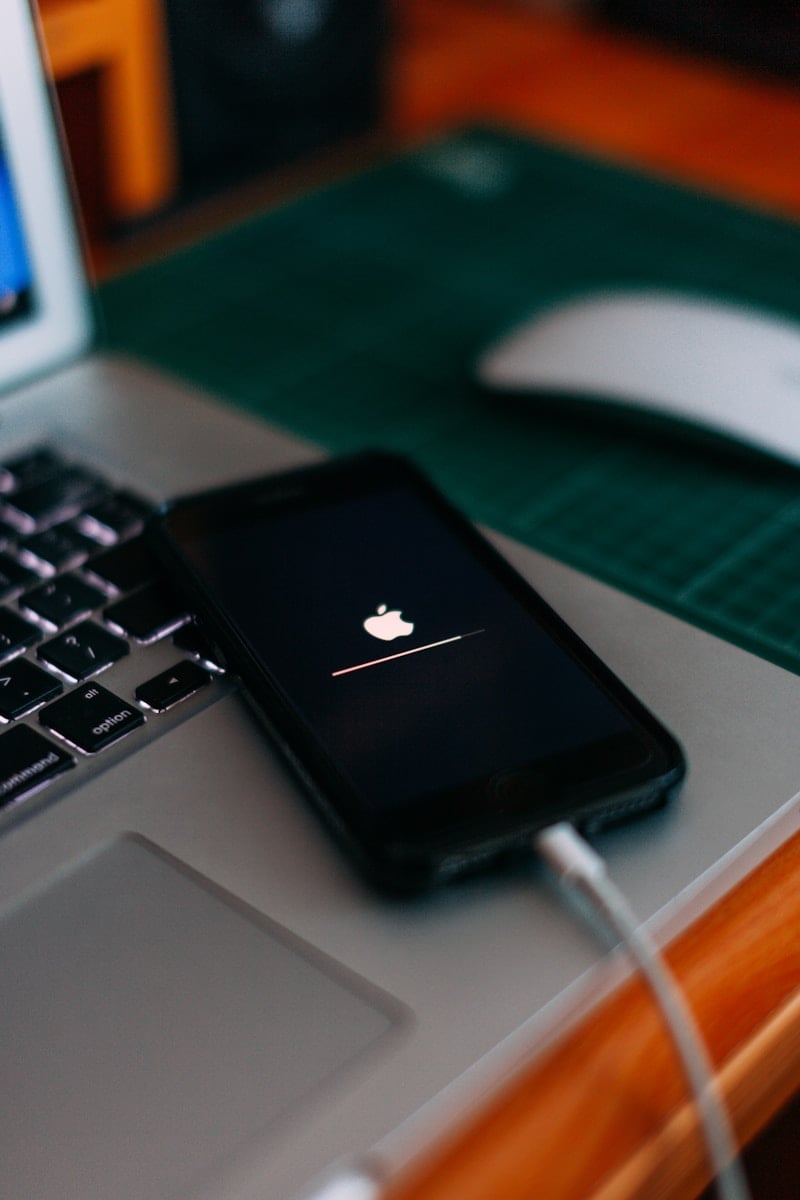
Upgrading to a new iPhone is exciting. But it’s important to make sure all your data is safe before making the switch. To save your photos, contacts, and apps, you need to back up your iPhone properly. Without a backup, you risk losing everything when you move to the new phone.
One effective way to back up your iPhone is through iCloud. This method is straightforward if you’re connected to Wi-Fi. You can also use a computer for your backup. This can be especially useful if you prefer keeping your data stored locally on your PC or Mac.
Preparing for a backup might seem like a minor step, but it’s crucial. It ensures you can restore your data smoothly on the new device without any issues. A little preparation can save a lot of headaches later on.
How To Back Up Your iPhone Before an Upgrade
Upgrading your iPhone is exciting—but skipping a backup can put your photos, messages, and apps at risk. Backing up ensures you can restore everything if something goes wrong during the upgrade. This guide walks you through the safest and easiest ways to back up your iPhone.
Why Backing Up Matters
A backup protects:
- Photos and videos
- Messages and call history
- App data and settings
- Health and Apple Watch data
- Device preferences and layout
If your upgrade fails or your phone is lost, a backup lets you restore everything to your new iPhone.
Option 1: Back Up Using iCloud (Easiest)
Best for most users, especially if you don’t use a computer.
What You Need
- Wi‑Fi connection
- Enough iCloud storage
- Apple ID signed in
Steps
- Open Settings
- Tap your Apple ID name at the top
- Tap iCloud
- Tap iCloud Backup
- Turn on Back Up This iPhone
- Tap Back Up Now
- Stay connected to Wi‑Fi until finished
✅ Your backup runs automatically every day when plugged in, locked, and on Wi‑Fi.
Option 2: Back Up to a Mac (Finder)
Best if you want a local backup or don’t have enough iCloud storage.
Steps (macOS Catalina or later)
- Connect your iPhone to your Mac
- Open Finder
- Select your iPhone from the sidebar
- Under Backups, choose Back up all of the data on your iPhone to this Mac
- Check Encrypt local backup (recommended—saves passwords and Health data)
- Click Back Up Now
✅ Encrypted backups include more data and are more secure.
Option 3: Back Up to Windows or Older Mac (iTunes)
If you use Windows or macOS Mojave or earlier:
- Install or open iTunes
- Connect your iPhone via USB
- Click the device icon
- Under Backups, select This Computer
- Enable Encrypt local backup
- Click Back Up Now
Make Sure Your Backup Worked
Before upgrading, confirm your backup is complete.
Check iCloud Backup
- Go to Settings → Apple ID → iCloud → iCloud Backup
- Look for the date and time of the last backup
Check Computer Backup
- Finder: Finder → Settings → General → Backups
- iTunes: Edit → Preferences → Devices
Backing Up Photos Separately (Extra Protection)
For added peace of mind:
- Enable iCloud Photos
- Upload photos to Google Photos, Dropbox, or an external drive
Multiple backups = less risk.
Before You Upgrade: Quick Checklist
✅ Backup completed successfully
✅ Apple ID password remembered
✅ Enough battery or plugged into power
✅ Wi‑Fi connection available
✅ Encryption enabled (for computer backups)
Restoring After the Upgrade
When setting up your new iPhone:
- Sign in with your Apple ID
- Choose Restore from iCloud Backup or Restore from Mac/PC
- Select your most recent backup
Your apps, photos, and settings will return automatically.
Final Tips
- Back up right before upgrading—not days earlier
- Keep both an iCloud and computer backup if possible
- Never skip a backup for major iOS updates or new iPhones
Key Takeaways
- Backing up your iPhone is essential before upgrading.
- Use iCloud or a computer for your backup.
- Proper preparation ensures a smooth data transfer.
Preparing for Your iPhone Backup
Before upgrading to a new iPhone, it’s important to back up your existing device. This prevents data loss and ensures a smooth transition to your new iPhone.
Determining Backup Methods
To start, you need to choose a backup method. iCloud Backup and iTunes Backup are the main options. iCloud stores your data in the cloud and requires a Wi-Fi network. iTunes stores your backup on a computer. Both methods have their benefits.
Using iCloud is convenient because it doesn’t need a computer. However, it requires enough iCloud storage. iTunes backups do need a computer but allow you to store data locally. Finder on macOS Catalina or later works similarly to iTunes, offering local backups.
Requirements and Preliminary Steps
For an iCloud backup, first connect to a Wi-Fi network. Go to Settings > [your name] > iCloud and make sure iCloud Backup is on. Plug your iPhone into a power source. Tap Back Up Now to begin.
For an iTunes backup, connect your iPhone to a computer with iTunes (or Finder on macOS Catalina and later). Select your device icon when it appears in the app. Click Back Up Now to create the backup.
In both cases, ensure you know your Apple ID and password. This is important for accessing iCloud or reloading your backup. Make sure your device has enough battery or is plugged in, as this process can take some time.
Optimizing Storage and Data Selection
To manage storage, check how much space you have in iCloud. Go to Settings > [your name] > iCloud > Manage Account Storage. If you need more space, consider upgrading your iCloud plan.
Decide what you want to back up. iCloud lets you choose which apps to include. Go to Settings > [your name] > iCloud, then scroll to see app lists. This helps you avoid unnecessary data in your backup.
Backing up essential data like photos, messages, contacts, and health data is crucial. Verify that these categories are included in your backup settings. This ensures that your most important data moves seamlessly to your new iPhone.


