Setting up dual monitors on a Mac can boost productivity. Connecting two screens lets you multitask, edit videos, or even stream content more efficiently. This guide will help you set up your Mac for dual monitors and show you how to make the most of your new workspace.
Start by connecting your monitors to your Mac using the right cables and adapters. Make sure your Mac is turned on and positioned correctly on your desk. Adjust the display settings so the arrangement matches the physical layout of your monitors. You can also set one monitor as the main display to manage your workflow better.
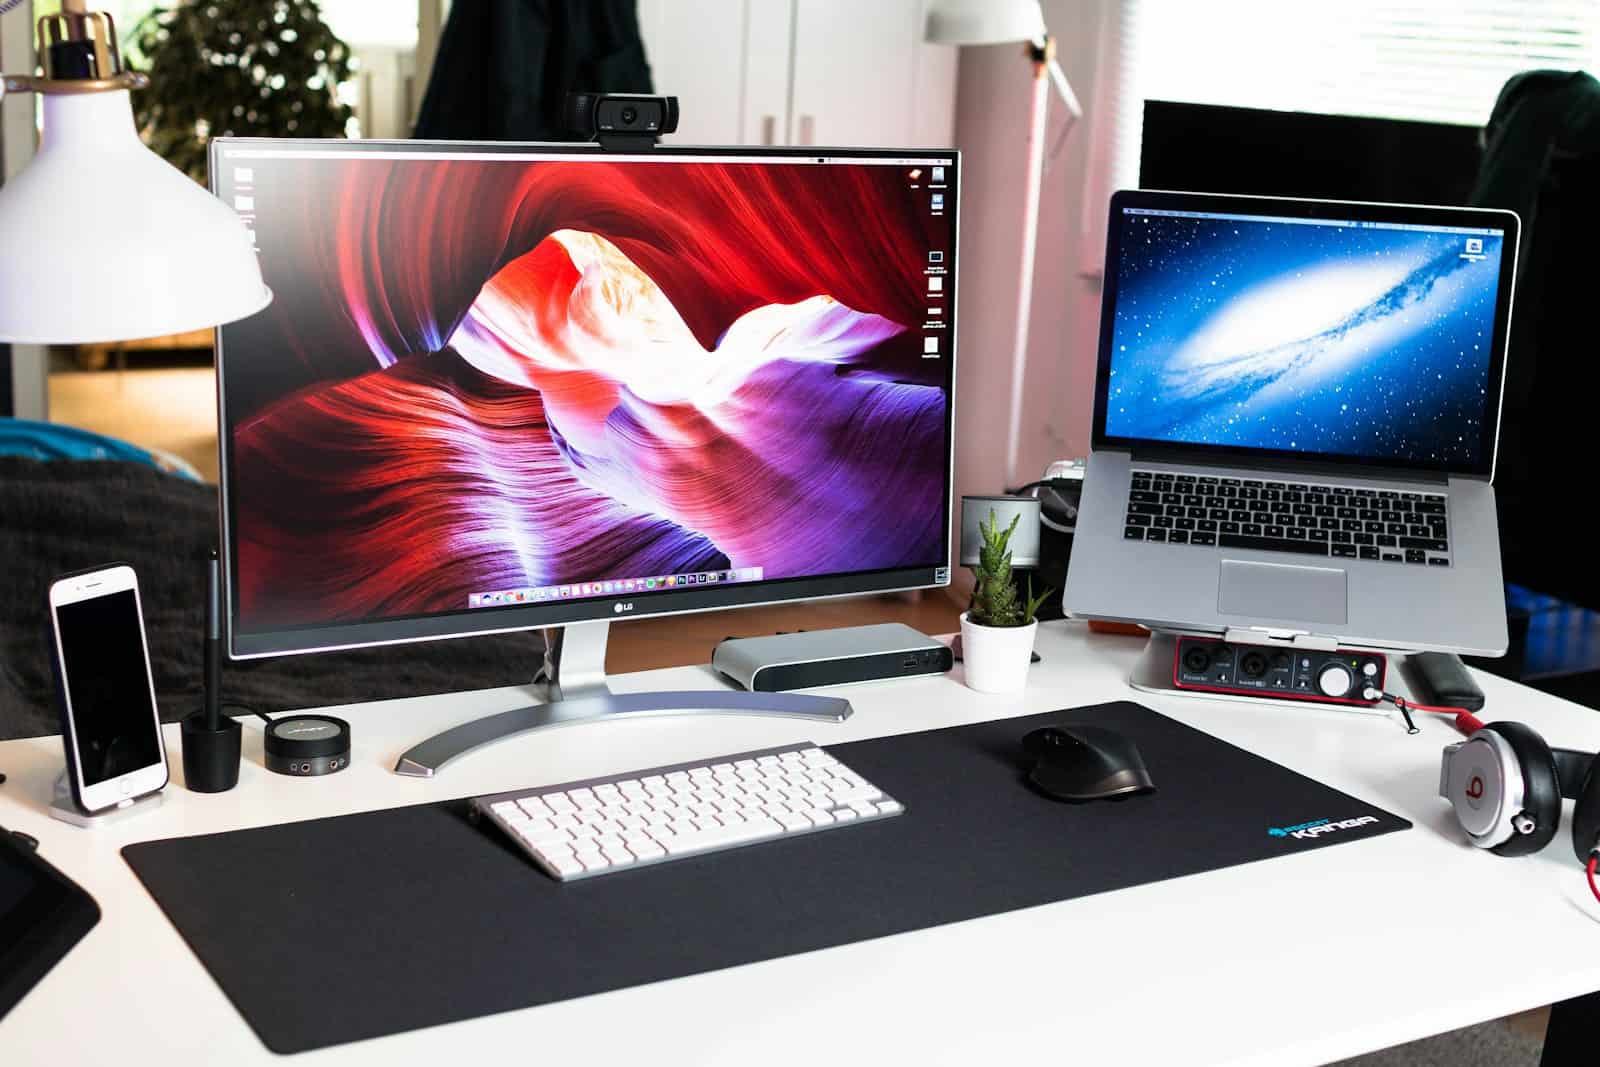
Once everything is connected, you can organize your workspace for optimal productivity. Having dual monitors lets you keep important windows open on one screen while working on the other. This setup can be beneficial for gaming, video editing, and managing multiple tasks at once.
What You’ll Need to Connect Two Monitors
Before diving into the setup, make sure you have the necessary hardware to support dual displays on your Mac. Compatibility depends on your Mac model and available ports.
| Item | Details |
|---|---|
| External Monitors | Any display with HDMI, DisplayPort, USB-C, or Thunderbolt support |
| Compatible Cables/Adapters | Thunderbolt/USB-C to HDMI, DisplayPort, or VGA depending on your monitor |
| Mac with Multi-Display Support | Most MacBook Pro, Mac Studio, Mac mini, and iMac models support dual displays |
Tip: MacBook Air models with the M1 chip (2020) officially support only one external display, but third-party workarounds exist.
Check Your Mac’s Display Capabilities
To find out how many monitors your Mac can support:
- Click the Apple menu () > About This Mac > More Info.
- Scroll down and click System Report.
- Under Graphics/Displays, check how many displays are supported.
Here’s a quick reference:
| Mac Model | Max External Displays Supported |
|---|---|
| MacBook Pro (M1 Pro/Max, M2 Pro/Max) | 2 to 4 |
| MacBook Air (M2) | 1 |
| Mac Studio (M1 Ultra) | Up to 5 |
| Mac mini (M2 Pro) | Up to 3 |
| iMac (M1, 24-inch) | 1 |
Connect the Monitors to Your Mac
Step 1: Plug In the Displays
Use the appropriate cables or adapters to connect your monitors:
- For USB-C/Thunderbolt monitors: Plug directly into your Mac.
- For HDMI/DisplayPort/VGA monitors: Use a compatible adapter.
Avoid daisy-chaining unless you’re using Thunderbolt displays that support it.
Step 2: Power Everything On
Once connected, power on both your external monitors and your Mac. Your Mac should detect the displays automatically.
If not, go to System Settings > Displays and click Add Display or use Detect Displays from the dropdown.
Arrange and Customize Displays
Once your monitors are connected, you can customize the layout and functionality.
Adjust Display Arrangement
- Go to System Settings > Displays.
- Drag and position the displays in the layout that matches your physical desk setup.
- To change the primary display (where your menu bar and dock appear), drag the white bar to the desired screen.
Change Resolution and Scaling
You can adjust resolution settings for each monitor:
- Select a display in System Settings > Displays.
- Choose from default or scaled options.
- Use More Space for sharper text or Larger Text for readability.
Enable Mirroring (Optional)
If you want both displays to show the same content:
- In System Settings > Displays, turn on Mirror Displays.
This is useful for presentations or screen sharing, but most users will prefer extended displays for multitasking.
Common Display Setups by Mac Type
| Mac Type | Recommended Setup |
|---|---|
| MacBook Pro (2021+) | Use built-in display + 2 external monitors via USB-C/HDMI |
| Mac mini (M2 Pro) | Use dual monitors via HDMI + Thunderbolt |
| Mac Studio | Connect up to 5 displays with USB-C, Thunderbolt, or HDMI |
| iMac (M1) | Only one external display supported |
Tips for Better Performance
- Use identical monitors for consistency in resolution and color.
- Avoid cheap adapters that may limit resolution or refresh rate.
- Keep macOS up to date to ensure display compatibility and bug fixes.
- Disable True Tone for color-accurate work in System Settings > Displays.
Troubleshooting Dual Monitor Issues
| Problem | Solution |
|---|---|
| Second monitor not detected | Click Detect Displays in display settings, check cable/adapters |
| Flickering or low resolution | Use certified adapters and correct resolution settings |
| Monitors turn off randomly | Check power settings or try connecting directly to Mac (not through hub) |
| Display arrangement not saving | Reset NVRAM: Shut down, then press Option + Command + P + R on startup |
If issues persist, try each monitor individually or test with a different cable to isolate the problem.
Key Takeaways
- Connect monitors to your Mac using proper cables and adapters.
- Adjust display settings to match monitor layout.
- Dual monitors enhance multitasking and productivity.
Setting Up Your Mac for Dual Monitors
Setting up dual monitors on a Mac can greatly improve productivity. This guide covers the necessary steps to identify ports, connect and configure monitors, optimize settings, and use macOS features.
Identify Available Ports and Necessary Adapters
Check the available ports on your Mac model. Common ports are Thunderbolt, USB-C, HDMI, and Mini DisplayPort.
- MacBook M1 and M2 usually have USB-C ports.
- Mac Mini has both HDMI and USB-C ports.
- iMac has Thunderbolt and DisplayPort options.
Use a USB-C hub or adapter if extra ports are needed. Examples include CalDigit or third-party display adapters. Ensure compatibility with your monitor type and resolutions.
Connect and Configure Your Monitors
Connect monitors using appropriate cables and adapters. For instance, use an HDMI cable for HDMI ports or a USB-C cable for USB-C ports. Once connected, turn on both the Mac and monitors.
Open Apple menu > System Settings and click Displays. Ensure the Mac detects all connected monitors.
Right-click the display to set it as the Main Display. Alternatively, drag the white bar in the Arrangement tab to rearrange monitors as desired.
Optimize Display Settings and Resolution
Select each display in System Settings > Displays. Adjust the resolution and refresh rate to match the monitor’s native capabilities. For 4K monitors, setting the resolution to 3840×2160 maximizes clarity.
To improve performance, especially on older Macs, set a lower resolution like 1080p. Adjust brightness, color profile, and rotation settings as needed. This ensures optimal display of text and images.
Utilize macOS Features for Enhanced Productivity
macOS offers features to enhance productivity with multiple screens. Sidecar allows an iPad to be used as a second screen. This is useful for additional screen real estate.
Use the Arrangement tab to mirror displays or extend the desktop. Mission Control helps manage open apps across displays. Drag windows across screens fluidly to utilize the desktop space.
Set different backgrounds for each screen for easy visual differentiation. These features help in multitasking, giving a seamless dual monitor experience.


