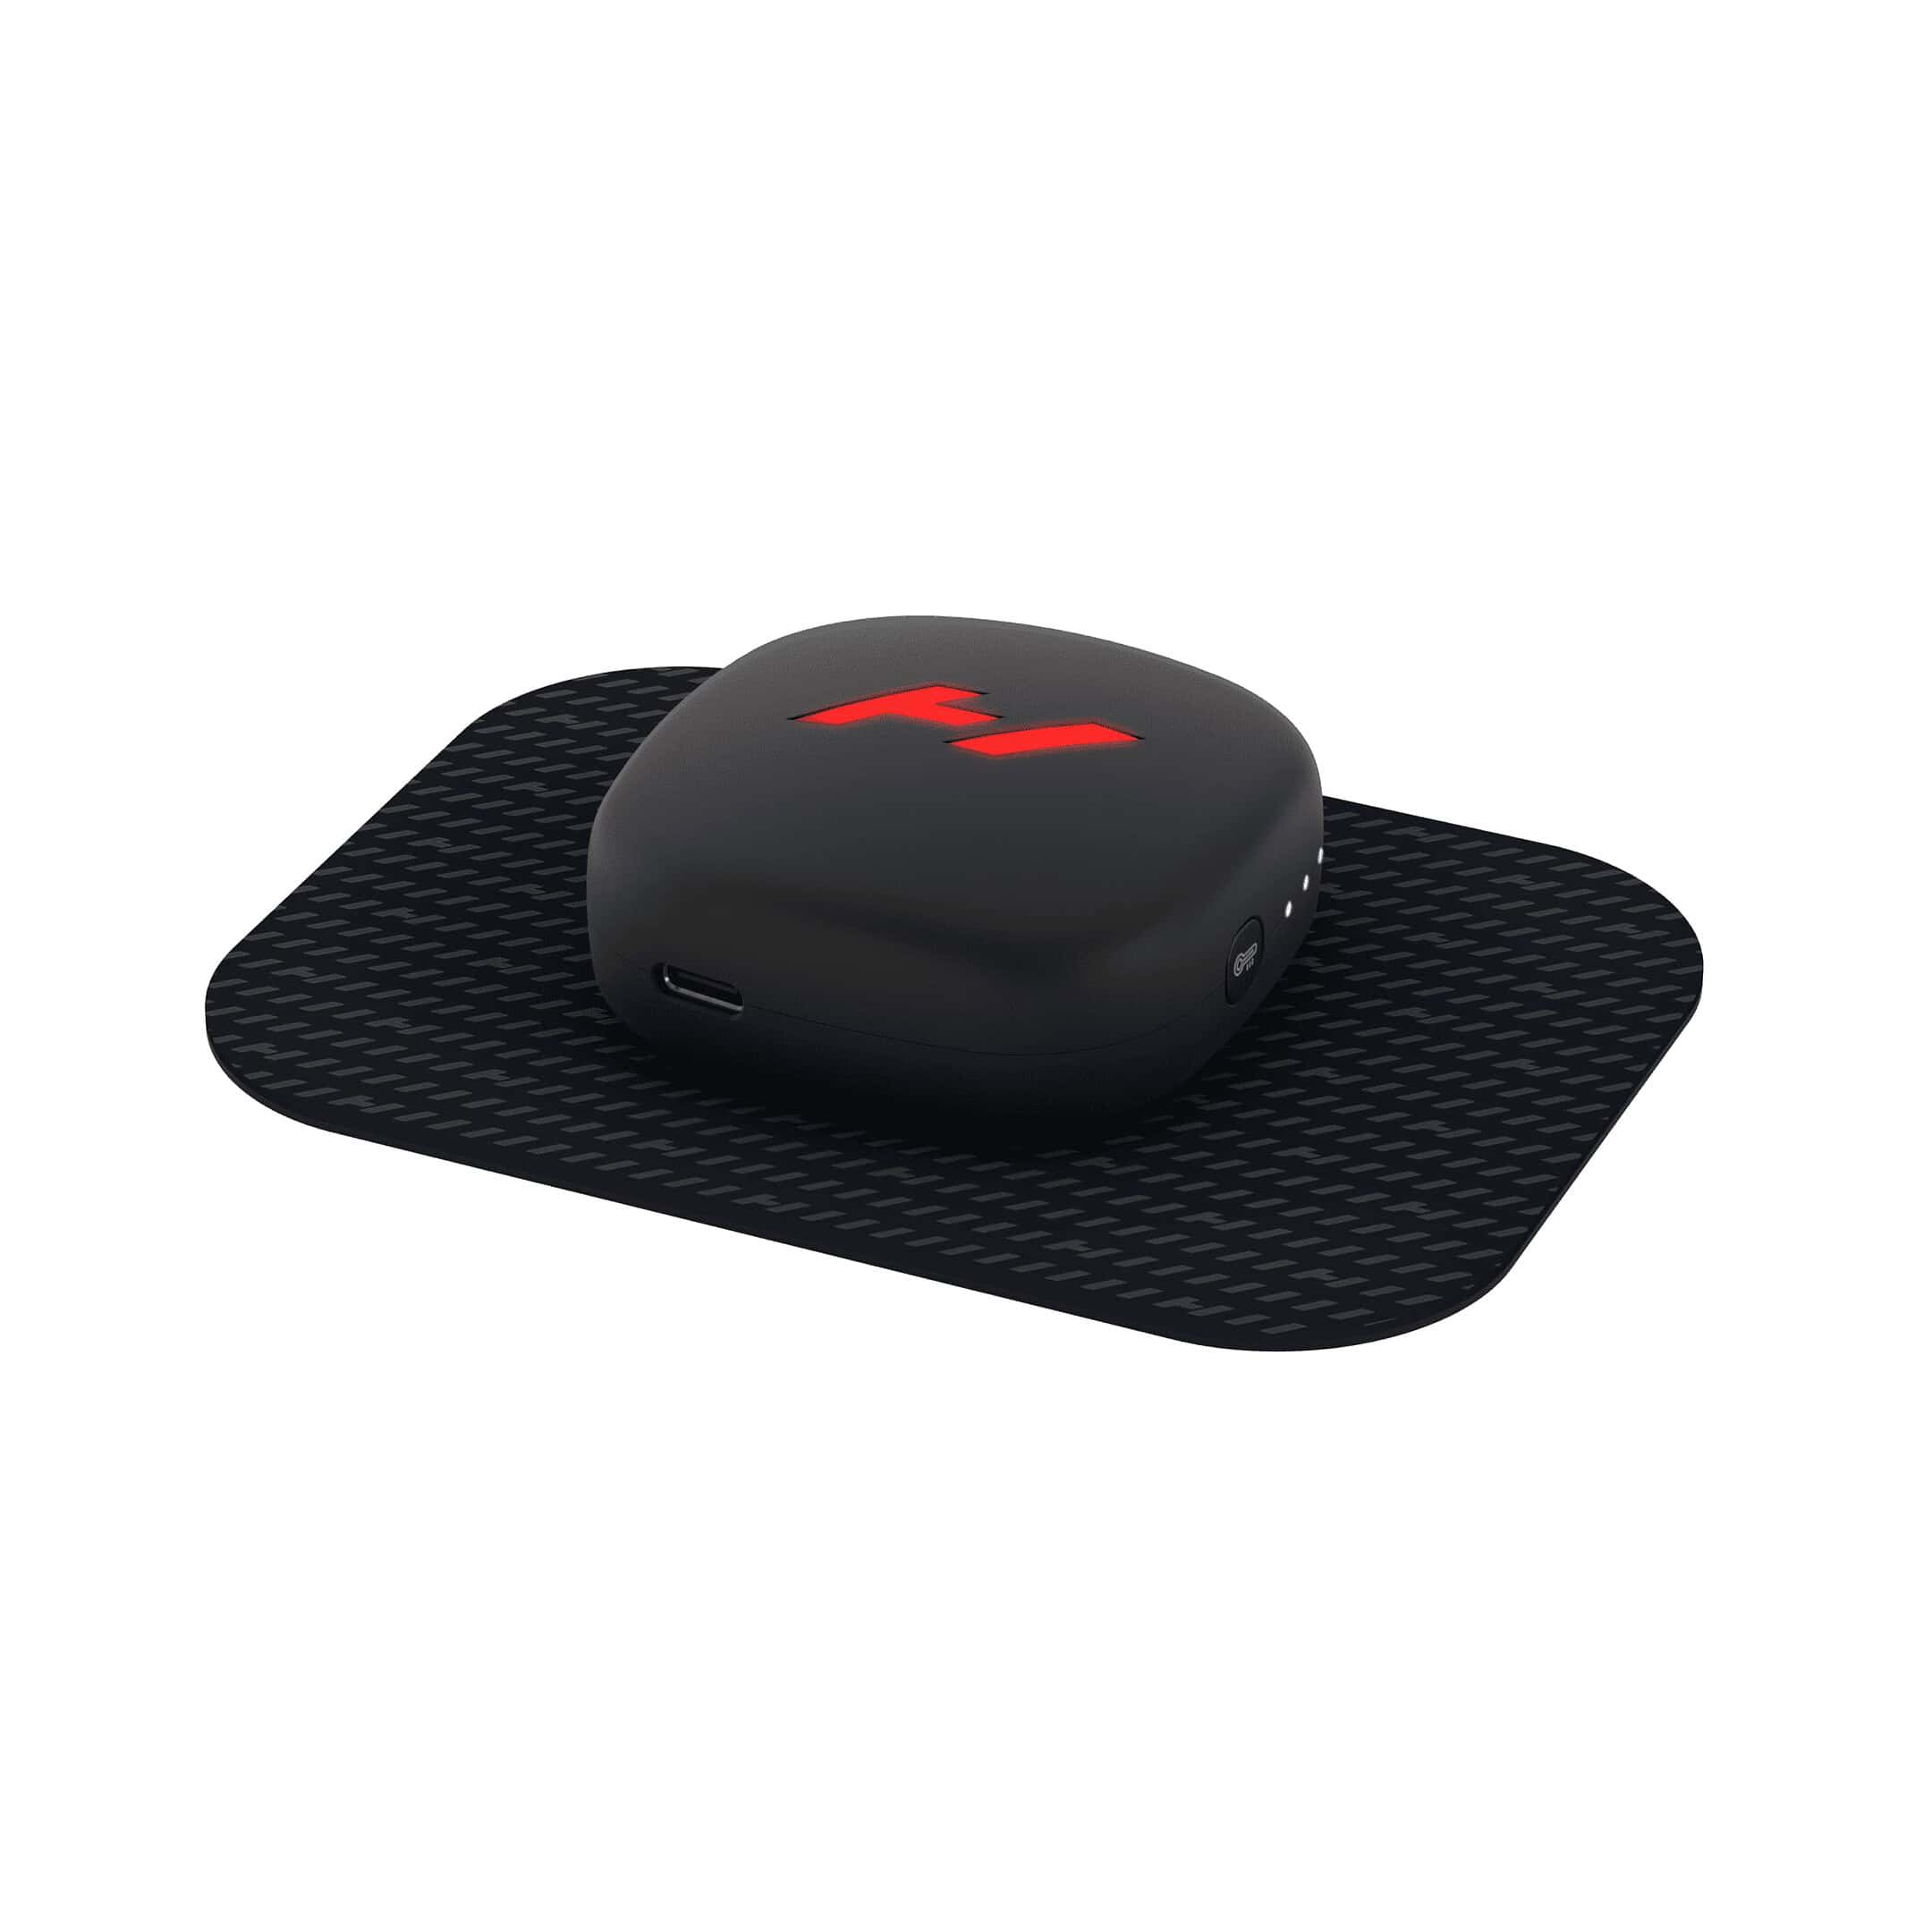
The Venom Go device by Hyperice offers heat and vibration therapy for muscle relief. Sometimes users encounter issues with their device. To troubleshoot your Venom Go, first ensure it’s fully charged and unplugged from the charger before use.
If your Venom Go won’t turn on, hold the power button for 5 seconds until the screen lights up. For operation issues, check that the pod is properly connected to the adhesive pad. The device should start automatically when connected.
You can adjust heat and vibration settings at any time. To disable either function, cycle through the settings or hold the button for 1 second. If problems persist, try cleaning the device with a damp cloth while powered off.
| Issue | Solution |
|---|---|
| Won’t turn on | Hold power button 5 seconds |
| No heat/vibration | Check pod connection |
| Change settings | Cycle or hold buttons |
| Unresponsive | Clean with damp cloth |
Troubleshooting Your Hyperice Venom Go
The Hyperice Venom Go is a wearable device that combines heat and vibration to help relieve muscle pain and stiffness. If you’re having trouble with your Venom Go, here are some troubleshooting steps you can try:
Venom Go Won’t Turn On
- Charge the device: Make sure the Venom Go is adequately charged. Connect it to the charger and allow it to charge for the recommended time.
- Check the charging cable and adapter: Ensure the charging cable is securely connected to both the device and the adapter, and that the adapter is plugged into a working wall outlet. Try a different cable and adapter if you have one.
- Try a hard reset: Press and hold the power button for 10-15 seconds to see if the device restarts.
Venom Go Not Connecting to the App
- Ensure Bluetooth is enabled: Make sure Bluetooth is turned on in your phone’s settings.
- Check the app permissions: Make sure the Hyperice app has the necessary permissions to access Bluetooth.
- Force close and reopen the app: Close the Hyperice app completely and then reopen it.
- Reinstall the app: Try uninstalling and reinstalling the Hyperice app from your phone’s app store.
- Check for app updates: Make sure you have the latest version of the Hyperice app installed.
Venom Go Not Heating Up
- Check the heat setting: Make sure the heat setting is turned on and set to the desired level in the app.
- Ensure proper skin contact: The Venom Go needs to be in direct contact with your skin to heat up effectively. Make sure it’s positioned correctly and that clothing isn’t obstructing the heat pads.
- Try a different placement: Experiment with placing the Venom Go on different areas of your body to see if it heats up properly in other locations.
Venom Go Vibration Not Working
- Check the vibration setting: Make sure the vibration setting is turned on and set to the desired level in the app.
- Ensure the device is securely attached: Make sure the Venom Go is securely attached to your body and that the pods are making good contact with your skin.
General Troubleshooting Tips
- Clean the device: Make sure the device and the pods are clean and free of any debris that might interfere with their function.
- Consult the user manual: Refer to the user manual for more specific troubleshooting steps and information about your device.
- Contact Hyperice support: If you’ve tried all the troubleshooting steps and are still having problems, contact Hyperice customer support for assistance.
| Issue | Possible Solutions |
|---|---|
| Won’t Turn On | Charge the device, check the charging cable and adapter, try a hard reset. |
| Not Connecting to App | Ensure Bluetooth is enabled, check app permissions, force close and reopen the app, reinstall the app, check for app updates. |
| Not Heating Up | Check the heat setting, ensure proper skin contact, try a different placement. |
| Vibration Not Working | Check the vibration setting, ensure the device is securely attached. |
| General Troubleshooting | Clean the device, consult the user manual, contact Hyperice support. |
Hyperice Venom Go vs. Hyperice Venom 2
If you’re considering a Hyperice Venom product, you might be wondering about the differences between the Venom Go and the Venom 2. Here’s a quick comparison:
- Portability: The Venom Go is smaller and more portable than the Venom 2, making it easier to take with you on the go.
- Heat and Vibration: Both devices offer heat and vibration therapy, but the Venom 2 has more intense vibration and a larger heating area.
- App Integration: Both devices can be controlled with the Hyperice app, allowing you to customize the heat and vibration settings.
- Price: The Venom Go is typically less expensive than the Venom 2.
Ultimately, the best choice for you will depend on your individual needs and preferences. If you prioritize portability, the Venom Go is a great option. If you need more intense heat and vibration, the Venom 2 might be a better choice.
Getting Started with Venom Go
The Venom Go device offers heat and vibration therapy for targeted relief. Users can easily set up and operate the pod with a few simple steps.
Unboxing and Initial Setup
Your Venom Go package contains the pod, adhesive pads, and a charging cable. Remove all items from the box. Charge the pod fully before first use. Connect the charging cable to the pod and plug it into a power source. The Hyperice logo will illuminate red when charging.
Once charged, peel an adhesive pad from its liner. Place it on the desired body part. The pod attaches magnetically to the pad. Press the power button to turn on the device.
Understanding Your Venom Go Pod
The Venom Go pod features intuitive controls for heat and vibration. Here’s a quick guide:
| Button | Function |
|---|---|
| Power | On/Off |
| Heat | 3 levels |
| Vibration | 3 patterns |
Press the heat button to cycle through temperature settings. The vibration button toggles different patterns. You can use heat and vibration separately or together.
The device turns off automatically after 10 minutes. Restart as needed for longer sessions. To clean, ensure the pod is off and detached from the charger. Wipe with a damp cloth.
Optimizing Usage
Proper usage of the Venom Go device enhances its effectiveness for pain relief and muscle recovery. Selecting the right settings maximizes benefits during each session.
Selecting the Right Vibration Pattern
The Venom Go offers three vibration modes to suit your needs. To choose the best pattern:
- Start with the lowest intensity and gradually increase.
- Use steady vibrations for general muscle relaxation.
- Try pulsing patterns for deeper tissue massage.
- Experiment with different modes to find what works best for you.
Adjust the vibration by pressing the button on the pod until you reach your desired level. Remember, stronger isn’t always better. Choose a setting that feels comfortable and effective for your body.
Maximizing Heat Functionality
Heat therapy can significantly enhance your Venom Go experience. To get the most from this feature:
- Allow the device to warm up fully before use.
- Place the pad directly on clean, dry skin for optimal heat transfer.
- Use heat in conjunction with vibration for enhanced results.
You can disable the heat function if desired by cycling through settings until the LED turns off. For safety, the device automatically shuts off after 10 minutes. Restart as needed for longer sessions.
| Feature | Benefit | Usage Tip |
|---|---|---|
| Vibration | Muscle relaxation | Start low, increase gradually |
| Heat | Improved blood flow | Use with vibration for best results |
| Auto-shutoff | Safety | Restart for extended sessions |
Venom Go Connectivity
Connecting your Venom Go device is crucial for optimal performance and customization. The following subsections cover pairing with the Hyperice app and troubleshooting Bluetooth issues.
Pairing with the Hyperice App
To pair your Venom Go with the Hyperice app:
- Download the Hyperice app from your device’s app store.
- Turn on Bluetooth on your smartphone.
- Power on your Venom Go device.
- Open the Hyperice app and follow the prompts to add a new device.
- Select Venom Go from the list of available devices.
- Confirm the pairing when prompted.
Once paired, you can adjust heat and vibration settings, track usage, and access custom programs through the app.
Bluetooth Troubleshooting
If you encounter Bluetooth connectivity issues:
- Ensure your Venom Go is charged and powered on.
- Check that Bluetooth is enabled on your smartphone.
- Restart both your Venom Go and smartphone.
- Clear the Bluetooth cache on your phone.
- Forget the Venom Go device in your phone’s Bluetooth settings and try pairing again.
If problems persist, try the following:
| Issue | Solution |
|---|---|
| Device not found | Move closer to your Venom Go |
| Connection drops | Update your phone’s operating system |
| Pairing fails | Reset the Venom Go by holding the power button for 10 seconds |
Contact Hyperice support if these steps don’t resolve your connectivity issues.
Frequently Asked Questions
The Hyperice Venom Go device may encounter various issues during use. These common questions address resetting, battery replacement, charging problems, temperature errors, and battery life.
What steps are involved in resetting the Hyperice device?
To reset your Hyperice Venom Go, press and hold the power button for 10 seconds. Release the button when the LED lights flash. This process clears any temporary glitches and restores default settings.
How can I replace the battery in my Hyperice Venom Back?
The Hyperice Venom Back has a built-in rechargeable battery. You cannot replace it yourself. If you experience battery issues, contact Hyperice customer support for assistance or warranty information.
What should I do if my Hyperice Venom 2 is not charging?
Check the charging cable and power source. Ensure the cable is properly connected to both the device and a working outlet. If issues persist, try a different cable or power adapter. Clean the charging port gently with a dry cotton swab.
What is the correct procedure for addressing a temperature error on my Hyperice Venom 2?
If you see a temperature error, turn off the device immediately. Let it cool down for 30 minutes in a well-ventilated area. Avoid using the device in extreme temperatures. If the error persists after cooling, contact Hyperice support.
How long is the expected battery life for the Hyperice Venom?
The Hyperice Venom’s battery life varies based on usage. On average, it lasts about 10 minutes per session. Fully charge the device before each use for optimal performance. With proper care, the battery should last for several years.
Where can I find the troubleshooting pdf for Hyperice Venom Go?
You can find the troubleshooting PDF on the official Hyperice website. Visit their support section and look for product manuals. If not available online, contact Hyperice customer service directly for the most up-to-date troubleshooting guide.
| Issue | Quick Fix |
|---|---|
| Device not turning on | Charge for 30 minutes |
| Weak vibration | Check battery level |
| No heat | Ensure heat setting is on |
| App connection issues | Restart device and app |
| Sticky adhesive pad | Clean with warm water |


