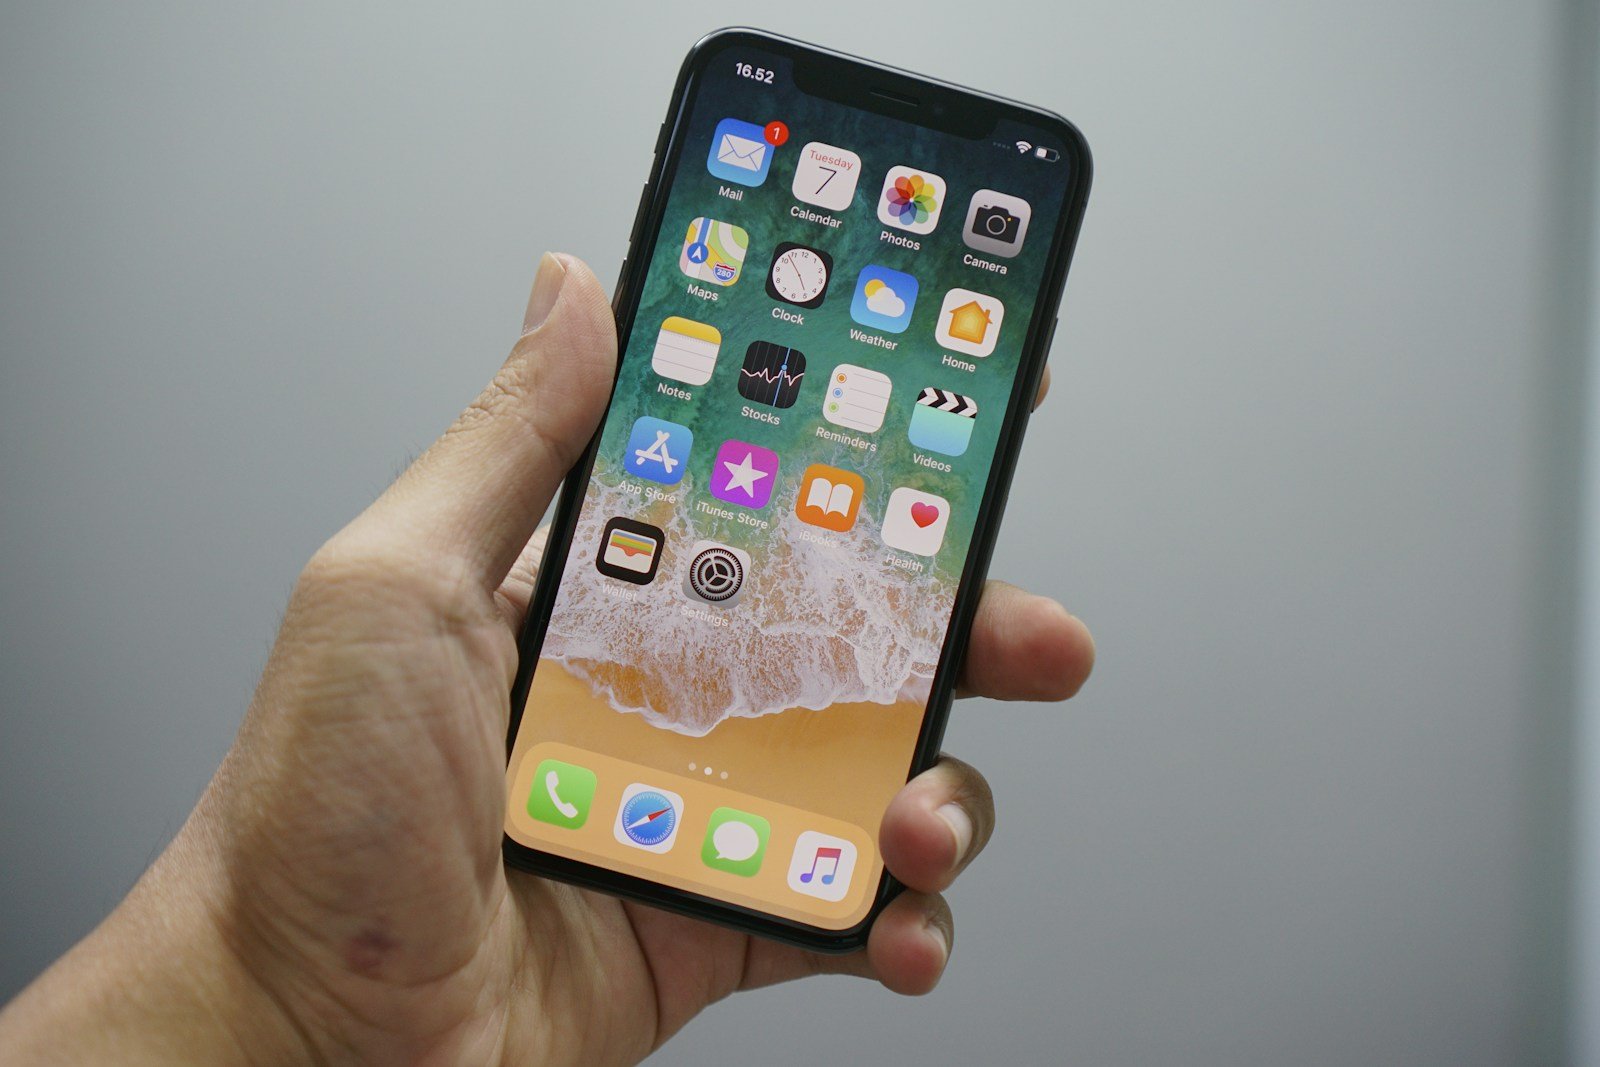
Many iPhone users face the “Preparing to Transfer” screen when moving data from an old device to a new one. This screen can sometimes get stuck which causes frustration. Common solutions to this problem include checking for iOS updates on both devices, ensuring a stable internet connection, and verifying your Apple ID. These steps can often help to resolve the issue quickly and effectively.
Some users have had success by resetting network settings or restarting the process several times. It’s also important to make sure that both iPhones are close to each other during the transfer. Patience is key because large amounts of data can take time to transfer.
For those trying to transfer large amounts of data, using Quick Start may be helpful. This method can streamline the transfer process. It’s important to keep both iPhones plugged into power sources to avoid interruptions.
iPhone “Preparing to Transfer”: A Comprehensive Guide
When setting up a new iPhone, Apple’s Quick Start feature makes it easy to transfer your apps, data, and settings from your old device. However, many users get stuck on the “Preparing to Transfer” screen — a step that can sometimes take much longer than expected.
If your iPhone seems frozen or stuck during this process, don’t worry. This guide will explain what “Preparing to Transfer” means, why it happens, and how to fix it so your data moves smoothly to your new iPhone.
📦 What Does “Preparing to Transfer” Mean?
When you see “Preparing to Transfer”, your iPhone is getting ready to move all your data — including apps, photos, messages, and settings — to your new device.
During this stage, your iPhone:
- Verifies both devices are connected and compatible
- Checks for software updates
- Organizes and compresses your data for transfer
- Ensures your Wi‑Fi or cable connection is stable
Depending on your data size and connection speed, this process can take anywhere from a few minutes to over an hour.
⚙️ Step-by-Step: How to Transfer Data Between iPhones
Before troubleshooting, let’s review the correct way to transfer data using Quick Start.
1. Prepare Both Devices
- Make sure both iPhones are charged and connected to Wi‑Fi.
- Turn on Bluetooth on both devices.
- Place them close together.
2. Start Quick Start
- Turn on your new iPhone and place it near your old one.
- The Quick Start screen appears on your old iPhone.
- Tap Continue and scan the animation with your old iPhone’s camera.
- Follow the on‑screen instructions to set up Face ID or Touch ID.
3. Choose Transfer Method
You’ll see two options:
- Transfer from iPhone: Moves data directly between devices.
- Download from iCloud: Restores from an iCloud backup.
If you choose Transfer from iPhone, your devices will display “Preparing to Transfer” before data migration begins.
⏱️ Why “Preparing to Transfer” Takes So Long
If your iPhone seems stuck, it’s usually due to one of these reasons:
| Cause | Explanation |
|---|---|
| Large amount of data | Lots of photos, videos, and apps can slow down the preparation stage. |
| Weak Wi‑Fi connection | A poor or unstable network can delay device pairing and data verification. |
| Outdated software | Both devices must be running the latest iOS version. |
| Low battery or overheating | The process may pause if either iPhone overheats or runs low on power. |
| Background apps | Open apps can interfere with the transfer process. |
🧭 How to Fix iPhone Stuck on “Preparing to Transfer”
If your iPhone has been stuck for more than 30–60 minutes, try these fixes:
1. Check Wi‑Fi and Bluetooth
- Make sure both devices are connected to the same Wi‑Fi network.
- Disable and re‑enable Bluetooth on both phones.
- Move closer to your router to ensure a strong signal.
2. Restart Both iPhones
- Press and hold the Side button + Volume Down (or Home button on older models).
- Slide to power off both iPhones.
- Wait 30 seconds, then turn them back on and retry the transfer.
3. Update iOS on Both Devices
- Go to Settings → General → Software Update.
- Install any available updates before retrying Quick Start.
4. Free Up Storage Space
If your old iPhone is nearly full, the transfer can slow down.
- Go to Settings → General → iPhone Storage.
- Delete unnecessary apps, videos, or files.
5. Try a Wired Transfer
For faster, more reliable results:
- Connect both iPhones using a Lightning to USB‑C or Lightning to USB 3 adapter and cable.
- Follow the same Quick Start steps.
Wired transfers are usually 2–3× faster and less prone to Wi‑Fi issues.
6. Use iCloud Backup Instead
If Quick Start continues to fail:
- On your old iPhone, go to Settings → [Your Name] → iCloud → iCloud Backup → Back Up Now.
- On your new iPhone, choose Restore from iCloud Backup during setup.
- Sign in with your Apple ID and select the latest backup.
7. Reset Network Settings
If connectivity seems to be the issue:
- Go to Settings → General → Transfer or Reset iPhone → Reset → Reset Network Settings.
Then reconnect to Wi‑Fi and retry the transfer.
🧰 Alternative Transfer Options
If Quick Start isn’t working, you can also:
- Use Finder or iTunes:
Connect your old iPhone to a Mac or PC, create an encrypted backup, then restore it to your new iPhone. - Use iCloud Drive or AirDrop:
Manually move specific files or photos if you don’t need a full transfer.
🔒 Before You Begin: Important Tips
- Keep both iPhones plugged in during the transfer to prevent interruptions.
- Do not use either phone during the process.
- Turn off Low Power Mode — it can pause background tasks.
- Be patient: Large data sets (especially photos and videos) can take time to prepare.
📘 Summary
| Issue | Solution |
|---|---|
| Stuck on “Preparing to Transfer” | Restart both iPhones and check Wi‑Fi/Bluetooth. |
| Transfer too slow | Try a wired transfer or use iCloud backup. |
| Transfer fails repeatedly | Update iOS or reset network settings. |
| Low storage or battery | Free up space and keep both devices plugged in. |
🔗 Helpful Resources
- Apple Support: Use Quick Start to transfer data to a new iPhone
- Apple Support: If your iPhone or iPad won’t transfer data
✅ Final Thoughts
The “Preparing to Transfer” message is a normal part of the iPhone setup process — but if it gets stuck, a few quick adjustments can get things moving again.
Always ensure both devices are updated, charged, and connected to strong Wi‑Fi. If all else fails, an iCloud or computer backup provides a reliable alternative.
Once the transfer completes, your new iPhone will look and feel exactly like your old one — with all your apps, settings, and memories intact.
Key Takeaways
- Common fixes include updating iOS and checking internet connection.
- Resetting network settings or restarting the process may help.
- Using Quick Start can make transferring data easier.
Preparing Your Devices for Transfer
Before transferring data, it is important to prepare both the old and new iPhones properly. This involves checking compatibility, backing up data, and troubleshooting any issues that might arise during the process.
Ensuring Compatibility and Backup
First, ensure that both iPhones are running the latest iOS version. Update your devices if necessary by going to Settings > General > Software Update. Both phones must have enough storage space to handle the transfer. An iCloud or iTunes backup of the old iPhone should be done as a safety measure to prevent data loss. Connect to a stable Wi-Fi network before starting the backup to save time.
Using Quick Start for Data Migration
Quick Start is a feature that helps transfer data wirelessly from one iPhone to another. Place both devices close to each other and connect them to the same Wi-Fi network. Turn on Bluetooth and follow the on-screen instructions on your new iPhone. The old iPhone will show a prompt to use your Apple ID for the setup. Confirm, then use the camera to scan the animation on the new iPhone. Complete the setup by entering passwords and settings. This method is ideal for transferring large files and information like Face ID and Touch ID data.
Troubleshooting Common Issues
Sometimes, the iPhone transfer process can get stuck on “Preparing to Transfer.” If this happens, try resetting the network settings by going to Settings > General > Reset > Reset Network Settings. Keep both devices close and on the same network. If poor internet speed is an issue, connecting both devices to a reliable Wi-Fi can help. Restarting both iPhones or updating the software can resolve minor bugs. If all else fails, restarting the transfer process altogether can be a solution. Consult Apple Support for persistent software issues. They can provide further assistance to ensure a smooth transfer process.


