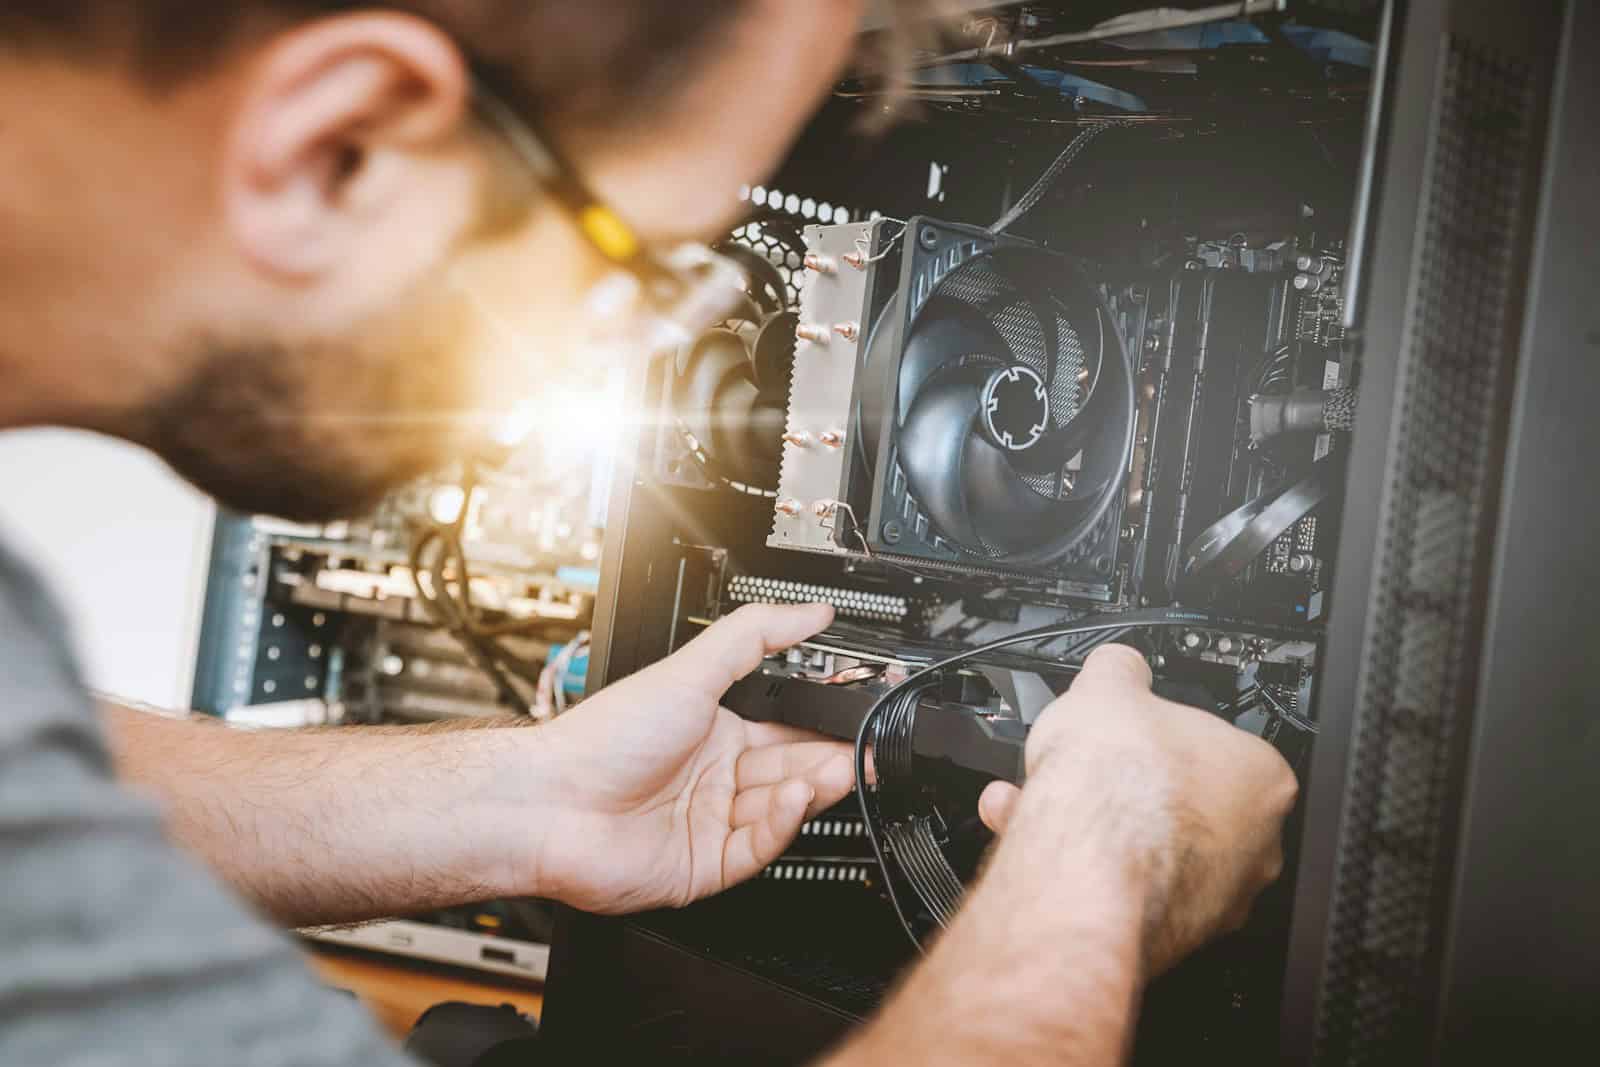
Installing a new graphics card can significantly boost your computer’s performance, especially for gaming and graphic-intensive tasks. Upgrading your GPU is a straightforward process that most PC users can handle with basic tools and knowledge. The key steps involve turning off your computer, opening the case, removing the old card if present, inserting the new card into the PCIe slot, and connecting the power cables.
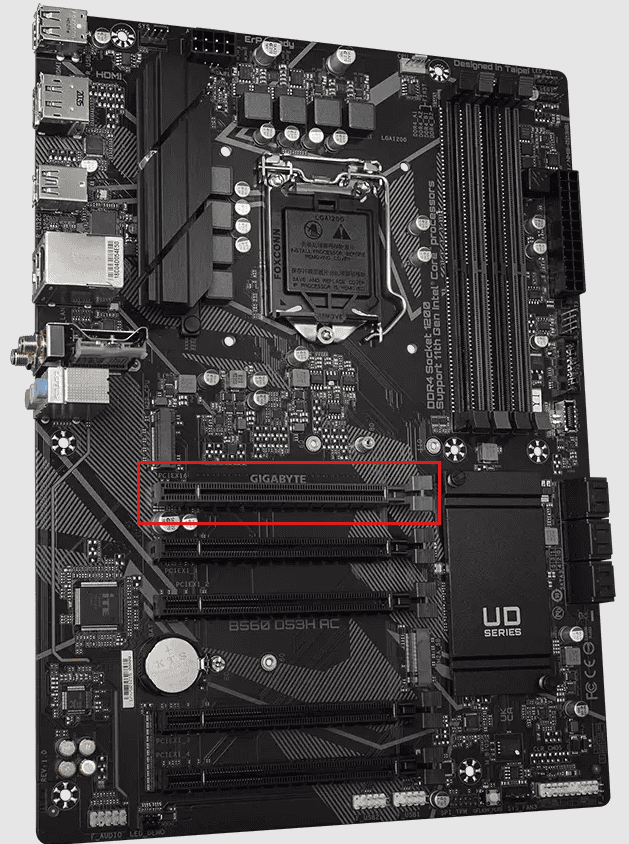
Before you start, make sure you have the right card for your system and power supply. Check your motherboard’s manual to find the correct PCIe slot. It’s also a good idea to clean out any dust in your case to ensure proper airflow for your new card.
Once installed, don’t forget to update your drivers. This final step is crucial for getting the best performance from your new graphics card. With the right preparation and careful handling, you’ll be enjoying improved graphics in no time.
Upgrading Your Graphics: A Guide to Video Card Installation
Before You Begin
- Safety First: Turn off your computer and unplug it from the power outlet. Ground yourself to prevent static electricity damage by touching a metal object.
- Gather Your Tools: You’ll need a Phillips-head screwdriver and possibly an anti-static wrist strap.
- Check Your Motherboard: Make sure your motherboard has a compatible PCIe slot for your new video card.
Step-by-Step Installation
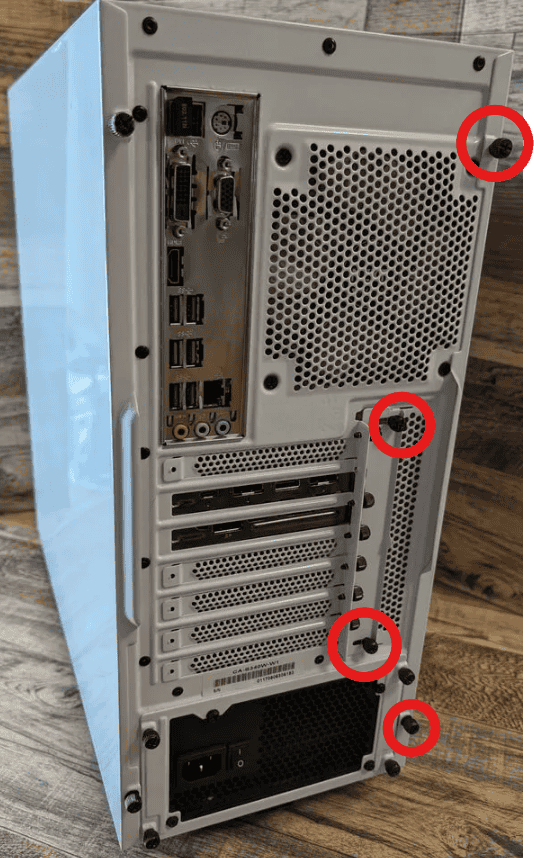
- Open Your Case: Remove the side panel of your computer case. You may need to consult your case’s manual for specific instructions.
- Remove the Old Card (if applicable): If you have an existing video card, uninstall it. Unscrew the card from the case and gently push down on the tab at the end of the PCIe slot to release it.
- Prepare the New Card: Remove your new video card from its anti-static packaging. If it has any protective covers or films, remove those as well.
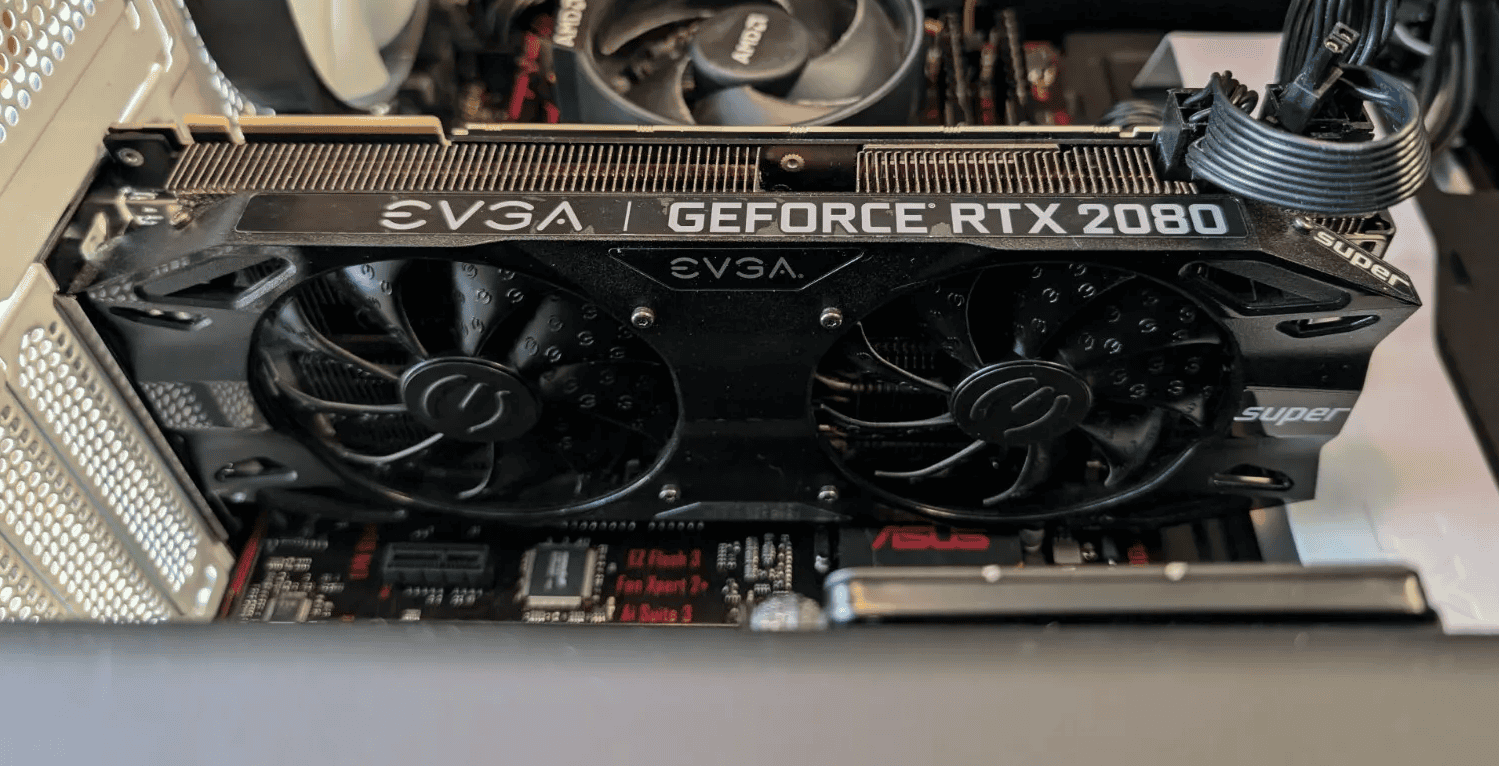
- Install the New Card: Align the video card’s connector with the PCIe slot on your motherboard. Push it straight down until it clicks into place. Secure the card to the case with screws.
- Connect Power Cables: Most modern video cards require additional power from your power supply. Connect the appropriate cables from your power supply to the card.
- Close Your Case: Replace the side panel of your computer case.
- Connect Your Monitor: Plug your monitor cable into the video card’s output port.
- Power On and Install Drivers: Turn on your computer and install the latest drivers for your new video card. You can usually find these on the manufacturer’s website.
Key Takeaways
- Turn off and unplug your PC before installing the new graphics card
- Insert the card firmly into the correct PCIe slot and connect power cables
- Update drivers after installation for optimal performance
Preparing for Installation
Proper preparation is crucial for a successful graphics card installation. It ensures compatibility, safety, and a smooth process. Let’s explore the key steps to get ready.
Compatibility and Safety
Check your PC’s power supply wattage. Most modern GPUs need at least 500W. Verify your motherboard has a free PCIe x16 slot. Measure your case to make sure the new card fits. Look up the card’s length and compare it to your case specs.
Turn off your PC and unplug it from the wall. Ground yourself by touching a metal object or wearing an anti-static wristband. This prevents damage from static electricity.
Gathering the Necessary Tools
Collect the tools you’ll need before starting. A Phillips head screwdriver is essential for removing case screws and old GPU brackets. Keep the new GPU’s driver disc handy, or plan to download the latest drivers from the manufacturer’s website.
Have a clean, well-lit workspace ready. Keep a small container nearby for loose screws. Make sure you have the right power cables from your PSU to connect to the new graphics card.

