
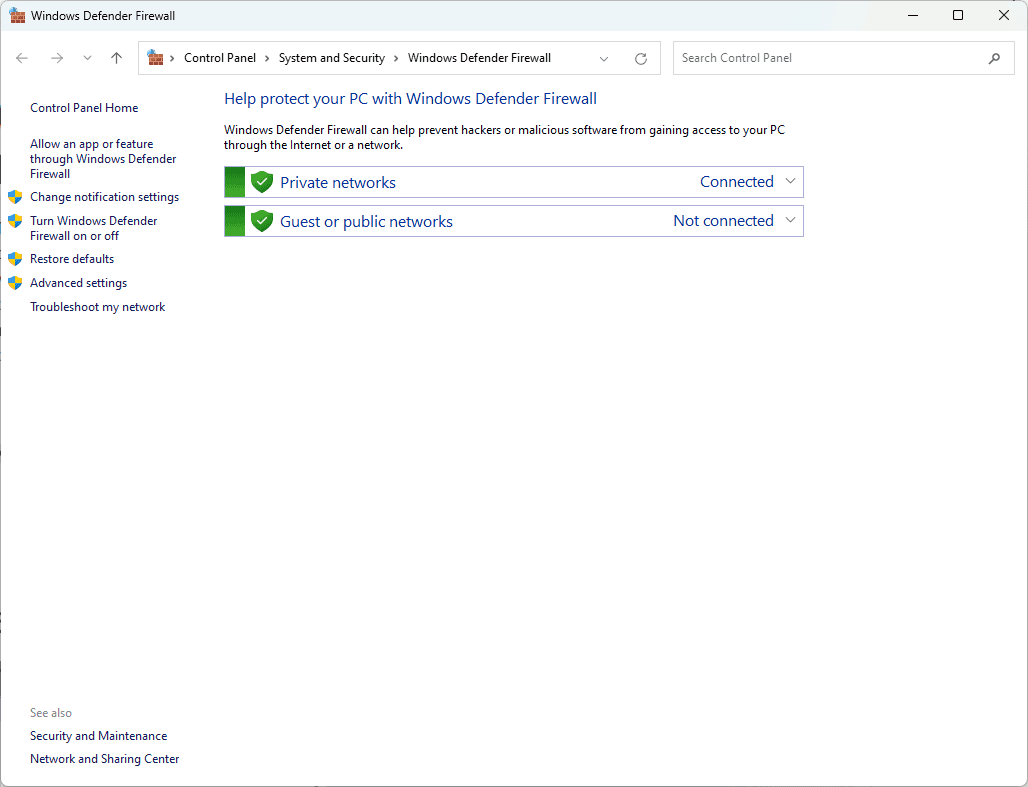
Microsoft Defender is a built-in antivirus solution for Windows 11 that offers real-time protection against threats. While it is useful for many users, some might prefer to disable it for various reasons. You can disable Microsoft Defender in Windows 11 through the Windows Security app by turning off real-time protection and other settings. This allows users to install third-party antivirus software or simply manage their own security settings.
Disabling Microsoft Defender is straightforward but requires careful steps to ensure your system remains secure. Some may need this for software compatibility or for specific system configurations. Understanding how to navigate these settings provides better control over your computer’s security.
By following the simple instructions, you can easily turn off Microsoft Defender. This guide will walk you through the process, making it easy and straightforward. Knowing how to disable this feature can enhance your computing experience by giving you the flexibility to choose your security options.
How To Turn Off Microsoft Defender in Windows 11 (Temporarily or Permanently)
Microsoft Defender is deeply integrated into Windows 11 as the default antivirus solution, offering real-time protection against threats. But there are times—such as when installing certain third-party apps or testing scripts—where you might need to disable it. Here’s exactly how to do it, step-by-step, depending on whether you want a short-term solution or a permanent change.
Temporarily Disable Microsoft Defender via Windows Security
If you just need to turn off Defender for a short period (e.g., during a software installation), this is the fastest and safest method.
- Open Settings
PressWin + Ito open the Settings panel. - Go to Privacy & Security > Windows Security
Click “Windows Security”, then select “Virus & threat protection”. - Open Virus & Threat Protection Settings
Under the Virus & threat protection section, click on “Manage settings.” - Turn Off Real-time Protection
Toggle Real-time protection to Off.
You may see a warning, but it’s safe to proceed if you know what you’re doing.
🕒 Note: Windows will automatically re-enable real-time protection after a reboot, so this method is temporary.
Permanently Disable Microsoft Defender via Group Policy Editor
If you’re using Windows 11 Pro or Enterprise, you can disable Microsoft Defender permanently using the Local Group Policy Editor. This is not available in Windows 11 Home unless modified.
⚠️ Use this method with caution. Disabling Defender permanently may expose your system to threats if no other antivirus is installed.
- Open Group Policy Editor
PressWin + R, typegpedit.msc, and press Enter. - Navigate to Defender Settings
Go to:Computer Configuration > Administrative Templates > Windows Components > Microsoft Defender Antivirus - Disable Defender
- Double-click “Turn off Microsoft Defender Antivirus”
- Set it to Enabled
- Click Apply, then OK
- Restart Your Computer
Defender should now be fully disabled, and won’t start back up on reboot.
Alternative: Use Registry Editor (For Advanced Users)
If you’re on Windows 11 Home, you can disable Defender through the Windows Registry—but proceed carefully.
- Open Registry Editor
PressWin + R, typeregedit, and press Enter. - Navigate to the Defender Registry Key
Go to:HKEY_LOCAL_MACHINE\SOFTWARE\Policies\Microsoft\Windows Defender- If “Windows Defender” doesn’t exist, right-click Policies, select New > Key, and name it
Windows Defender.
- If “Windows Defender” doesn’t exist, right-click Policies, select New > Key, and name it
- Create the DisableAntiSpyware DWORD
- Right-click in the right pane and select New > DWORD (32-bit) Value
- Name it
DisableAntiSpyware - Double-click it and set the value to
1
- Reboot Your System
Microsoft Defender should now be fully disabled.
🧯 To re-enable it, delete the
DisableAntiSpywareentry or change its value back to0.
Important Tips
- Install an alternative antivirus before disabling Defender permanently, or you’ll leave your system vulnerable.
- Windows updates may re-enable Defender or override your settings, especially after feature updates. Always double-check after major system updates.
- You can re-enable Defender at any time by reversing any of the steps above.
By following the method that suits your needs—temporary or permanent—you can control how and when Microsoft Defender runs on your Windows 11 system. Just be sure to weigh the risks and always keep some form of protection in place.
Key Takeaways
- Microsoft Defender can be disabled through the Windows Security app.
- This process allows for alternative antivirus software installation.
- Control over security settings enhances user flexibility.
Disabling Microsoft Defender through Windows Security Settings
Disabling Microsoft Defender can be done via the Windows Security app and Registry settings. Make sure you follow each step carefully to keep your computer settings as you want them.
Using the Windows Security App
Open the Windows Security App: Click on the Start menu and type Windows Security. Select the app from the search results.
Access Virus & Threat Protection: In the app, navigate to Virus & Threat Protection. Click on it to open detailed settings.
Manage Settings: Scroll down to find Manage Settings under Virus & Threat Protection Settings.
Disable Real-Time Protection: Toggle off Real-Time Protection. This will stop the antivirus from scanning files in real-time.
Turn Off Tamper Protection: Scroll down to find Tamper Protection. Toggle it off. This prevents Windows Defender from re-enabling itself after changes.
These steps will temporarily disable Microsoft Defender. To permanently disable it, changes in the Registry are needed.
Modifying Registry Settings
Open Registry Editor: Press
Win + R, typeregedit, and press Enter. This opens the Registry Editor.Navigate to the Key: Go to
HKEY_LOCAL_MACHINE\SOFTWARE\Policies\Microsoft\Windows Defender.Create New DWORD: Right-click in the right pane, select New > DWORD (32-bit) Value, and name it DisableAntiSpyware.
Set the Value: Double-click the new DWORD value and set its data to
1. Click OK to save.Close Registry Editor: Close the editor and restart your computer to apply the changes.
These Registry edits will disable Microsoft Defender from starting up, making it permanent until manually re-enabled.


