Find My iPhone is a powerful Apple security feature that helps locate lost or stolen devices. However, there are times when you may need to turn it off—such as before selling your iPhone, trading it in, sending it for repair, or troubleshooting Apple ID issues. This guide walks you through clear, up‑to‑date steps to turn off Find My iPhone, along with important tips and troubleshooting advice.
What You Need Before Turning Off Find My iPhone
Before you begin, make sure you have:
- Your Apple ID email and password
- Access to the iPhone you want to disable Find My on
- An internet connection (Wi‑Fi or cellular)
⚠️ Important: You cannot turn off Find My iPhone without your Apple ID password. This is part of Apple’s Activation Lock security.
Steps to Turn Off Find My iPhone (On the iPhone)
Follow these steps directly on your device:
- Open the Settings app
- Tap your name at the top (Apple ID banner)
- Select Find My
- Tap Find My iPhone
- Toggle Find My iPhone to Off
- Enter your Apple ID password
- Tap Turn Off to confirm
Once completed, Find My iPhone will be disabled for that device.
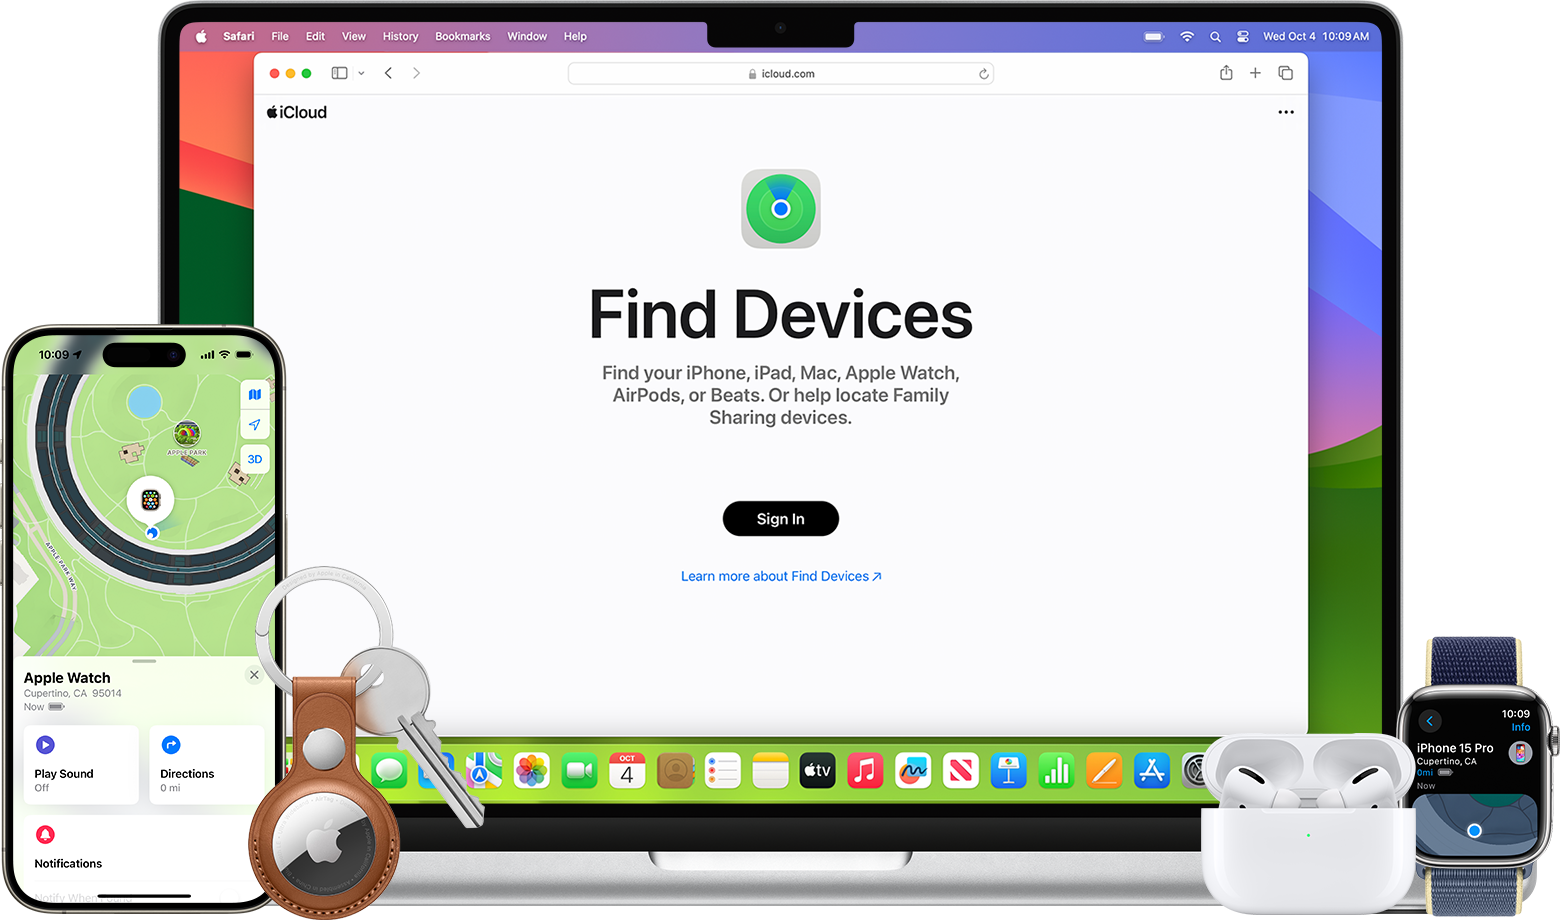
Steps to Turn Off Find My iPhone Using iCloud (If You Don’t Have the Phone)
If you no longer have access to the iPhone, you can turn off Find My remotely:
- Go to https://www.icloud.com
- Sign in with your Apple ID
- Click Find Devices
- Select the iPhone from the device list
- Choose Remove This Device (or Erase iPhone, then remove it)
- Confirm with your Apple ID password
This method is especially useful if you sold or gave away the device without disabling Find My first.
Why You Might Need to Turn Off Find My iPhone
Common reasons include:
- Selling or giving away your iPhone
- Trading in your device
- Sending the iPhone for repair
- Resetting the device for a new user
- Resolving Apple ID or iCloud issues
Apple requires Find My iPhone to be turned off before a device can be erased or reactivated by someone else.
What to Do If You Forgot Your Apple ID Password
If you can’t remember your password:
- Visit https://iforgot.apple.com
- Follow the on-screen steps to reset your password
- Sign in again and turn off Find My iPhone
Without the correct Apple ID credentials, Find My cannot be disabled.
Troubleshooting: Find My iPhone Won’t Turn Off
If you’re having trouble:
- Check Screen Time restrictions
Go to Settings → Screen Time → Content & Privacy Restrictions and ensure account changes are allowed. - Ensure you’re signed into the correct Apple ID
- Update iOS
Go to Settings → General → Software Update - Check Apple System Status
Temporary iCloud outages can prevent changes.
Frequently Asked Questions
Can I turn off Find My iPhone without an Apple ID password?
No. Apple does not allow this for security reasons.
Does turning off Find My iPhone erase my data?
No. It only disables tracking and Activation Lock. Your data remains unless you manually erase the device.
Should I turn off Find My before selling my iPhone?
Yes—this is essential. Otherwise, the new owner won’t be able to activate the device.
Final Thoughts
Knowing the correct steps to turning off Find My iPhone ensures a smooth transition when selling, repairing, or resetting your device. Always disable it before handing your iPhone to someone else, and make sure you remember your Apple ID credentials to avoid delays.
If you’d like help with erasing your iPhone, transferring data, or preparing it for resale, feel free to ask.


