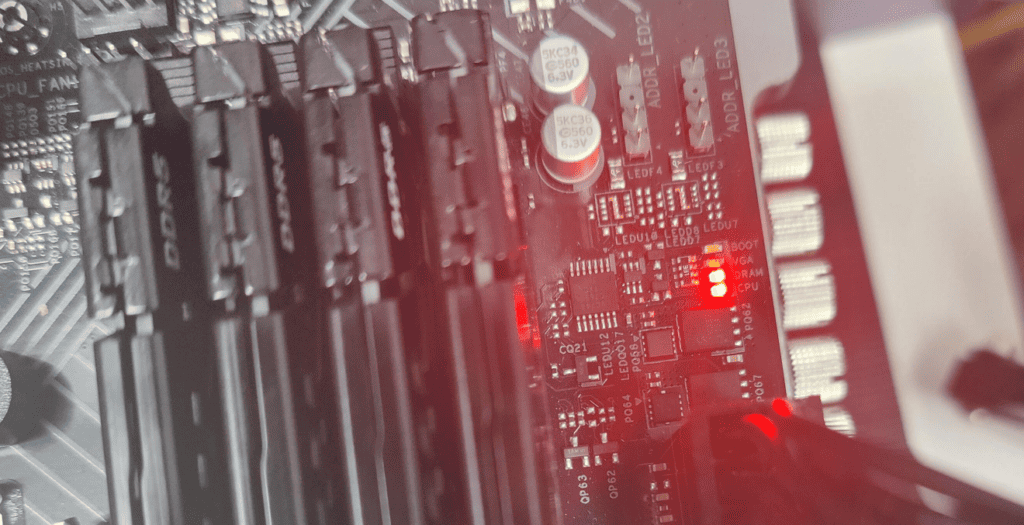
Motherboard lights play a crucial role in diagnosing computer issues. These small LEDs provide visual cues about the status of key components during startup and operation. Understanding what each light means can help users quickly identify and resolve hardware problems.
Modern motherboards often feature multiple indicator lights for different parts like the CPU, RAM, and graphics card. When a computer won’t boot, these lights can point to the source of the problem. For example, a red CPU light suggests an issue with the processor or its connection.
Checking the motherboard manual is essential for decoding these lights. The manual explains the meaning of each indicator and offers troubleshooting steps. This information can save time and frustration when dealing with startup failures or system instability.
Understanding Your Motherboard’s Light Show
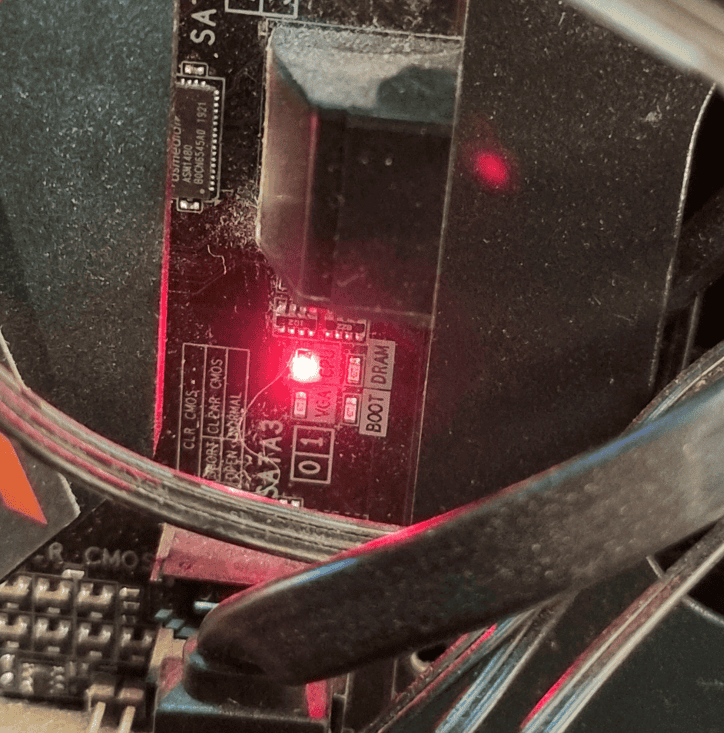
Motherboard lights can be pretty cool, but they aren’t just there for show. They can actually tell you a lot about what’s happening inside your computer. Think of them as your motherboard’s way of communicating with you. Different lights have different meanings, and they can help you troubleshoot problems or just keep an eye on things.
Common Motherboard Light Colors and Their Meanings
While the exact meaning of each light can vary depending on your motherboard’s make and model, here are some common colors and their typical interpretations:
- Red: This usually indicates a problem with a critical component, like the CPU, memory, or graphics card. It’s like your motherboard saying, “Hey, something’s wrong here!”
- Yellow/Orange: This often signals a less critical issue, maybe with a peripheral device or a setting in the BIOS. It’s a warning sign, but not necessarily a major problem.
- Green: This typically means everything is working as it should. It’s like a thumbs-up from your motherboard.
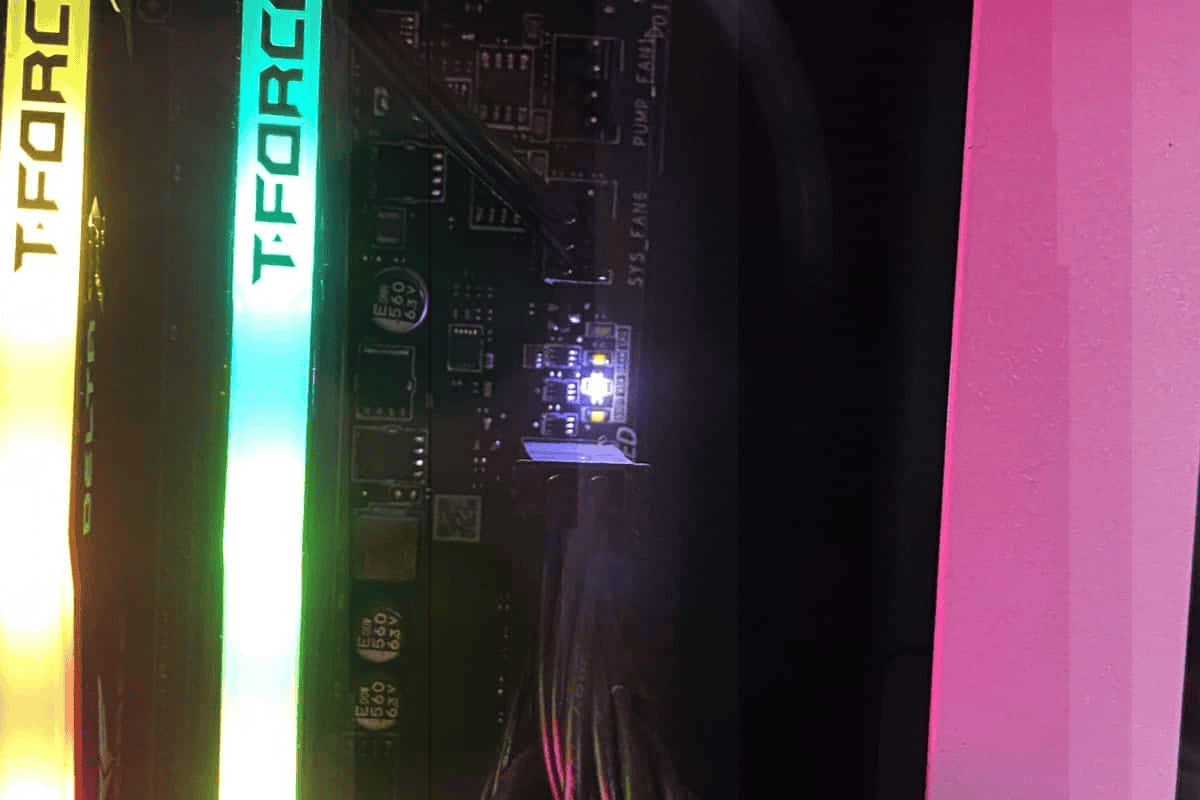
- White/Blue: These colors are often used to indicate activity on a particular component, like the hard drive or network connection. They show that data is being transferred.
Troubleshooting with Motherboard Lights
If you see a red light, don’t panic! Here’s what you can do:
- Check your manual: Your motherboard’s manual should have a detailed explanation of what each light means. It’s the best source for specific information about your model.
- Reseat components: Sometimes, a component might not be properly seated in its slot. Try reseating the CPU, memory, and graphics card to see if that fixes the problem.
- Check connections: Make sure all cables are securely connected to the motherboard and other components.
- Update your BIOS: An outdated BIOS can sometimes cause problems. Updating to the latest version might resolve the issue.
Beyond Basic Troubleshooting
If you’ve tried these steps and you’re still seeing a red light, it might be time to seek professional help. A computer technician can diagnose the problem and recommend a solution.
Motherboard Light Table
| Color | Possible Meaning |
|---|---|
| Red | Problem with CPU, memory, or graphics card |
| Yellow/Orange | Issue with a peripheral device or BIOS setting |
| Green | System is working properly |
| White/Blue | Activity on hard drive or network connection |
Remember that these are general guidelines, and the specific meanings of the lights can vary. Always consult your motherboard manual for the most accurate information.
Green Light on Motherboard: What Does It Mean?
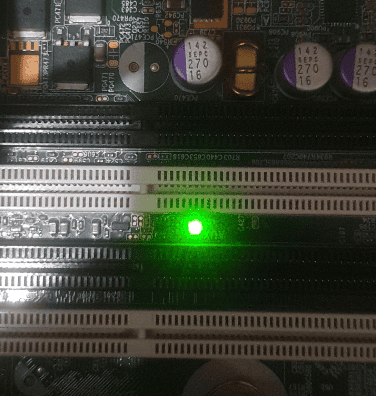
Seeing a green light on your motherboard is generally a good sign! It usually indicates that the system is working properly and has passed the Power-On Self-Test (POST). This means the basic components like the CPU, memory, and graphics card have been detected and are functioning correctly. Think of it as your motherboard giving you a “thumbs up” signal.
However, there can be some nuances with a green light, especially if you encounter other issues:
Green Light, But No Display
Sometimes, you might see a green light on your motherboard, but your monitor remains blank. This can be frustrating, but it usually points to a problem outside the core components. Here are some possible causes:
- Monitor issues: Make sure your monitor is turned on, the cables are properly connected, and the correct input source is selected.
- Graphics card problems: Even if the motherboard detects the graphics card, there might be an issue with the card itself or its connection to the monitor. Try reseating the card or testing with a different monitor.
- BIOS settings: Incorrect display settings in the BIOS can also cause this issue. Try resetting the BIOS to default settings.
Variations in Green Light Meaning
While a green light generally signals a healthy system, its exact meaning can vary slightly depending on the motherboard manufacturer and model. For instance:
- ASUS motherboards: A green light might indicate that the system is in standby mode or that a specific phase of the boot process has completed.
- MSI motherboards: A green light might signify that the system is ready to boot or that the power supply is working correctly.
Always refer to your motherboard manual for the precise interpretation of the green light on your specific model.
Troubleshooting a Green Light Issue
If you’re experiencing problems despite a green light, here are some troubleshooting steps you can take:
- Check all connections: Ensure all cables, especially those related to the display, are securely connected.
- Reseat components: Try reseating the graphics card, memory modules, and any other expansion cards.
- Clear CMOS: Resetting the BIOS to its default settings can sometimes resolve issues.
- Update BIOS: An outdated BIOS can occasionally cause problems. Updating to the latest version might help.
- Test with different components: If possible, try testing with a different monitor, graphics card, or memory modules to isolate the problem.
If you’ve exhausted these troubleshooting steps and still face issues, it’s advisable to seek professional help from a computer technician.
Orange Light on Motherboard: Meaning
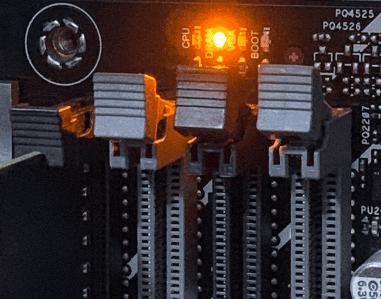
An orange light on your motherboard, sometimes appearing as amber or yellow, typically signals a less critical issue than a red light. It’s like your motherboard giving you a gentle nudge, saying, “Hey, something might need your attention here.” While not as urgent as a red light, it’s still worth investigating to prevent potential problems.
Common Causes of an Orange Light
The exact meaning of an orange light can vary depending on your motherboard manufacturer and model. However, some common causes include:
- Peripheral device issues: A problem with a connected device like a keyboard, mouse, or USB drive could trigger an orange light.
- BIOS settings: Incorrect or incompatible settings in the BIOS can also cause this.
- Power supply issues: Although less common, a minor power supply problem might manifest as an orange light.
- Boot process issues: An orange light might appear during the boot process if the system encounters a minor error but manages to continue booting.
Troubleshooting an Orange Light
If you see an orange light on your motherboard, here’s what you can do:
- Check your manual: Your motherboard manual is your best friend! It should have a detailed explanation of what each light means for your specific model.
- Inspect peripheral devices: Try disconnecting and reconnecting your keyboard, mouse, and other peripherals. If the light disappears, you’ve likely found the culprit.
- Review BIOS settings: If you recently changed any BIOS settings, try reverting them to their default values.
- Check power connections: Ensure all power cables are securely connected to the motherboard and other components.
- Update BIOS: An outdated BIOS can sometimes cause issues. Updating to the latest version might resolve the problem.
Orange Light with No Boot (ASUS Motherboards)
On some ASUS motherboards, an orange light, especially when accompanied by a failure to boot, can indicate a problem with the DRAM (memory). In such cases, try reseating the memory modules or testing with different modules to see if that resolves the issue.
Remember, an orange light is usually not a cause for major concern, but it’s a sign that something might need tweaking. By carefully investigating and addressing the issue, you can ensure your system runs smoothly and prevent potential problems down the line.
Red Light on Motherboard: When to Worry
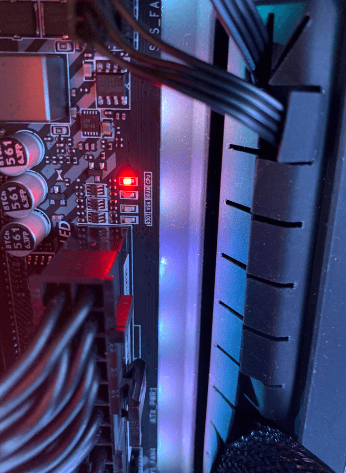
A red light on your motherboard is like a flashing alarm signal. It usually indicates a problem with a critical component, such as:
- CPU (Processor): The brain of your computer. A red light could mean it’s not detected, overheating, or malfunctioning.
- RAM (Memory): Essential for running programs. A red light could indicate faulty modules, incorrect installation, or incompatibility.
- Graphics Card: Responsible for displaying images. A red light might signal a problem with the card itself or its connection.
- Motherboard: In some cases, the red light might point to an issue with the motherboard itself.
Troubleshooting a Red Light
If you encounter a red light, don’t panic! Here’s a step-by-step approach:
- Consult your manual: Your motherboard manual will provide specific information about what the red light means on your model.
- Check power connections: Ensure all power cables are securely connected to the motherboard, CPU, and other components.
- Reseat components: Carefully remove and re-insert the CPU, RAM modules, and graphics card to ensure proper connection.
- Inspect for damage: Look for any visible damage to the components or the motherboard itself.
- Test with different components: If possible, try swapping out components (like RAM or graphics card) to see if the problem persists.
- Clear CMOS: Resetting the BIOS to default settings can sometimes resolve issues.
- Update BIOS: Ensure your BIOS is up-to-date, as outdated versions can cause compatibility problems.
If these steps don’t resolve the issue, it’s likely a hardware problem requiring professional assistance.
What does white light on motherboard mean?
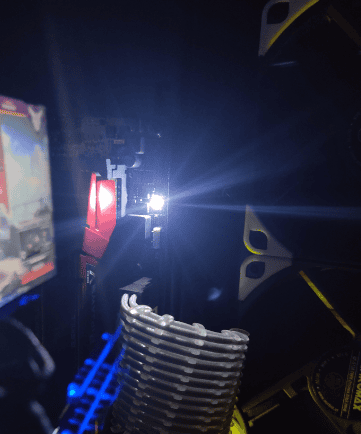
A white light on a motherboard usually indicates activity on a specific component or a particular stage in the boot process. For example, it might blink when the hard drive or SSD is being accessed. The exact meaning can vary depending on the motherboard, so it’s best to check your manual for a precise explanation.
Yellow Light on Motherboard
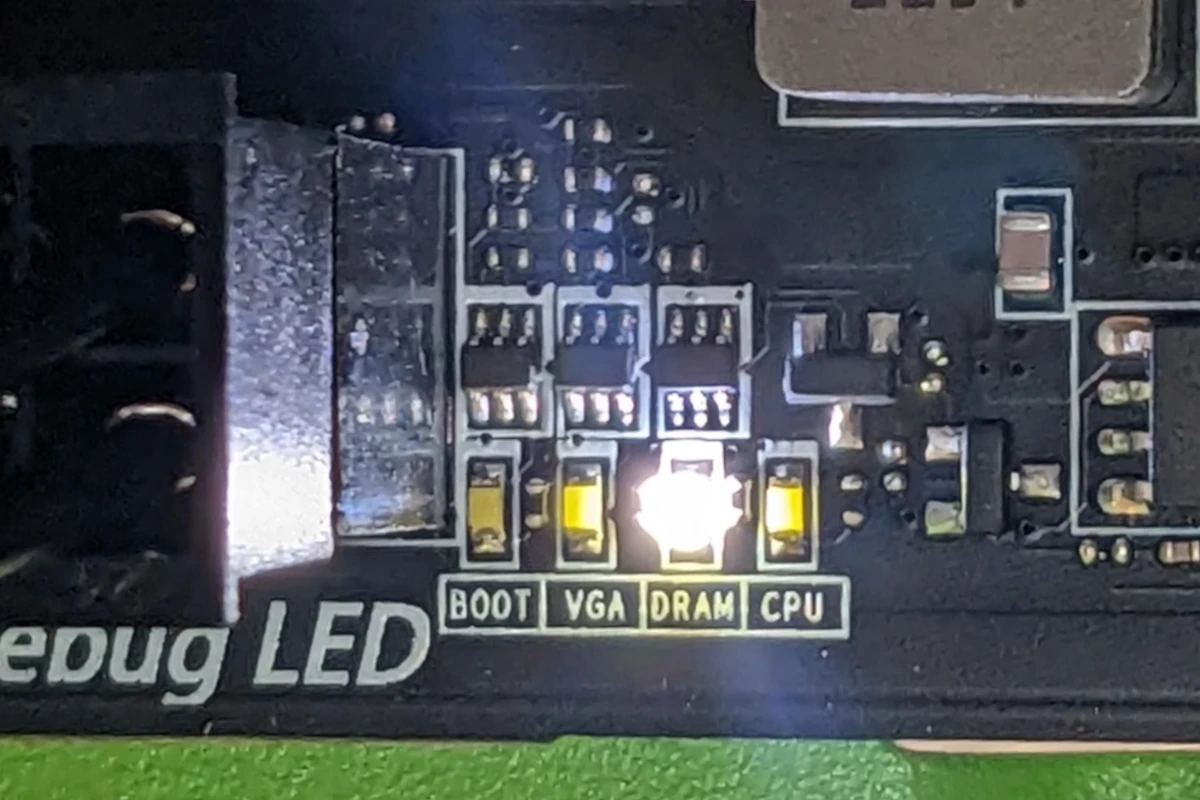
A yellow light on your motherboard, often appearing as orange or amber, is less severe than a red light. It acts as a warning, suggesting a potential issue that needs attention. Common causes include:
- Peripheral issues: Problems with connected devices like keyboard, mouse, USB drives, or external hard drives.
- BIOS settings: Incorrect or incompatible settings in the BIOS can trigger a yellow light.
- Storage drives: Issues with hard drives or SSDs might cause a yellow light.
- Minor power fluctuations: While not a major power supply problem, slight fluctuations might trigger this warning.
Troubleshooting a Yellow Light
To address a yellow light, follow these steps:
- Refer to your manual: Your motherboard manual will provide specific information about the yellow light’s meaning for your model.
- Check peripheral connections: Disconnect and reconnect peripherals to ensure proper connection.
- Review BIOS settings: Verify BIOS settings and revert any recent changes if necessary.
- Inspect storage drives: Ensure all drives are properly connected and functioning correctly.
- Check for updates: Update drivers for peripherals and BIOS to the latest versions.
If the yellow light persists, further investigation might be needed to pinpoint the exact cause. Remember that a yellow light is generally not a critical error, but addressing it promptly can prevent potential problems from escalating.
Key Takeaways
- Motherboard lights indicate the status of key hardware components
- Red lights often signal problems with specific parts like the CPU or RAM
- The motherboard manual provides crucial information for interpreting indicator lights
Understanding Motherboard Indicator Lights
Motherboard lights provide crucial information about a computer’s status and potential issues. These small LEDs help users identify problems quickly and take appropriate action.
Boot Process and POST
The Power-On Self-Test (POST) is a vital part of the boot process. During POST, the motherboard checks key components like the CPU, RAM, and graphics card. Each step lights up a specific LED. The CPU light comes on first, followed by the DRAM light, then the VGA light, and finally the boot light.
If all tests pass, the lights turn off or stay green. This means the system is ready to start up. But if a light stays on or turns red, it points to a problem with that part.
Some boards use different colors or patterns to show more info. For example, a blinking light might mean a different issue than a solid light.
Common Error Signals
Red lights often mean serious problems. A red CPU light could show a faulty processor or bad connection. A red DRAM light might point to faulty RAM or incorrect installation. VGA light errors often relate to graphics card issues.
The boot light helps spot problems with storage devices or the operating system. If it stays on, the system can’t find a bootable drive.
Some boards have debug LEDs that show number codes. These codes give more specific info about errors. Users can look up these codes in their manual to find out what’s wrong.
Hardware and Compatibility Issues
Many light errors stem from hardware problems. Loose cables, improperly seated components, or faulty parts can trigger these lights. Sometimes, the issue is compatibility rather than a broken part.
RAM is a common source of compatibility issues. Using RAM that’s not on the motherboard’s Qualified Vendor List (QVL) can cause problems. The same goes for graphics cards in some cases.
M.2 SSDs and PCIe devices can also cause conflicts. If they’re not compatible or installed correctly, they might trigger error lights.
BIOS updates can sometimes fix compatibility issues. They add support for newer hardware and fix bugs.
Troubleshooting and Resolutions
When faced with error lights, start with simple checks. Make sure all cables are connected firmly. Reseat components like RAM and graphics cards. Check for bent pins on the CPU socket.
If basic steps don’t work, try removing hardware. Start with one RAM stick and no extra cards. Add parts back one by one to find the problem.
Clearing the CMOS can help if the issue is a bad BIOS setting. This resets the BIOS to default values. Updating the BIOS might also fix some problems.
For persistent issues, check individual parts in another system if possible. This helps narrow down which component is faulty. If all else fails, seeking help from a professional or the motherboard manufacturer might be necessary.
FAQs
What do the different lights on the motherboard mean?
Those little lights on your motherboard aren’t just for decoration! They’re like your computer’s way of talking to you, giving you clues about what’s going on inside. Think of them as a simple code. While the exact meaning can vary depending on your motherboard’s brand and model, here are some common colors and their usual meanings:
- Green: This is like a thumbs-up! It usually means everything is okay and your system is running smoothly.
- Yellow/Orange/Amber: This is a warning sign. It could point to a minor issue with a connected device, a setting in the BIOS, or something similar. It’s not an emergency, but it’s worth checking out.
- Red: This is like an alarm bell. It usually signals a problem with a critical component like your CPU (processor), RAM (memory), or graphics card. It’s time to do some troubleshooting!
- White/Blue: These colors often show activity. For example, a white light might blink when your hard drive is being used.
To know exactly what each light means on your motherboard, check the manual that came with it. It will have a detailed explanation specific to your model.
What does red CPU light mean? CPU light on motherboard.
A red CPU light is a clear warning sign that something is wrong with your computer’s processor, the “brain” of your system. It could mean a few things:
- The CPU isn’t properly seated: It might have come loose or wasn’t installed correctly.
- The CPU is overheating: This could be due to a faulty cooler or poor ventilation in your computer case.
- The CPU is faulty: In some cases, the processor itself might be damaged.
If you see a red CPU light, try reseating the CPU and make sure the cooler is properly attached. If that doesn’t help, you might need to have a technician check your CPU.
What does red and yellow light on the motherboard mean?
Seeing both red and yellow lights on your motherboard usually means there are multiple issues happening at the same time. The red light likely indicates a problem with a critical component (CPU, RAM, or graphics card), while the yellow light might point to a secondary issue, perhaps with a peripheral device or a BIOS setting. It’s best to consult your motherboard manual to understand the specific combination of lights on your model.
Is red light on motherboard bad?
Yes, a red light on your motherboard is generally a bad sign. It usually indicates a problem with a critical component, which can prevent your computer from starting or working correctly. It’s important to troubleshoot the issue to identify the cause and fix it.
How to fix motherboard red light?
To fix a red light on your motherboard, you’ll need to do some troubleshooting. Here are some steps you can try:
- Check your manual: See what the red light means for your specific motherboard model.
- Check power connections: Make sure all power cables are securely connected.
- Reseat components: Carefully remove and re-insert the CPU, RAM, and graphics card.
- Inspect for damage: Look for any signs of physical damage to the components or motherboard.
- Clear CMOS: Reset the BIOS to its default settings.
- Update BIOS: Make sure your BIOS is up-to-date.
If these steps don’t work, you might need to seek professional help.
What does green light mean on a motherboard?
A green light on a motherboard is usually a good sign! It typically means that the system has passed its initial checks (POST) and the basic components are working correctly. Think of it as your motherboard giving you the “all clear.”
What does red light on GPU mean?
A red light on your GPU (graphics card) usually indicates a problem with the card itself or its connection to the motherboard. It could mean:
- The graphics card isn’t properly seated: Try reseating it in the PCIe slot.
- The graphics card is faulty: There might be a problem with the card’s hardware.
- The power supply isn’t providing enough power: Make sure your power supply can handle the graphics card’s power requirements.
If you see a red light on your GPU, try reseating it and checking the power connections. If the problem persists, you might need to test with a different graphics card or have a technician check it.
What does AAFP stand for PC? AAFP motherboard meaning.
AAFP in the context of PCs usually refers to the ASUS Anti-Surge Protection. It’s a safety feature found on some ASUS motherboards that helps protect your components from power surges and voltage spikes.

