Dealing with bent CPU pins can be a headache for PC builders and upgraders, but don’t worry just yet. While it’s a delicate process, with careful handling and the right tools, you can straighten those pins and potentially save your CPU. Patience and precision are essential. If you’re unsure, it might be best to seek professional repair to avoid further damage. If you accidentally bend the pins on your CPU, don’t panic.
This can cause your computer to malfunction, but you can often fix it yourself. Use simple tools like tweezers or a credit card to carefully straighten out the bent pins. Take your time and be gentle. It’s a delicate process, and patience is key. Remember, even a small bend can cause big problems, so handle the CPU with care. Check each pin closely and plan your repair before starting. With the right approach, you can often make your CPU work like new again.
Salvaging Your CPU: A Guide to Fixing Bent Pins
Understanding the Risks and Precautions
Bent CPU pins are a delicate issue. Attempting to fix them requires caution as further damage could render your CPU unusable. Before proceeding, back up important data and consider the following:
- Warranty: Check if your CPU is still under warranty. Bent pins are typically considered physical damage and might not be covered.
- Professional Repair: If you’re unsure or uncomfortable with the process, seeking professional repair might be the safest option.
- Gentle Approach: Always handle the CPU with care, avoiding excessive force or bending the pins back and forth.
Tools and Materials Needed
- Magnifying glass or strong lighting
- Precision tools like a needle, tweezers, or a credit card
- Patience and a steady hand
Step-by-Step Guide
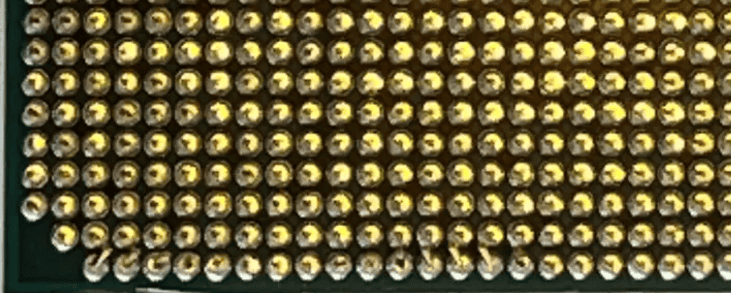
- Assess the Damage: Carefully examine the bent pins under good lighting or using a magnifying glass. Identify the extent of the damage and the direction in which the pins are bent.
- Straighten Gently: Using a needle or tweezers, delicately maneuver the bent pins back into alignment. Apply gentle pressure, avoiding any twisting or forceful movements. You can use a credit card to gently guide a row of pins back into place if multiple pins are misaligned.
- Check Alignment: Periodically check the alignment of the pins against the CPU socket or a reference image.
- Test the CPU: Once you’ve straightened the pins, carefully insert the CPU into the socket and see if it fits properly. If it doesn’t, re-examine the pins and repeat the straightening process.
Table: Tools for Fixing Bent CPU Pins
| Tool | Pros | Cons |
|---|---|---|
| Needle | Precise for individual pins | Requires a steady hand and patience |
| Tweezers | Provides good grip and control | Can be difficult to maneuver in tight spaces |
| Credit Card | Useful for aligning multiple pins at once | Less precise for individual pins |
Disclaimer: Attempting to fix bent CPU pins carries inherent risks. Proceed with caution and understand that there’s no guarantee of success. If in doubt, seek professional help.
CPU Pin Repair
Understanding the Problem
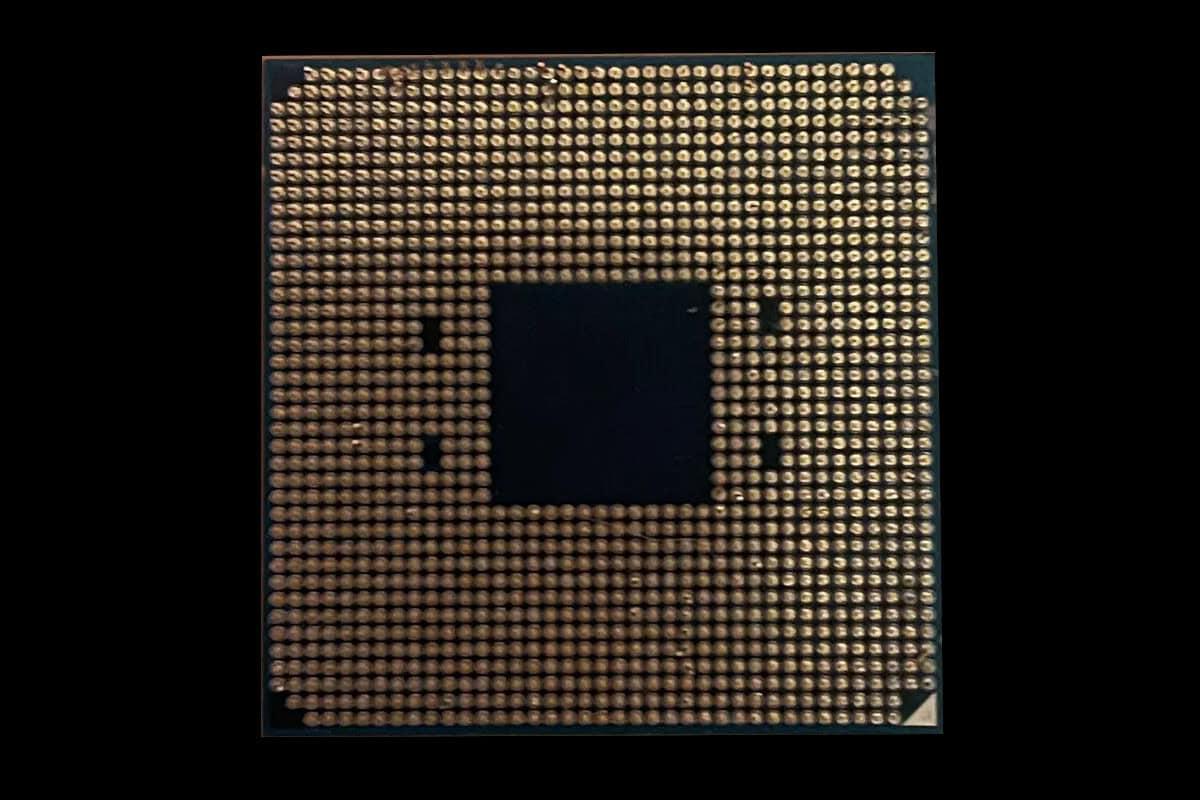
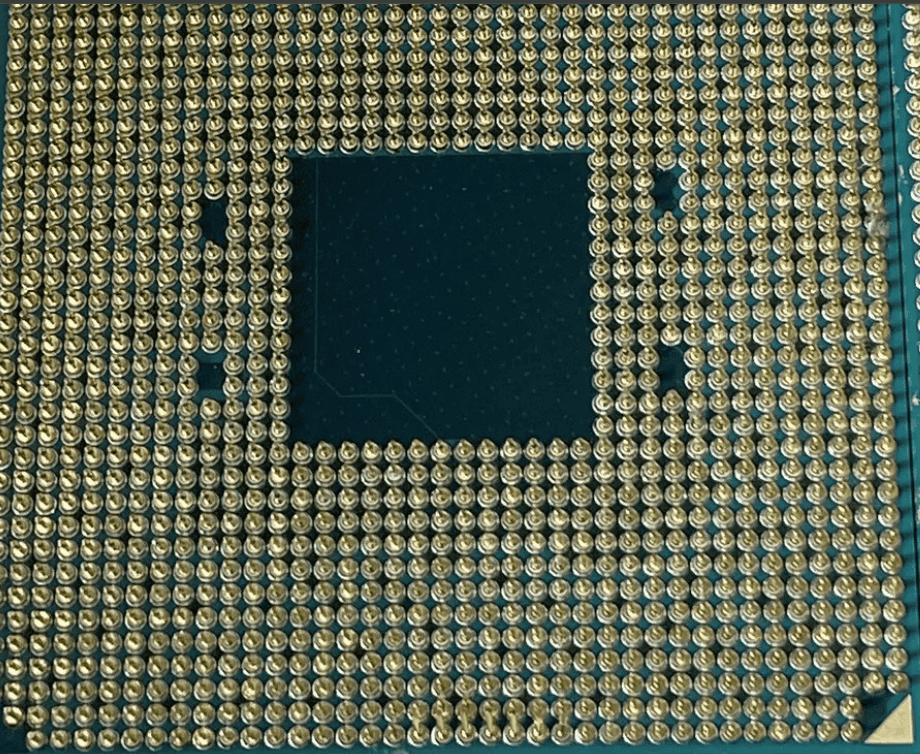
Bent pins on a CPU can be a frustrating issue, often leading to boot failures or system instability. These delicate pins are crucial for establishing a connection between the CPU and the motherboard socket. Even a slight bend can disrupt this connection, causing problems. The good news is that in many cases, bent pins can be carefully straightened, potentially saving you the cost of a new CPU.
Tools and Precautions
Before attempting any repair, it’s important to gather the right tools and take necessary precautions:
- Tools: A magnifying glass, a bright light source, a precision screwdriver or tweezers, and a credit card or similar thin, rigid object.
- Precautions: Work in a well-lit, clean area. Ground yourself to prevent static discharge, which can damage sensitive electronic components. Handle the CPU with care, avoiding any unnecessary pressure on the pins.

The Straightening Process
Carefully follow these steps to straighten bent pins:
- Identify the Bent Pins: Using the magnifying glass and light, examine the CPU socket and identify any bent pins. Note their location and the direction of the bend.
- Gentle Pressure: Use the precision screwdriver or tweezers to apply gentle pressure to the bent pin, gradually guiding it back into its correct position. Take your time and avoid excessive force, as this can break the pin.
- Credit Card Technique: For multiple bent pins or pins that are difficult to reach with tools, slide a credit card between the rows of pins, gently pushing them back into alignment.

Additional Tips
- Patience is Key: This process requires a steady hand and patience. Take breaks if needed to avoid frustration and maintain focus.
- Seek Professional Help: If you’re uncomfortable attempting the repair yourself, or if the damage is extensive, consider seeking help from a professional computer repair service.
Prevention
To prevent bent pins in the future, handle the CPU with care during installation and removal. Ensure the CPU is correctly aligned with the socket before applying pressure. Avoid dropping the CPU or storing it in a way that could put pressure on the pins.
| Problem | Solution |
|---|---|
| Single bent pin | Use a precision screwdriver or tweezers to gently straighten the pin. |
| Multiple bent pins | Use a credit card to gently guide the pins back into alignment. |
| Severely bent or broken pins | Seek professional repair or consider replacing the CPU. |
Key Takeaways
- Bent CPU pins can be fixed at home with basic tools
- Careful inspection helps plan the repair process
- Gentle handling and patience are key to successful pin repair
Understanding CPU Pins and Repair Techniques
CPU pins are tiny and fragile. They can bend easily if not handled with care. Fixing bent pins takes patience and the right tools.
Assessing Bent CPU Pins and Potential Risks
Bent CPU pins can stop a computer from working right. They may cause boot issues or memory problems. Look at the pins closely with a magnifying glass. Count how many are bent and where they are. Be careful not to touch the pins. Static electricity can damage them.
Some CPUs have pins on the chip. Others have pins in the motherboard socket. Either type can get bent. Fixing bent pins might void your warranty. If there are too many bent pins it may be best to get a new CPU.
Preparation and Tools Required
You need a clean well-lit workspace to fix bent pins. Get these tools:
- Magnifying glass
- Tweezers or mechanical pencil
- Needle or thin screwdriver
- Anti-static wrist strap
Wear the anti-static strap to protect the CPU from static. Make sure your work area is clean and dry. Good lighting helps you see the tiny pins better.
Step-by-Step Guide to Straightening Bent Pins
- Put on your anti-static wrist strap.
- Place the CPU under the magnifying glass.
- Pick a tool based on the pin type:
- Use tweezers for thicker pins
- Use a mechanical pencil (no lead) for thin pins
- Gently grip the bent pin near its base.
- Slowly move the pin back in line with others.
- Check your work often from different angles.
Take breaks if your hand gets tired. Don’t rush. It’s okay to stop and try again later if needed.
Final Testing and Reinstallation
After fixing the pins check them all again. Make sure they line up in neat rows. Try putting the CPU in its socket. It should fit without force. If it doesn’t fit check for more bent pins.
Once the CPU fits put it in the motherboard. Add thermal paste and the cooler. Plug in all cables. Turn on the PC to test it. If it works you’ve fixed the problem. If not you may need more work or a new CPU.
Keep your CPU safe in the future. Handle it by the edges. Store it in an anti-static box when not in use.
FAQs
Is there a way to fix bent CPU pins?
Yes, it’s sometimes possible to fix bent CPU pins, but it requires a steady hand and a lot of patience. You can carefully try to straighten them using tools like a needle, tweezers, or a credit card. However, it’s a delicate process, and there’s a risk of further damage or breaking the pins completely. If you’re not comfortable attempting the repair yourself, it’s best to seek professional assistance.
Will a CPU work with some bent pins?
In some cases, a CPU might still work with a few slightly bent pins, especially if they’re not critical pins. However, it’s not recommended to use a CPU with bent pins as it can lead to instability, crashes, or even permanent damage to the motherboard or CPU itself.
Does CPU warranty cover bent pins?
Generally, CPU warranties do not cover bent pins as it’s considered physical damage caused by the user. However, it’s always worth checking with the manufacturer or retailer, as some might offer repairs or replacements in certain circumstances.
How to fix broken pins on the motherboard?
Fixing broken pins on a motherboard is extremely difficult and often not recommended. It usually requires specialized tools and expertise. In most cases, it’s more cost-effective to replace the motherboard altogether.
Can a CPU still work with a broken pin?
A CPU is unlikely to work with a broken pin, especially if it’s a critical pin responsible for essential functions like power or data transfer. A broken pin can cause the CPU to malfunction or even prevent it from booting at all.
How to tell if CPU pins are damaged?
You can tell if CPU pins are damaged by carefully inspecting them with good lighting. Look for any pins that are bent, broken, or misaligned compared to the others. If you notice any damage, handle the CPU with extreme care and consider getting it repaired or replaced.


