Building a custom PC can be exciting, but it’s frustrating when the system won’t boot up. Many new builders face this issue, but there are several simple fixes to try. Common causes include loose connections, misplaced front panel connectors, or faulty components.
Troubleshooting a new PC build requires a step-by-step approach. Start by double-checking all power connections, including the CPU, motherboard, and graphics card. Ensure RAM sticks are properly seated and in the correct slots. Verify that the power supply unit is switched on and connected to a working outlet.
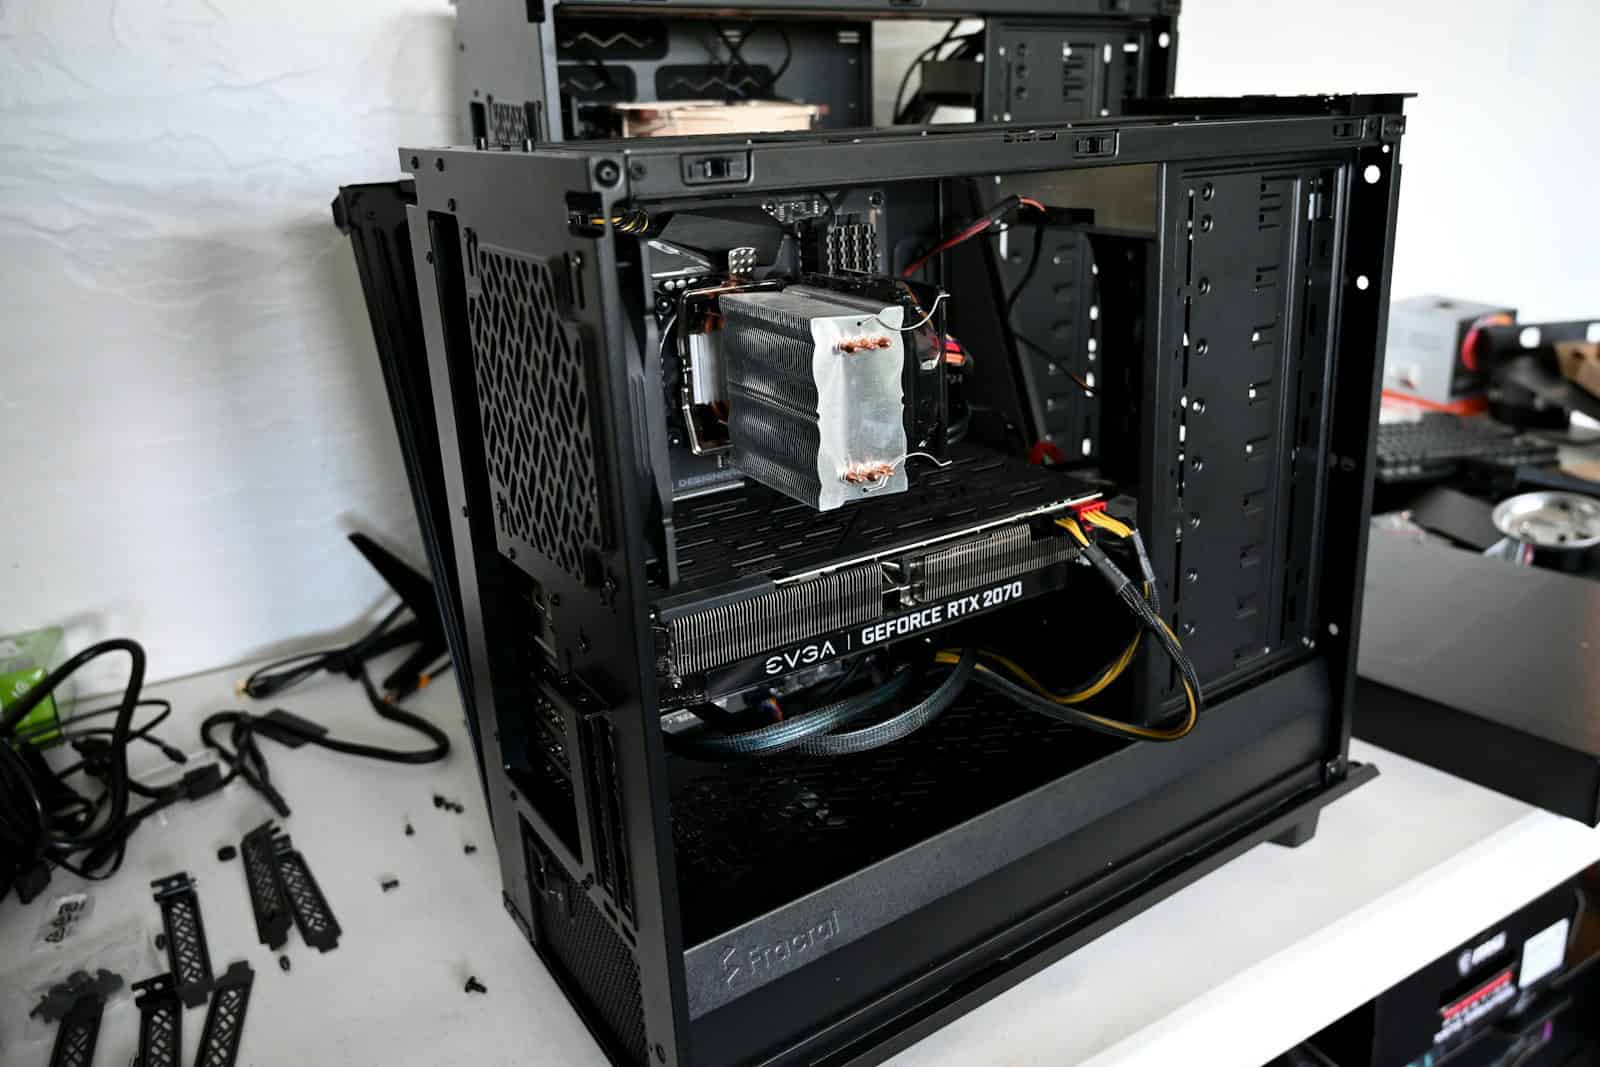
If these basic checks don’t solve the problem, inspect the motherboard for any signs of damage or short circuits. Sometimes, a single misplaced standoff can prevent the system from booting. Remove unnecessary components and try booting with only essential parts connected to isolate the issue.
Recently on Reddit there was a thread on /r/pcmasterrace that masterfully summed up the biggest problems and mistakes a new builder typically makes. The video is only 17 seconds long, but can save you hours of trouble if you watch it:
Troubleshooting Your New PC Build
Building a PC can be an exciting endeavor, but sometimes things don’t go as smoothly as planned. If you’ve just assembled your new rig and it’s not powering on or displaying anything, don’t panic! Here’s a checklist of common issues and troubleshooting tips to help you get your PC up and running:
Power Supply (PSU)
- PSU Switch: Ensure the switch on the back of the PSU is flipped to the “on” position. It’s a simple but often overlooked step.
- Power Cord: Double-check that the power cord is securely plugged into both the PSU and a working wall outlet.
- Test the Outlet: Make sure the wall outlet itself is functioning by plugging in another device.
Motherboard Connections
- Front Panel Connectors: Verify that the power button, reset button, and LEDs from your case are correctly connected to the front panel header pins on the motherboard. Consult your motherboard manual for the correct pin configuration.
- CPU Power Connector: Ensure the 4-pin or 8-pin CPU power connector from the PSU is firmly plugged into its designated socket on the motherboard, usually near the CPU socket.
Graphics Card (GPU)
- Monitor Connection: Make sure your monitor is connected to the correct output port. If you have a dedicated graphics card, plug the monitor cable into the graphics card’s output port, not the motherboard’s.
- GPU Power Connector: If your graphics card requires additional power, ensure the 6-pin or 8-pin PCIe power connectors from the PSU are securely connected to the card.
- GPU Seating: Make sure the graphics card is fully seated in the PCIe x16 slot on the motherboard.
RAM (Memory)
- RAM Slots: Confirm that the RAM modules are correctly installed in the appropriate slots. Refer to your motherboard manual for the optimal configuration (usually slots A2 and B2 for two modules).
- RAM Compatibility: Ensure your RAM is compatible with your motherboard. Check the motherboard’s documentation for supported RAM speeds and types.
Other Potential Issues
- Loose Connections: Inspect all cables, connections, and components to ensure they are properly seated and secured.
- BIOS Settings: If the PC powers on but doesn’t display anything, try resetting the BIOS to its default settings. This can often resolve boot issues.
- Overheating: Make sure the CPU cooler is properly installed and functioning. Excessive heat can prevent the PC from starting.
- Faulty Components: In rare cases, a faulty component (CPU, motherboard, RAM, etc.) could be the culprit. If possible, try swapping out components to identify the problematic one.
Additional Tips
- Breadboarding: If you’re still having trouble, consider breadboarding the PC. This involves assembling the essential components (CPU, motherboard, RAM, GPU) outside the case to simplify troubleshooting.
- Consult Online Resources: There are numerous online forums and communities dedicated to PC building. Don’t hesitate to seek help from experienced builders.
- Refer to Manuals: Always refer to the manuals for your motherboard, CPU, and other components for detailed instructions and troubleshooting tips.
Key Takeaways
- Check all power connections and component seating
- Inspect the motherboard for damage or short circuits
- Start with minimal components to isolate the problem
Initial Setup and Troubleshooting
Building a PC can be incredibly rewarding, but it can also come with its fair share of challenges. If your newly assembled PC refuses to cooperate, don’t worry! Troubleshooting is a common part of the process. By systematically checking these potential issues, you’ll likely pinpoint the culprit and have your system up and running in no time.
When a newly built PC fails to start, systematic troubleshooting is crucial. Proper hardware installation, power supply verification, and component diagnostics form the backbone of effective problem-solving.
Ensuring Proper Hardware Installation
Incorrect hardware installation often causes startup issues. Check that all components are securely seated in their slots. Verify RAM modules are firmly in place and CPU is correctly oriented. Ensure all cables are connected to the right ports.
Double-check motherboard standoffs. Improper placement can cause short circuits. Confirm the case’s front panel connectors are correctly attached to the motherboard headers.
Inspect the GPU installation. It should click into the PCIe slot and be secured with screws if necessary. A loose graphics card can prevent system boot.
Power Supply Verification
A faulty power supply can prevent PC startup. Confirm the PSU switch is in the “on” position. Check if the power cable is firmly plugged into both the PSU and wall outlet.
Test the PSU using the paperclip method:
- Unplug all components
- Short the green and black wires on the 24-pin ATX connector
- If the PSU fan spins, it’s likely functional
Verify all power cables are connected:
- 24-pin ATX to motherboard
- 4/8-pin CPU power
- PCIe power for GPU (if required)
- SATA/Molex for drives
Motherboard and Component Diagnostics
If power supply checks out, focus on motherboard diagnostics. Look for LED indicators or listen for beep codes during startup. These can pinpoint specific issues.
Try a minimal boot configuration:
- Remove all non-essential components
- Use only one RAM stick in the primary slot
- Disconnect all drives except boot drive
Check for bent CPU pins or socket damage. Inspect capacitors for signs of bulging or leakage.
Test individual components in a known working system if possible. This helps isolate faulty hardware.
If the PC still fails to POST, consider a possible motherboard defect. Contact the manufacturer for support or RMA if necessary.

