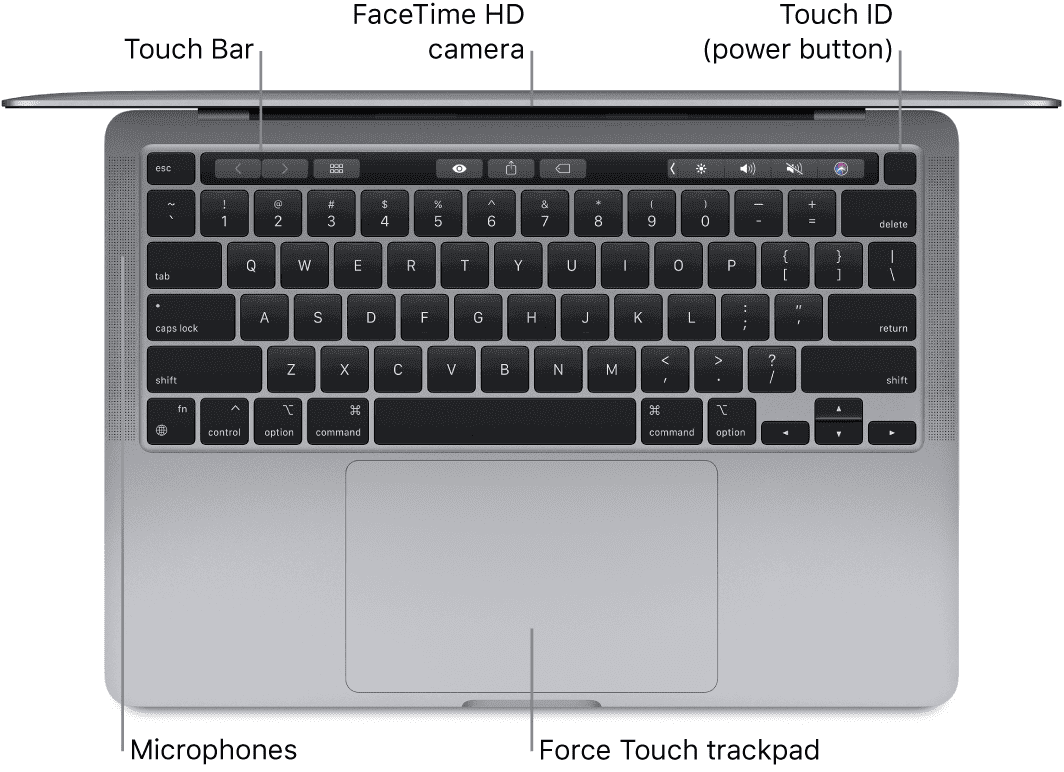
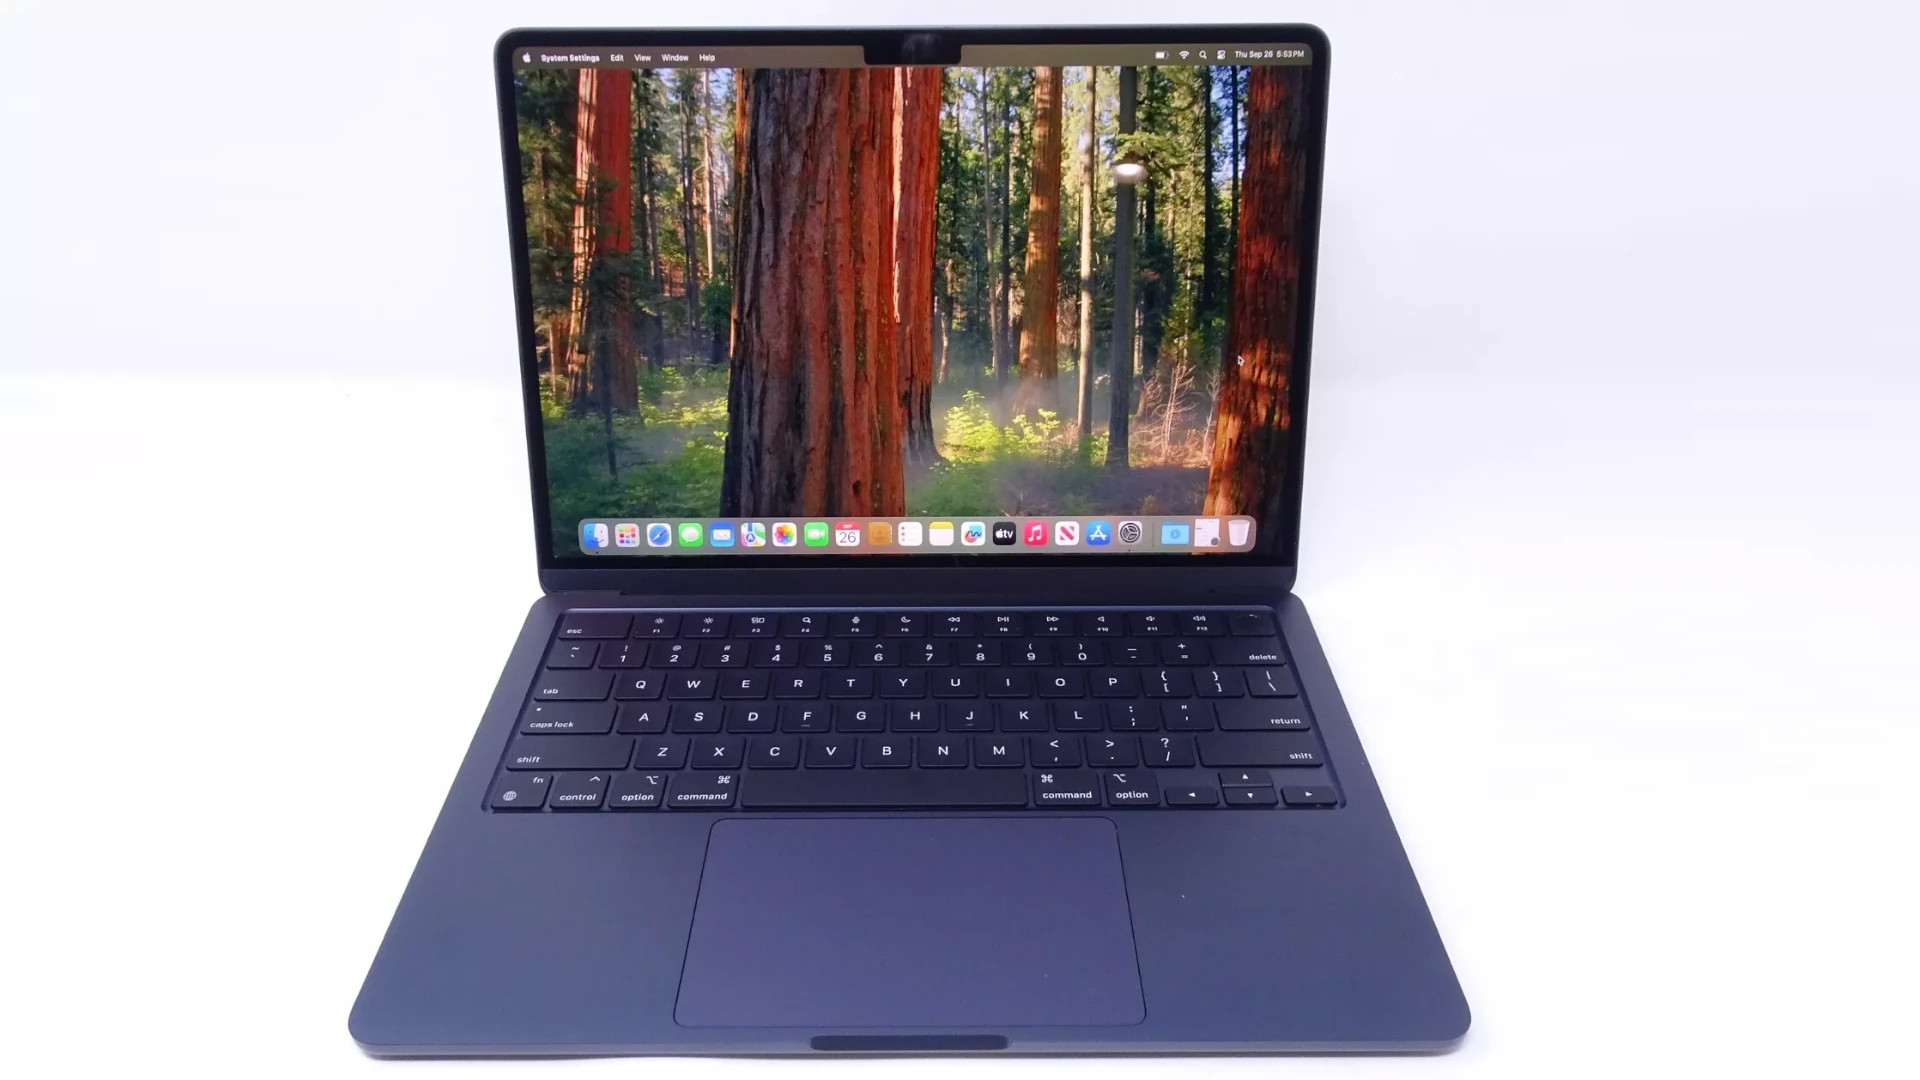
If the microphone on your MacBook stops working, it may cause issues with video calls and voice recordings. This can be due to settings, software glitches, or hardware problems. To troubleshoot, start by checking the sound input settings and making sure the correct microphone is selected as the default input device. Verify if any permission settings are blocking applications from using the microphone. For more complex problems, you might need to explore system preferences or conduct hardware diagnostics. If the basic troubleshooting steps don’t work, consider more in-depth software checks or contact Apple Support. Solutions can range from resetting the system’s PRAM to reinstalling the operating system.
MacBook Microphone Troubleshooting Tips
MacBook microphones are known for their quality, but they can sometimes encounter issues. Here’s a troubleshooting guide to help you resolve common problems:
Check Sound Input Settings
Begin by ensuring your sound input settings are configured correctly:
- Open System Settings.
- Click on Sound.
- Select Input and choose Internal Microphone.
- Adjust the Input volume slider to an appropriate level.
Speaking near your Mac should cause the input level bars to move. If they don’t, proceed to the next step.

Grant Microphone Access to Apps
Certain apps require explicit permission to access your microphone. To check and grant access:
- Go to System Settings.
- Click on Privacy & Security.
- Select Microphone from the sidebar.
- Ensure the relevant apps have a checkmark next to them.
Restart Your Mac
A simple restart can often resolve temporary glitches. Click the Apple menu and select Restart.
Update macOS and Apps
Outdated software can cause compatibility issues. Ensure your macOS and apps are up to date:
- Open System Settings.
- Click on General, then Software Update.
- Install any available updates.
Reset NVRAM/PRAM
NVRAM/PRAM stores various settings, and resetting it might help:
- Shut down your Mac.
- Press the power button and immediately hold down Option, Command, P, and R for 20 seconds.
- Release the keys and allow your Mac to start normally.
Additional Tips and Considerations
If the above steps don’t solve the issue, consider the following:
- Check if the problem occurs with external microphones. This helps isolate the issue to the internal microphone or a software problem.
- Try using your microphone in different apps to see if the problem is specific to a particular application.
- Check for physical obstructions or debris in the microphone grille.
When to Seek Professional Help
If you’ve exhausted all troubleshooting steps and your microphone still doesn’t work, it might be a hardware problem. Contact Apple Support or visit an authorized service center for further assistance.
| Issue | Possible Solution |
|---|---|
| No input level movement | Check sound input settings, grant microphone access to apps. |
| Microphone not working in specific apps | Grant microphone access, update apps. |
| Intermittent microphone problems | Restart Mac, reset NVRAM/PRAM. |
| Persistent issues | Check external microphones, contact Apple Support. |
Key Takeaways
- Verifying sound input settings and permissions can resolve basic microphone issues on a MacBook.
- Advanced solutions include deeper system checks and potentially contacting Apple Support.
- Efficient troubleshooting requires checking both software settings and hardware functionality.
Basic Troubleshooting Steps
When a MacBook microphone is not working, it is crucial to follow specific steps to identify and resolve the issue. This section guides you through basic solutions and system checks that can help restore your microphone’s functionality.
Check System Settings
In the System Preferences, navigate to Sound and then click on the Input tab to verify your microphone settings. Here, make sure the desired microphone is selected in the list of devices. Adjust the Input volume slider to ensure it’s not set to the minimum, as a low input volume will silence your microphone.
Adjust App Permissions
Open System Preferences and select Security & Privacy. Under the Privacy tab, locate Microphone and check if the apps you want to use with your microphone, such as FaceTime, Zoom, or Skype, have the necessary permissions. If not, click the lock, enter your password, and allow access.
Restart and Test the Microphone
To resolve persistent issues, try restarting your Mac. After the system boots up, perform a microphone test to confirm it’s working. To do this, access an app that uses the microphone, like Siri, and speak to check the volume levels. If successful, the app should register your voice and respond accordingly.
Advanced Solutions
Sometimes common fixes won’t solve microphone issues on a Mac. In such cases, advanced troubleshooting steps may be needed.
Reset NVRAM/PRAM
NVRAM or PRAM in an Intel-based Mac holds settings like sound volume, display resolution, and time zone. If the microphone is not working, resetting them might help. Turn off the Mac. Then press and hold Option + Command + P + R for about 20 seconds during startup.
Manage External Devices
When using USB or Bluetooth microphones, check their connections. Disconnect other devices that may interfere with the microphone. Unplug USB mics and then plug them back in. Check Bluetooth settings to ensure your Mac connects to the correct device.
Software and Hardware Issues
Keep your Mac updated with the latest software to fix glitches. Use apps like QuickTime Player to test the microphone function. If problems persist, it might be a hardware issue. Cleaning software, such as CleanMyMac X, can remove corrupt launch agents. If these steps do not resolve the issue, a visit to an Apple Store or a professional repair service may be necessary.
Frequently Asked Questions
This section provides clear answers to common questions about troubleshooting microphone issues with your MacBook.
How can I troubleshoot microphone functionality issues on my MacBook?
To troubleshoot, first ensure your Mac is selecting the correct microphone as the input source. You can do this in the Sound section of System Preferences. Look for the Input tab to see if the selected microphone is picking up sound by speaking and observing the input level bars.
What steps should I take to resolve an internal microphone problem on my MacBook?
Start by checking the microphone’s input settings in the Sound preferences to make sure the input volume isn’t too low. If the settings are correct but the problem persists, resetting the NVRAM/PRAM may help as it restores certain system settings to their default state.
How do I enable microphone access on my MacBook Air or MacBook Pro?
Open the System Preferences and go to Security & Privacy. Under the Privacy tab, check the Microphone section to see if the app you’re using is allowed to access the microphone. If it’s not listed, you may need to open the app to prompt the permissions.
What should I do if an external microphone is not being recognized by my Mac?
When an external microphone is not recognized, check the connection and verify whether your Mac requires a specific adapter for the microphone. Also, ensure that the microphone is selected as the input device in Sound preferences under the Input tab.
Why does my MacBook microphone stop working when the lid is closed, and how can I fix it?
If your MacBook’s microphone stops working when the lid is closed, this is often due to the Mac entering sleep mode. To fix it, you can adjust the Energy Saver settings or use a third-party application to prevent the Mac from sleeping when the lid is closed.
How can the microphone settings be reset using Terminal on a Mac?
Use Terminal to reset the Core Audio. This effectively restarts the audio system. To do this, open Terminal and type sudo killall coreaudiod. Enter your password when prompted, and the system will then reset the audio, which can resolve microphone issues.


