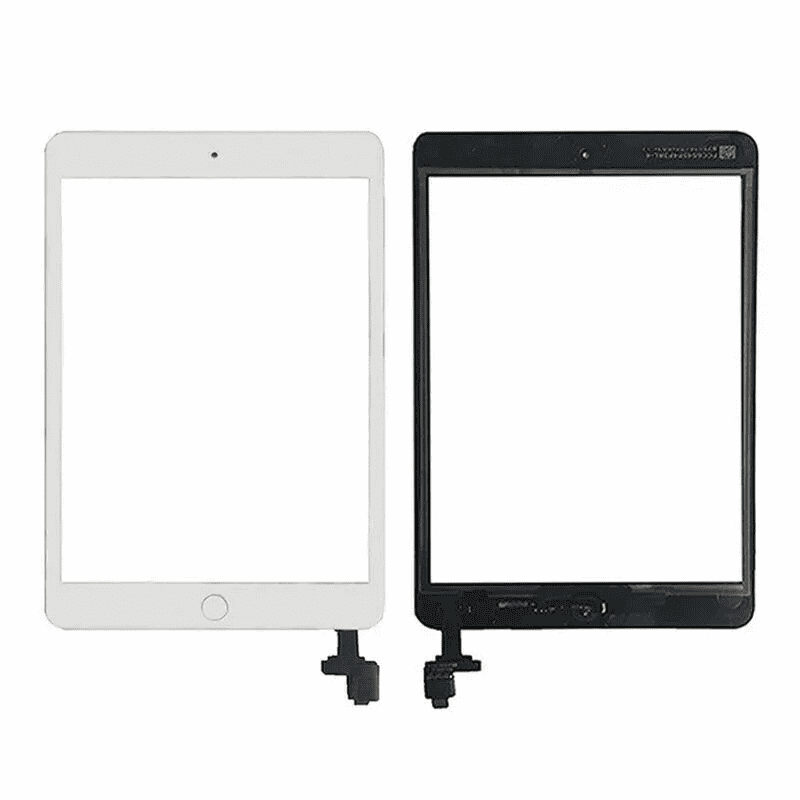
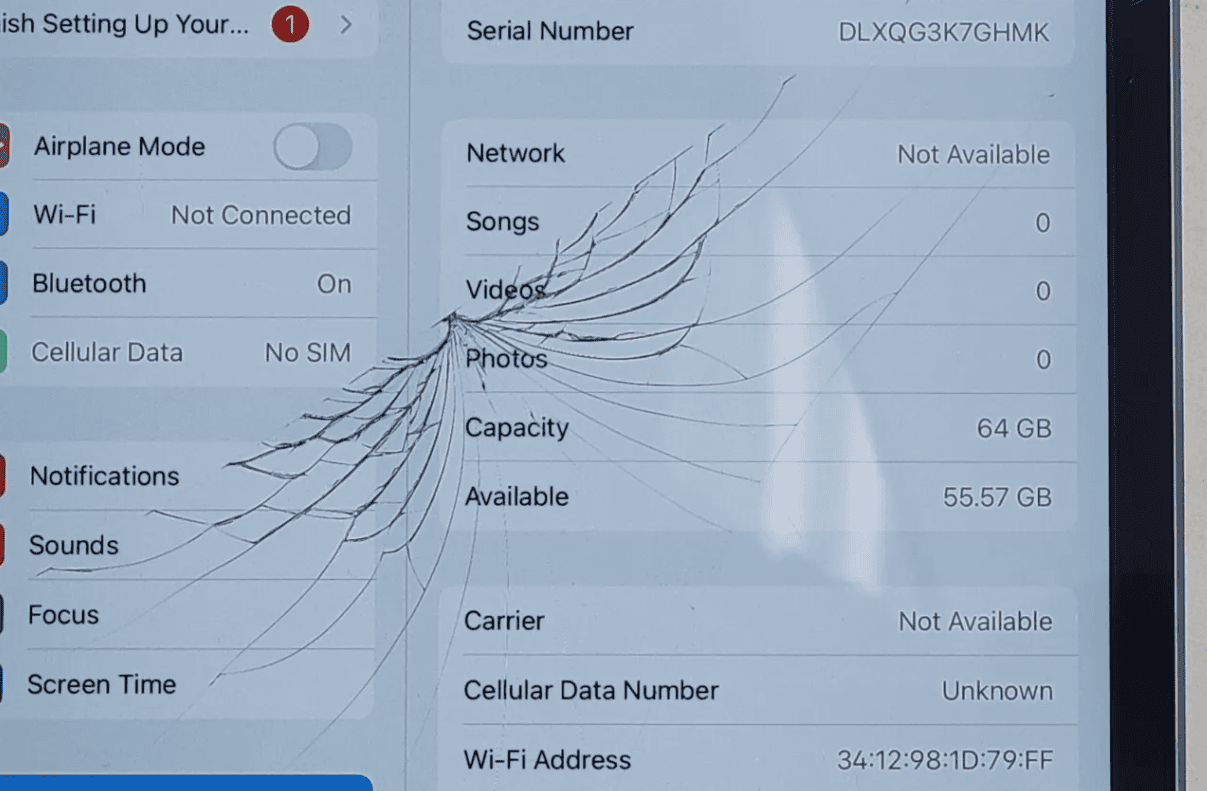
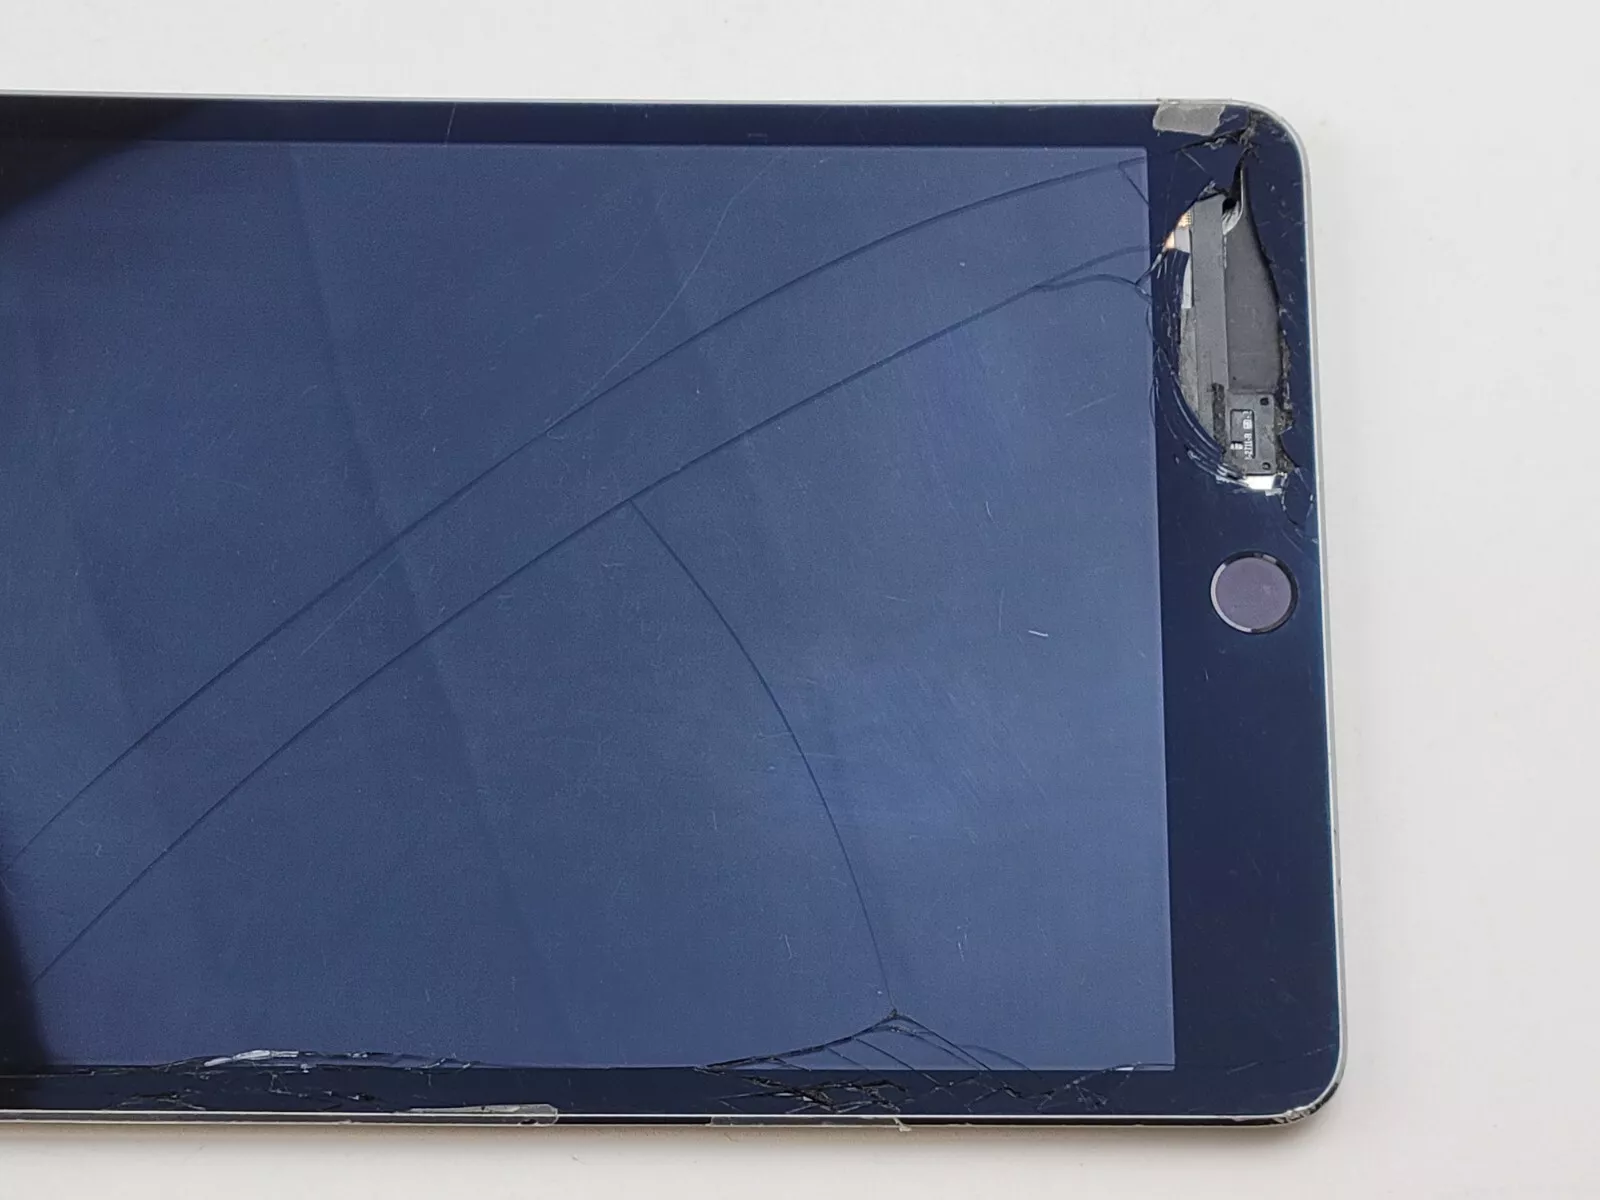
If you have a cracked or damaged iPad Mini screen, there are several options for getting it replaced. You can go through Apple’s services, use third-party repair shops, or follow online guides to do it yourself. AppleCare+ offers a reliable service with genuine parts, while places like Best Buy (GeekSquad) and uBreakiFix also provide alternative solutions, often using Apple parts. If you prefer a DIY approach, there are detailed guides available online. Considering these options, it’s important to weigh the benefits of cost, convenience, and authenticity of parts to confidently replace your iPad Mini screen.

A Step-by-Step Guide to Replacing Your iPad Mini Screen
Gather Your Tools
You’ll need a few specific tools to replace the screen:
- A heat gun or hair dryer to soften the adhesive.
- Plastic opening tools or a thin, flat tool to pry the screen up.
- Suction cups to lift the screen.
- A Phillips #000 screwdriver.
- Replacement screen adhesive.
- A new iPad Mini screen (make sure it’s the correct model!).

Step-by-Step Instructions
- Power Off: Turn off your iPad Mini completely.
- Heat the Edges: Gently heat the edges of the screen to loosen the adhesive. Don’t overheat, as it can damage the display.
- Insert Opening Tools: Carefully insert a plastic opening tool or thin flat tool into the gap between the screen and the body. Work your way around the edges, gently prying up the screen.
- Use Suction Cups: Once you have a small gap, insert suction cups to lift the screen. Be careful not to pull too hard or damage the display cables.
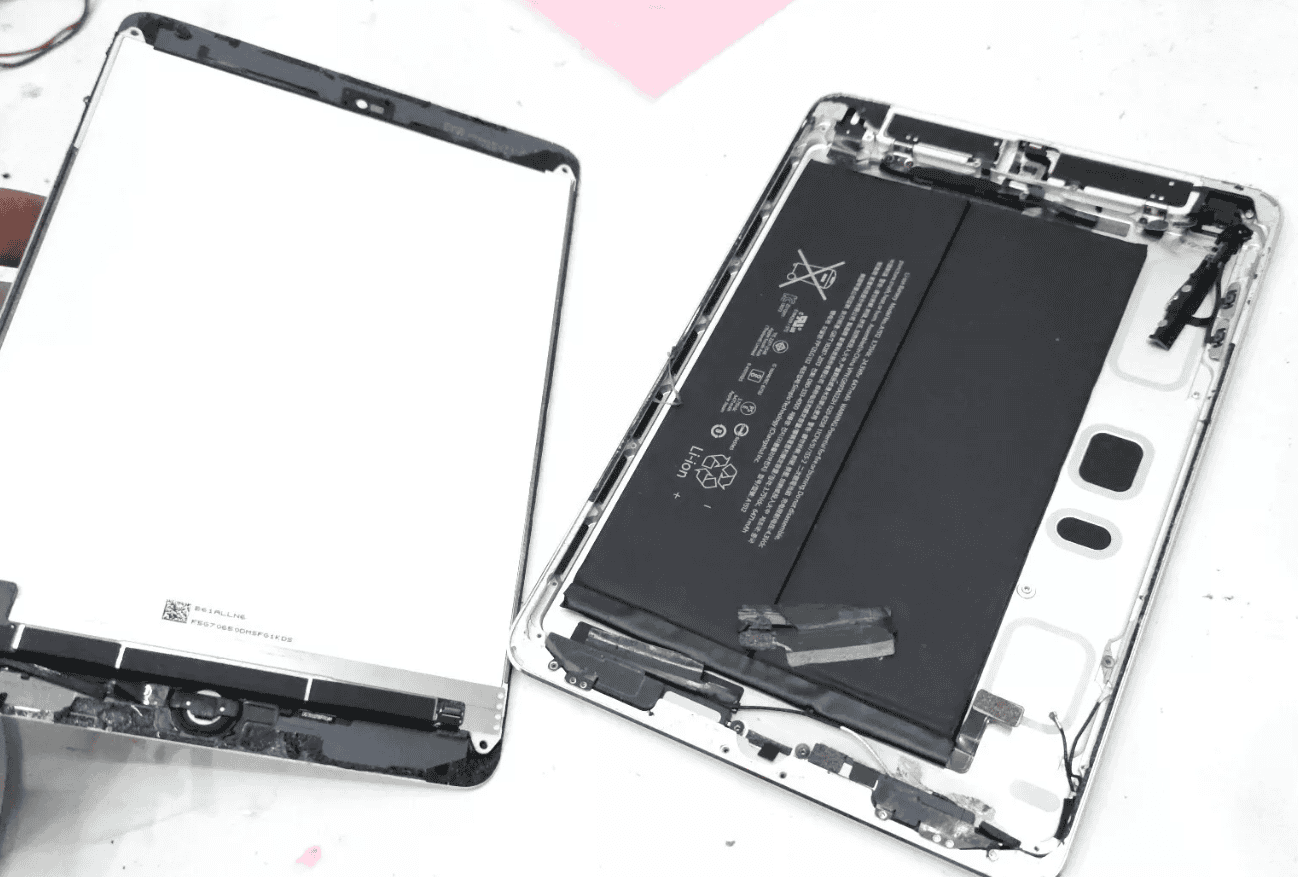
- Disconnect Cables: Locate and disconnect the display cables connecting the screen to the logic board.
- Remove the Screen: Gently lift the old screen away from the body.
- Clean the Frame: Remove any remaining adhesive residue from the frame.
- Connect New Screen: Connect the display cables to the new screen.
- Apply Adhesive: Apply new adhesive to the frame.
- Place New Screen: Carefully align the new screen and press it firmly into place.
- Power On: Turn on your iPad Mini and test the new screen.

Tips and Precautions
- Work on a clean, flat surface to avoid scratching the screen.
- Be careful not to damage the delicate display cables.
- Use only high-quality replacement parts.
- If you’re unsure about any step, consult a professional technician.
Key Takeaways
- Reliable screen replacement options include AppleCare+ and trusted third-party services.
- DIY screen replacement guides are widely accessible for those willing to try it themselves.
- Evaluating cost, convenience, and parts authenticity is crucial in making the best decision.
Understanding iPad Mini Screen Replacement
Replacing an iPad Mini screen can be necessary due to cracks, other damage, or it no longer working. The process involves several steps, tools, and decisions related to warranties or choosing support services.
Assessing the Damage
Before starting the repair, assess the damage. Look for cracks in the display glass or issues with the LCD screen. Check if the home button assembly, flex cable, and front-facing camera are affected. Water damage can impact the device’s structural integrity.
Inspect the volume and lock buttons to see if they function well. Understanding what’s damaged helps plan the repair better and know what needs replacing.
Warranty and Support Options
Consider Apple’s warranty and support options. If the device is under warranty or covered by AppleCare+, check if the screen replacement is eligible as accidental damage can often be covered. Visit an Apple Store or contact Apple support to understand what applies.
If it’s out of warranty, third-party repair shops or DIY repairs are options. Compare the costs and benefits of professional repairs versus doing it yourself.
Tools and Equipment Needed
Gather the essential tools for the repair. Basic tools include a suction cup, opening pick, spudger, metal prying tool, and safety glasses. A heated iOpener can be used to soften the adhesive holding the screen.
Other helpful tools include clear packing tape to secure the cracked screen during removal, and a small Phillips screwdriver to remove screws. Ensure a clean and organized workspace to keep all components safe.
Proper tools and preparation make the repair straightforward and efficient. Following the right guide, like those from iFixit, can also be very helpful.
Frequently Asked Questions
Screen repair for an iPad Mini is a common issue that many users face. This section aims to provide clear and direct answers to the most asked questions on this topic.
How much does it typically cost for an iPad Mini screen repair?
The cost of an iPad Mini screen repair varies. Services like Apple may charge higher rates. Third-party services might offer lower prices. On average, expect to pay between $100 to $200.
Where can I find a service for iPad Mini screen replacement nearby?
Many places offer iPad Mini screen replacement services. You can check with Apple Stores, Best Buy, or other local repair shops. Websites of these stores often provide a way to schedule an appointment.
Are iPad Mini screen replacement kits available for DIY repairs?
Yes, screen replacement kits are available for those who prefer DIY repairs. These kits typically include tools, adhesive, and the replacement screen itself. These are commonly found on online marketplaces like Amazon or specialized repair websites.
Is it cost-effective to repair a broken iPad Mini screen?
Repairing a broken screen can be cost-effective if the device is relatively new. For older models, the cost of repair might approach the price of a new device. Weigh the costs and benefits before making a decision.
What should be considered before attempting a self-service screen replacement on an iPad Mini?
Before attempting a DIY repair, consider your technical skills. Ensure you have the right tools and a clean workspace. Follow reliable step-by-step guides to avoid damaging your device.
How can I ensure that I am getting a reliable iPad Mini screen repair service?
To ensure reliability, research the repair service first. Look for reviews and ratings from previous customers. Check if the service offers a warranty on repairs. Ask if they use genuine parts for replacements.


