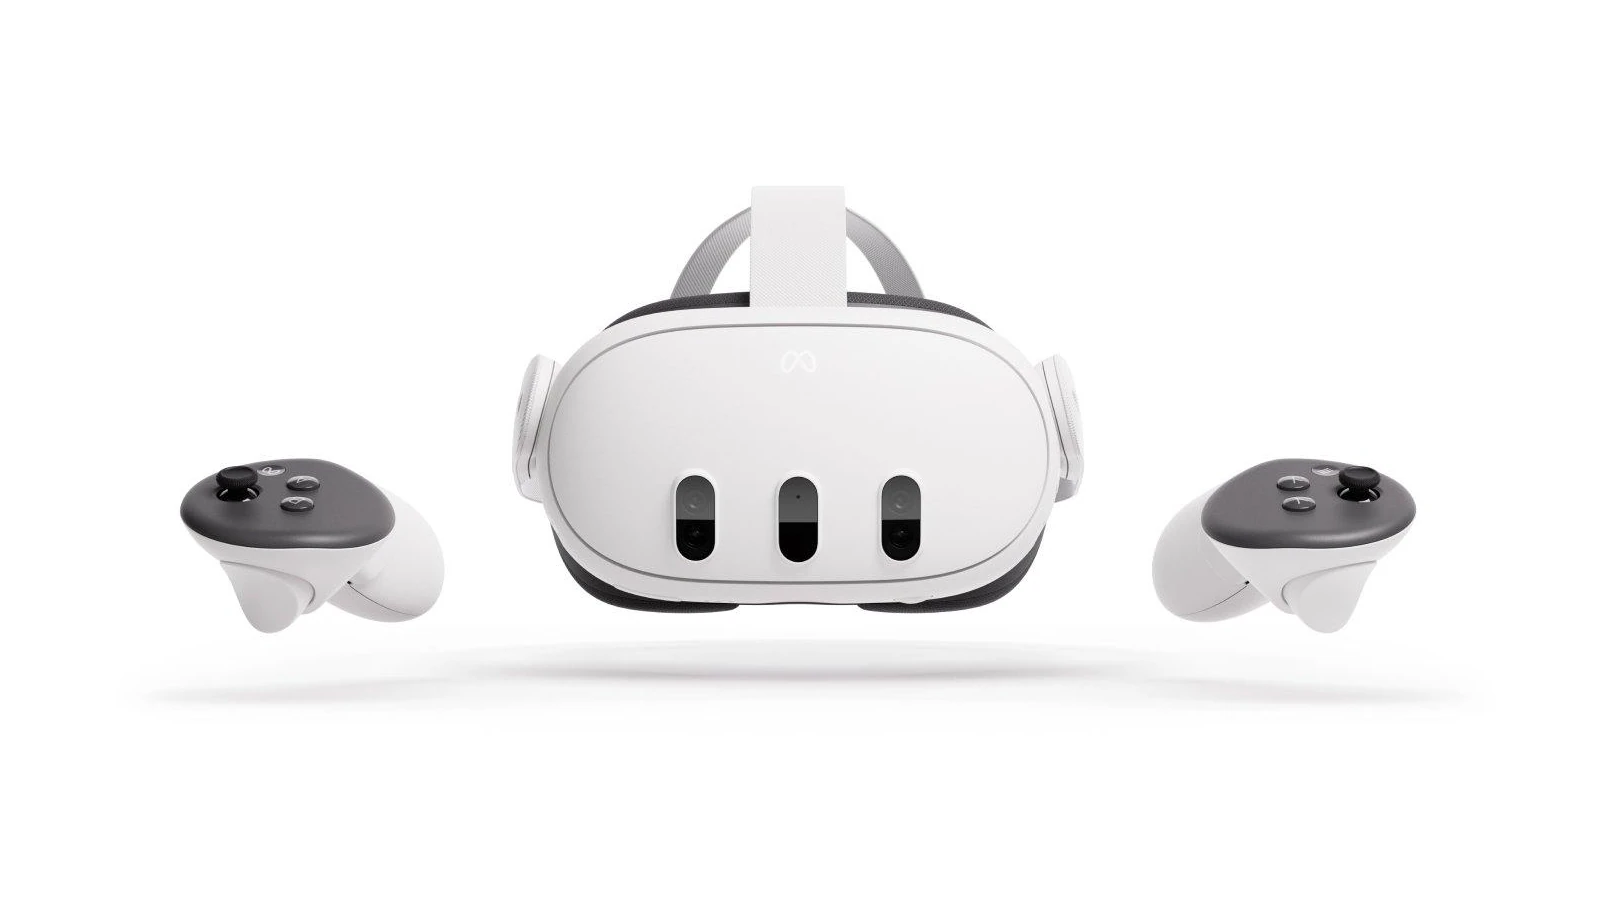
When you connect your Meta Quest 3 to a PC, you can access a wide variety of virtual reality experiences beyond what the headset can offer on its own. You can set up the connection using a USB cable for a wired connection, or go wireless with Air Link. For a wired connection, make sure you have a compatible USB 3 cable and a PC that meets the Oculus app’s system requirements. Once you’ve installed the software and connected the headset to the PC, you can start enjoying VR gaming and exploring other applications.
If you prefer a wireless setup, Air Link allows you to connect the Meta Quest 3 to a PC without cables, but it requires a strong Wi-Fi connection and may need some adjustments for optimal performance. Connecting your Meta Quest 3 to a PC opens up a world of possibilities, from playing PC VR games to accessing productivity apps on a virtual desktop. Below, you’ll find step-by-step instructions for both the wired and wireless methods.

3 Ways To Connect
Here are some ways to connect a Meta Quest 3 to a PC:

- Quest Link: Download and install the Quest Link PC app on your Windows computer, then log in with your Meta account. Turn on your headset, plug a USB 3 cable into your PC and headset, and put on your headset. Open the universal menu, select Quick Settings, then System, and scroll to Quest Link. Select the computer your headset is connected to, then Launch.
- Air Link: With the Meta Quest Link PC app open and your devices connected to the same network, select the Use Air Link toggle in the Quest Link panel. Select your PC from the list of available devices, then Pair. A pairing code will appear in VR, so remove your headset and confirm it matches the code on your computer. Click Confirm in the desktop app, put your headset back on, and select Launch to start using Air Link.
- USB-C cable: Plug the white USB-C cable that came with your Quest 3 into your computer, then connect the other end to your headset. A dialog box should appear in your headset asking to allow the connected device to access your files. If it goes away, unplug and replug your headset
Bonus Tip: You can also cast your Meta Quest 3 to a screen by opening the universal menu, selecting Camera, then Cast, and choosing Computer or the Meta Quest mobile app.
Connecting to PC (Steps)

Wired Connection: Meta Quest Link
The most straightforward way to connect is through a wired connection, using the official Meta Quest Link cable or a high-quality USB-C cable. Here’s how:
- Download and install the Meta Quest app on your PC.
- Connect the cable to your headset and a USB 3.0 port on your computer.
- Put on your Quest 3 and allow link connections if prompted.
- Open the Meta Quest app on your PC and follow the instructions.
Pros:
- Stable connection with minimal latency.
- High-quality graphics and smooth gameplay.
- Suitable for resource-intensive PC VR games.
Cons:
- Limited mobility due to the physical cable.
- Requires a powerful PC to run demanding VR titles.
Wireless Connection: Air Link

Air Link is Meta’s official wireless streaming solution, providing a cable-free VR experience. Here’s how to set it up:
- Ensure your PC meets the minimum requirements for Air Link.
- Download and Install the Oculus app on your PC
- Follow the App instructions to pair your Quest with your PC
- Select ‘Air Link’ as the connection method
- On the Quest 3 go to Settings > System > Quest Link and enable Quest Link
- Select Launch Air Link and Enable it
- Choose Your PC to Pair with your headset
- You’ll be given Pairing Instructions and a code to enter to finish the pairing
Pros:
- Freedom of movement without any cables.
- Convenient for casual VR experiences and productivity apps.
Cons:
- Requires a strong and stable Wi-Fi connection.
- Might experience some latency or compression artifacts.
Additional Wireless Option: Virtual Desktop
While not officially supported by Meta, Virtual Desktop is a popular alternative for wireless PC VR streaming. It offers additional features and customization options. However, it requires purchasing the Virtual Desktop app separately.
Troubleshooting Tips
| Issue | Possible Solution |
|---|---|
| Connection Issues | Ensure both your PC and Quest 3 are on the same Wi-Fi network. Update drivers and firmware. |
| Poor Performance | Lower the streaming quality settings in the Meta Quest app or Virtual Desktop. Close other applications running on your PC. |
| Audio Issues | Adjust audio settings in the Meta Quest app or Virtual Desktop. Ensure the correct audio output device is selected. |
Connecting your Meta Quest 3 to a PC opens up a whole new dimension of virtual reality experiences. Choose the connection method that best suits your needs and enjoy the immersive world of PC VR!
Key Takeaways
- Connect Meta Quest 3 to a PC to access a wider range of VR experiences
- Use a USB cable or Air Link for wired and wireless connections respectively
- Ensure PC meets Oculus app requirements and the Wi-Fi is strong for Air Link
Setting Up Meta Quest 3 with Your PC
To connect the Meta Quest 3 with a PC, users need a compatible system, the right cables for a wired connection, or a strong Wi-Fi network for wireless play. Proper setup of software and device pairing are also crucial steps in this process.


