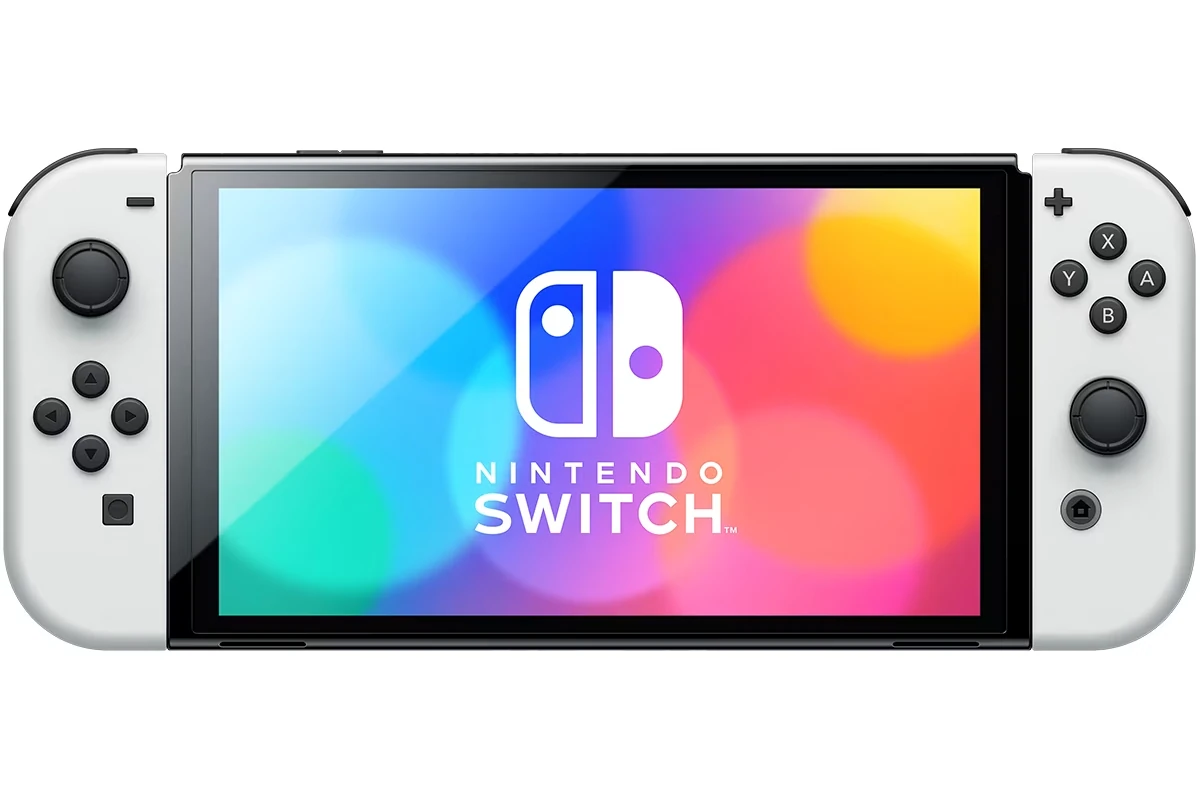
Installing Android on a Nintendo Switch can provide users with a distinct experience, blending the console’s versatile gaming capabilities with the vast app ecosystem of Android. To begin, one must ensure that their Switch is compatible with Android installation, which often requires the console to be modifiable. Once this prerequisite is met, the process involves a series of specific steps that usually start with inserting a microSD card loaded with Android into the console.
For those who look to embark on this journey, it is important to note that installing Android on the Nintendo Switch is not supported by Nintendo and could void the warranty. Users proceed with the understanding that there are risks and that careful preparation is essential. This includes a reliable understanding of the required tools and software. Once prepared, the user will use a special interface to partition the SD card and flash the Android operating system onto their device.
⚠️ Important Warnings Before You Begin
Before proceeding, please understand the following:
- Installing Android on your Switch requires custom firmware (CFW) and voids your warranty.
- There’s a risk of bricking your console if steps are not followed correctly.
- This process is only for unpatched (hackable) Nintendo Switch models.
- You should back up your system NAND before making any modifications.
🧠 Proceed at your own risk. This guide is for educational purposes only.
🧩 What You’ll Need
Before you start, gather the following:
- A compatible Nintendo Switch (unpatched model, typically from before mid-2018).
- A microSD card (at least 32 GB, preferably 64 GB or more).
- A USB-C cable to connect the Switch to your PC.
- A computer (Windows, macOS, or Linux).
- Hekate bootloader (used to boot Android).
- Android image for Switch (LineageOS 17.1 or 18.1 builds).
- TegraRCMGUI (for sending payloads to the Switch).
- GApps package (optional, for Google Play support).
(Sources: NH Switch Guide, AndroidAyuda)
🧱 Step 1: Check If Your Switch Is Hackable
Not all Switch consoles can run custom firmware.
To check your model:
- Visit ismyswitchpatched.com.
- Enter your serial number (found on the bottom of your Switch).
- If it says “Unpatched”, you can proceed.
- If it says “Patched”, you cannot install Android.
💾 Step 2: Back Up Your Switch NAND
Before modifying anything, back up your NAND (the system storage) using Hekate.
- Boot into RCM mode (Recovery Mode):
- Power off your Switch.
- Hold Volume Up and Power, and use a jig or paperclip to short the right Joy-Con rail pin 10.
- Connect your Switch to your PC via USB-C.
- Launch TegraRCMGUI on your computer.
- Send the Hekate payload.
- In Hekate, go to Tools → Backup eMMC → eMMC RAW GPP.
- Save the backup to your PC — this allows you to restore the system later if needed.
⚙️ Step 3: Partition Your microSD Card
You’ll need to create space for Android on your microSD card.
- Insert your microSD card into your PC.
- Use a partition manager (like MiniTool Partition Wizard or GParted) to:
- Keep one FAT32 partition for Switch files.
- Create a second EXT4 partition for Android.
- Apply the changes and safely eject the card.
(Source: SimplyMac – How to Install Android on a Nintendo Switch)
📲 Step 4: Flash the Android Image
Now, install the Android OS onto your microSD card.
- Download the latest LineageOS Android image for Nintendo Switch (from XDA Developers or NH Switch Guide).
- Use a tool like balenaEtcher or Win32DiskImager to flash the
.imgfile to your microSD card’s EXT4 partition. - Once done, copy the GApps and Joy-Con fix ZIP files to the card (optional).
🚀 Step 5: Boot Android via Hekate
Now it’s time to boot into Android for the first time.
- Insert the microSD card into your Switch.
- Boot into RCM mode again.
- Connect your Switch to your PC and open TegraRCMGUI.
- Send the Hekate payload.
- In Hekate, go to Launch → More Configs → Android.
- Wait for Android to boot — the first boot may take several minutes.
🧠 Step 6: Set Up Android
Once Android boots up:
- Follow the on-screen setup instructions.
- Connect to Wi-Fi.
- (Optional) Flash GApps to enable Google Play Store using TWRP (accessible via Hekate).
- Sign in with your Google account to access apps and games.
🎮 Step 7: Enjoy Android on Your Switch
Once configured, you can use your Nintendo Switch like a full Android tablet!
Here’s what you can do:
- Install apps like Netflix, YouTube, Spotify, and Chrome.
- Play Android games or emulators (like Dolphin or PPSSPP).
- Use Bluetooth controllers or Joy-Cons.
- Stream PC games via Steam Link or Moonlight.
(Source: AndroidSIS – Install Android on Nintendo Switch Step by Step)
⚠️ Common Issues & Fixes
| Problem | Solution |
|---|---|
| Switch won’t boot into Android | Reflash image or check microSD partitioning |
| Joy-Cons not working | Install “Joy-Con Fix” ZIP via TWRP |
| No sound | Enable audio in Android settings or reflash GApps |
| Wi-Fi not connecting | Toggle Airplane Mode or reboot |
| Battery drains fast | Lower brightness or disable background apps |
🔒 Step 8: Boot Back Into Nintendo Switch OS
To return to your regular Switch system:
- Power off your Switch.
- Remove the microSD card.
- Boot normally — it will load into the standard Nintendo OS.
You can switch between Android and the original OS anytime by inserting or removing the Android SD card.
⚠️ Risks of Installing Android on Switch
While it’s an exciting project, keep these risks in mind:
- Warranty void – Nintendo won’t service modified consoles.
- Potential bricking – Errors during flashing can render your Switch unusable.
- Performance limitations – Android isn’t fully optimized for Switch hardware.
- No official support – You’ll rely on community fixes and updates.
(Source: AndroidGuias – Uses, Advantages, and Risks)
✅ Summary: Key Steps
| Step | Task |
|---|---|
| 1 | Check if your Switch is unpatched |
| 2 | Back up your NAND |
| 3 | Partition your SD card |
| 4 | Flash Android image |
| 5 | Boot Android via Hekate |
| 6 | Set up and install apps |
| 7 | Enjoy Android features on your Switch |
🧠 Final Thoughts
Installing Android on your Nintendo Switch transforms it into a powerful portable tablet capable of streaming, browsing, and emulating — all while keeping your gaming capabilities intact.
Just remember: follow the steps carefully, use trusted sources for downloads, and always back up your system before making changes.
📚 References
- NH Switch Guide – Installing Android
- SimplyMac – How to Install Android on a Nintendo Switch
- AndroidGuias – How to Install Android on Nintendo Switch: Uses, Advantages, and Risks
- AndroidSIS – Install Android on Nintendo Switch Step by Step
- LinuxAdictos – Installing Android on Nintendo Switch: Guide and Tips
Key Takeaways
- Installing Android on the Nintendo Switch is a multi-step process that begins with ensuring the console is modifiable.
- Preparing for the installation involves understanding the risks and gathering the necessary tools and software.
- Successfully installing Android offers access to its broad app ecosystem while maintaining the Switch’s gaming capabilities.
Preparing Your Nintendo Switch for Android Installation
Before installing Android on a Nintendo Switch, you need to check compatibility, get the right tools and files, and ensure your system data is safe.
Checking Compatibility and Requirements
The Nintendo Switch must have a hackable Tegra X1 chipset to install Android. This includes some earlier models of the console. The Nintendo Switch Lite and newer models with patched chips are not compatible. You need a microSD card formatted to FAT32 due to the Switch’s file system limitations. Be sure your card has enough space as the Android OS and associated files like GApps take up several gigabytes.
Acquiring Necessary Tools and Files
Start by getting a computer with a microSD card reader. You will need a microSD card, at least 16 GB but preferably larger, to store the Android OS. Download Hekate, a custom bootloader, and the preferred custom ROM which is often LineageOS formatted for the Switch. Next, find the RCM jig that will allow you to put your Switch into recovery mode. Also, have a USB-C cable handy to connect the Switch to your PC.
Backing Up the System
Back up your Nintendo Switch data before attempting any installation. You risk losing your games and saves if something goes wrong. The Hekate bootloader can help create a system backup. Save this backup on your computer or on another SD card to keep it separate and safe. This step is crucial as it safeguards against potential data loss during the Android installation process.


