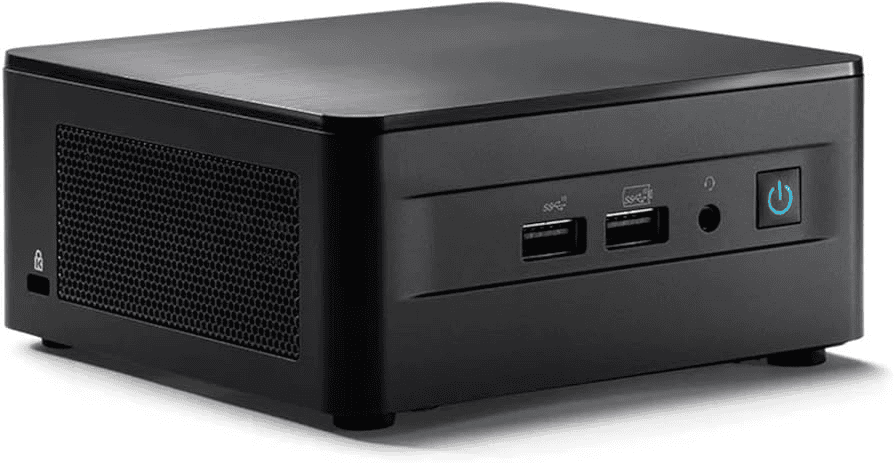
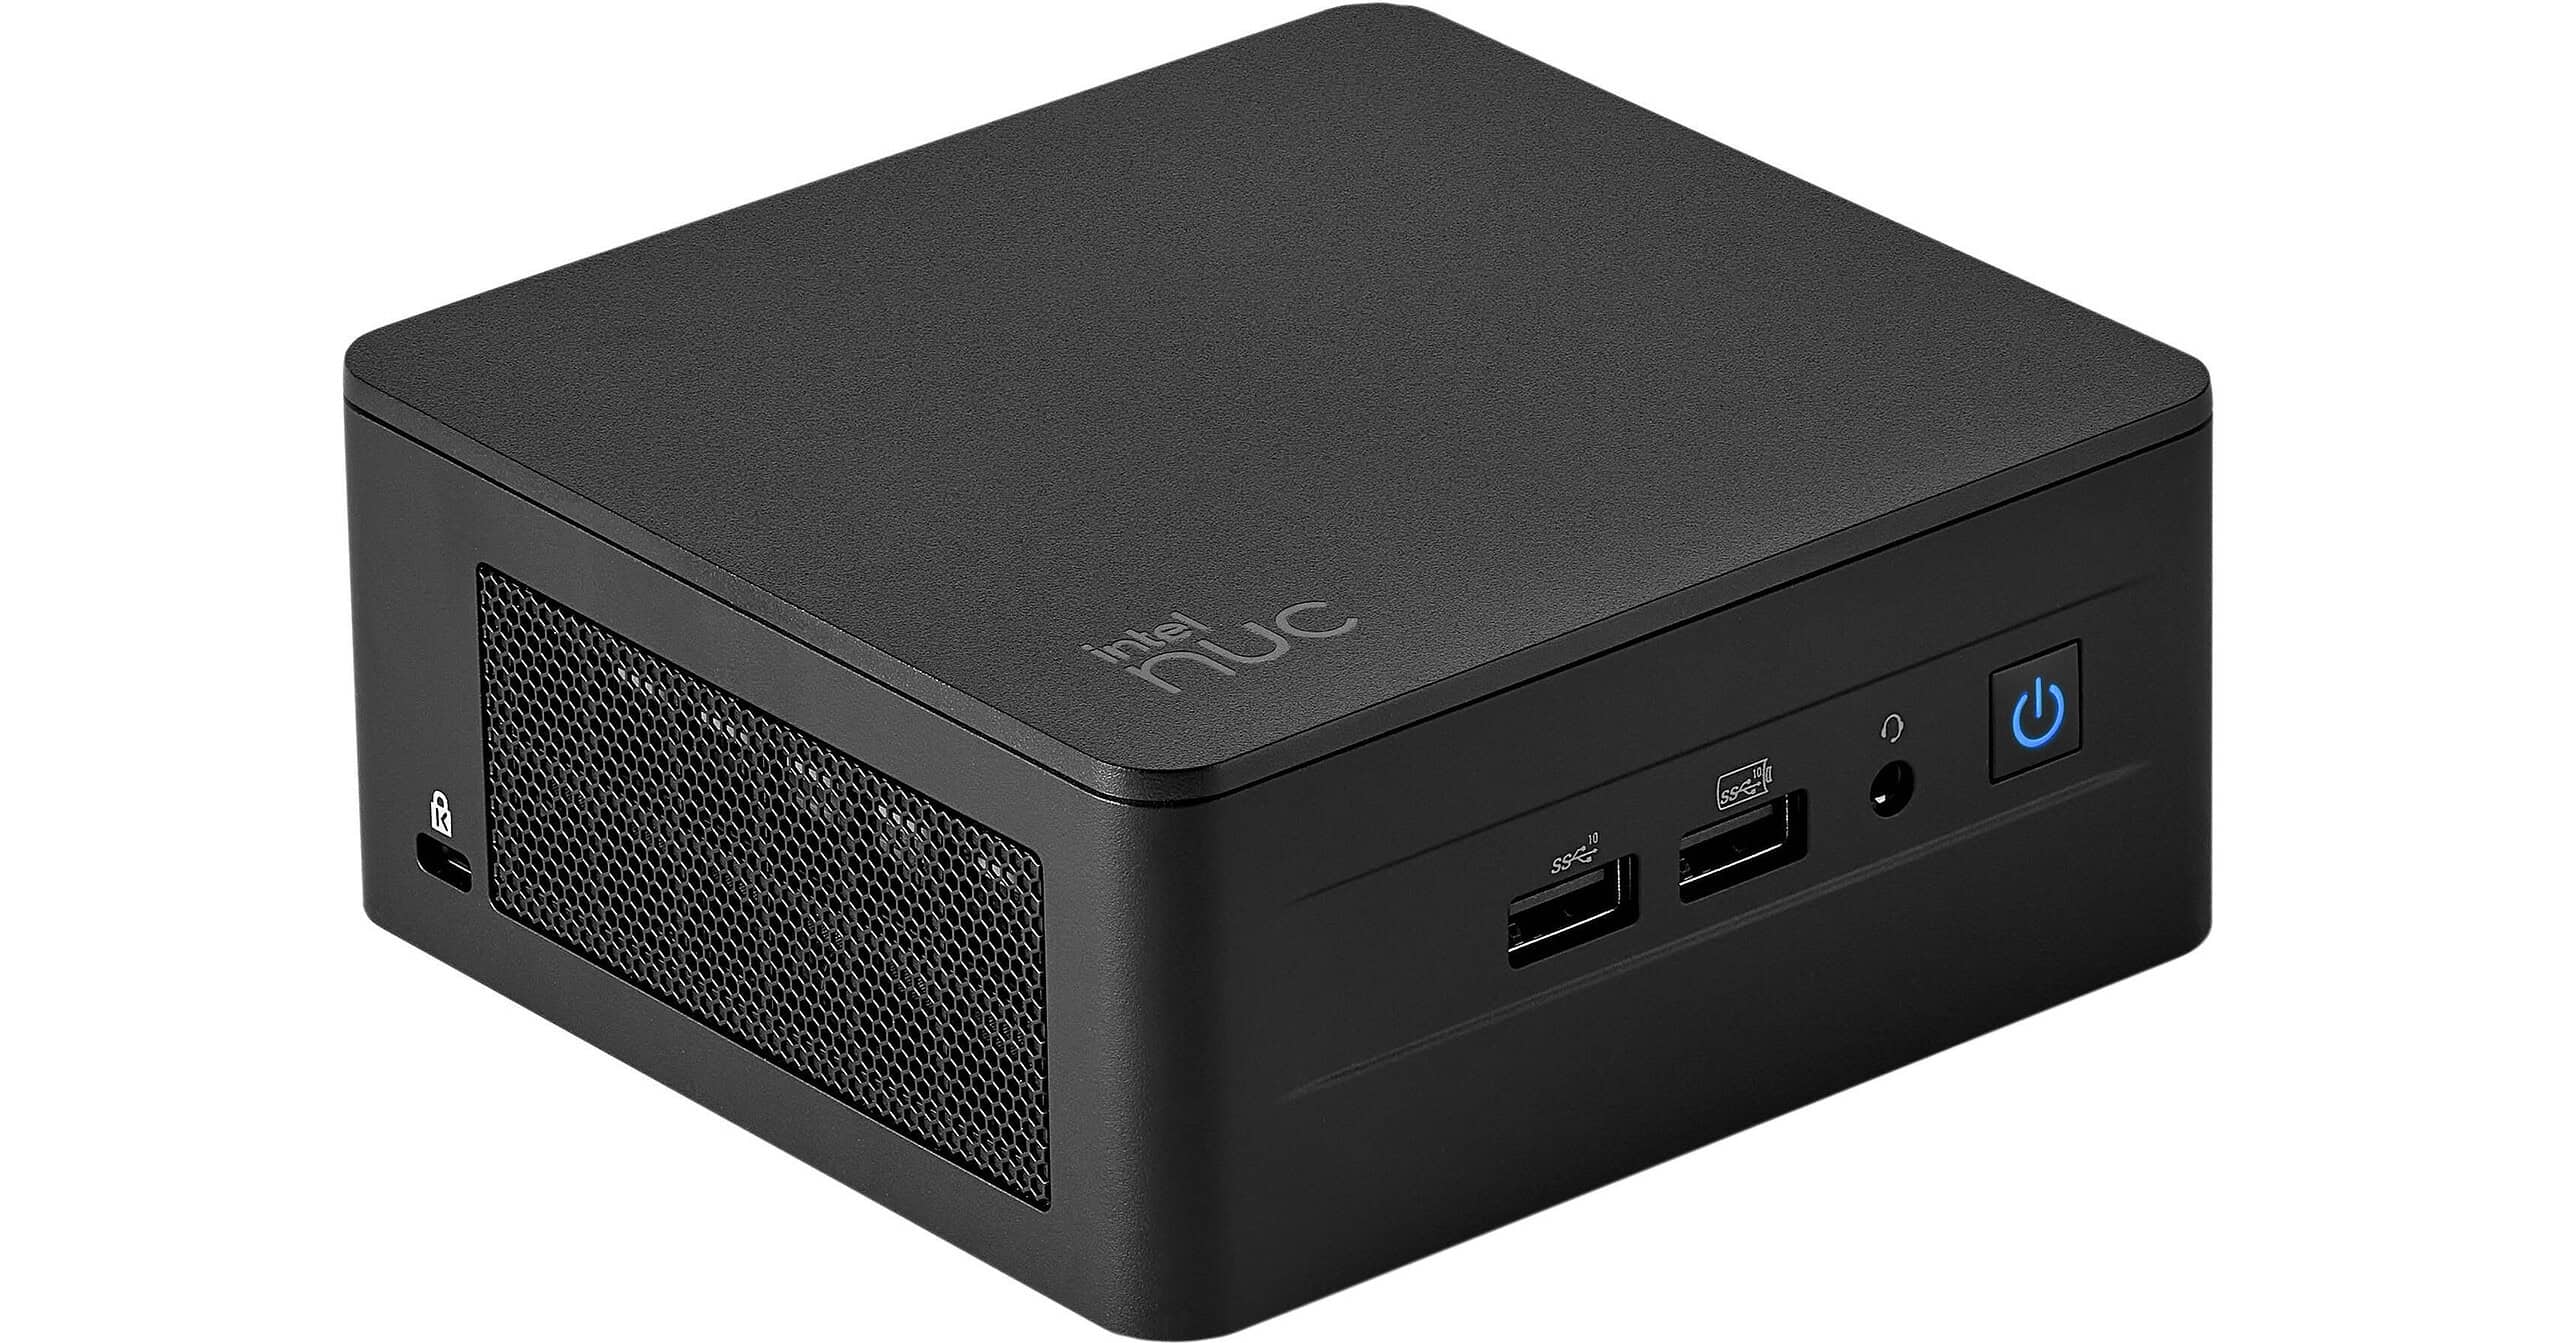
Intel NUC mini PCs offer a handy auto power-on feature. You can set your NUC to turn on by itself after a power outage by changing a simple BIOS setting. This ability keeps your system running with minimal downtime.
To enable auto power-on, you’ll need to access the BIOS setup. Press F2 when booting your NUC to enter the BIOS menu. Navigate to the Power settings and look for an option like “After Power Failure” or “AC Power Recovery.” Change this setting to “Power On” and save your changes.
This feature proves useful for NUCs acting as servers, media centers, or other always-on devices. It ensures your system resumes operation quickly after power interruptions. Remember, you may need to check your CMOS battery if auto power-on stops working unexpectedly.

| BIOS Setting | Function |
|---|---|
| Power On | NUC turns on after power is restored |
| Stay Off | NUC remains off after power is restored |
| Last State | NUC returns to its state before power loss |
Powering Up Automatically: Intel NUC Auto Power On
Want your Intel NUC to spring to life automatically? Whether it’s after a power outage or on a schedule, your NUC has settings that can make it happen. Here’s how to enable auto power on:
Accessing BIOS Setup
First, you’ll need to enter your NUC’s BIOS settings.
- Power On: Start your NUC.
- Press F2: Repeatedly press the F2 key during the initial startup screen. This should bring up the BIOS setup menu. If F2 doesn’t work, try DEL or F10.
Note: If you’re having trouble accessing BIOS, check your NUC’s documentation for the correct key.
Enabling Auto Power On After Power Loss
This setting tells your NUC what to do when power is restored after an outage.
- Find Power Settings: Navigate to the “Power” section in the BIOS menu. The exact location might vary slightly depending on your NUC model and BIOS version. You might find it under headings like “Power > Secondary Power Settings” or “Advanced > Power”.
- After Power Failure: Look for an option labeled “After Power Failure,” “Restore AC Power Loss,” or something similar.
- Select Power On: Change the setting from its default (usually “Stay Off”) to “Power On.”
Scheduling Auto Power On
You can also schedule your NUC to power on at specific times.
- Enable Wake from S5: In the Power settings, look for an option like “Wake System from S5” or “Automatic Power On” and enable it.
- Set the Schedule: You’ll see options to configure the days of the week and time for the automatic power on. Set these according to your preferences. Some NUCs may even offer options for one-time scheduled power-ons.
Saving and Exiting
- Save Changes: Press F10 to save your changes and exit BIOS setup.
- Confirm: Confirm that you want to save the changes when prompted.
Your NUC should now power on automatically according to your settings.
Troubleshooting
- Check Power Supply: Ensure your NUC is connected to a reliable power source.
- BIOS Version: If you’re having trouble finding the settings, consider updating your NUC’s BIOS to the latest version.
- Consult Documentation: Refer to your NUC’s user manual or Intel’s support website for model-specific instructions.
Additional Tips
- Wake-on-LAN: Some NUCs support Wake-on-LAN, allowing you to remotely power them on over your network.
- Power Button: Even with auto power on enabled, you can still use the power button to turn on your NUC manually.
By following these steps, you can configure your Intel NUC to power on automatically, making it more convenient for various use cases, such as a home server, media center, or digital signage display.
Beyond Auto Power On: Exploring Power Management Features
Intel NUCs offer various power management features to optimize energy consumption and customize your system’s behavior. Here are a few to explore:
- Sleep States: Configure different sleep states (S3, S4) to control how your NUC enters low-power modes.
- ErP/EuP Ready: This setting allows your NUC to consume minimal power when shut down, meeting energy efficiency standards.
- Power Schedules: Create custom power schedules to automatically turn your NUC on or off at specific times, even without entering BIOS. You can usually find these settings within your operating system’s power management options.
By utilizing these power management features, you can tailor your Intel NUC’s power consumption to your needs and preferences.
Understanding the Intel NUC’s Auto Power-On Feature
Intel NUCs offer convenient auto power-on capabilities. This feature allows the device to start up automatically after power loss or according to set schedules.
Definition and Importance
Auto power-on lets Intel NUCs turn on by themselves after a power outage. You can set this in the BIOS under “Power” options. It’s useful for servers, digital signage, or any system that needs to run without manual intervention.
The feature has three main settings:
- Stay Off
- Last State
- Power On
Auto power-on after power loss ensures your NUC resumes operation quickly. This is crucial for systems that provide critical services or need constant uptime.
For home users, it means your media server or home automation hub can restart without you pressing the power button. In business settings, it reduces downtime after power failures.
Comparing Across Different NUC Models
Auto power-on availability varies among NUC generations. Newer models typically include this feature, but it’s worth checking your specific model’s capabilities.
Here’s a comparison of auto power-on support in some NUC models:
| NUC Model | Auto Power-On Support |
|---|---|
| NUC5CPYB | Yes |
| NUC7CJYH | Yes |
| NUC6i5SYB | Yes |
Older NUCs might need a CMOS battery replacement to maintain this function. If your NUC doesn’t power on automatically, check the battery first.
Some users report inconsistent behavior with this feature. If you experience issues, update your BIOS and check Intel’s support forums for model-specific advice.
Configuring BIOS for Auto Power-On
Setting up your Intel NUC for automatic power-on after a power failure involves adjusting specific BIOS settings. This process requires entering the BIOS setup, locating the correct power options, and enabling the auto power-on feature.
Accessing the BIOS Setup
To access the BIOS on your Intel NUC, start by turning off the device. Press the power button to start it up again. As soon as you see the Intel logo, press the F2 key repeatedly. This action will bring you into the BIOS setup.
If you miss the timing, let the NUC boot normally and try again. Some NUC models may use a different key to enter BIOS. Check your user manual if F2 doesn’t work.
Once in the BIOS, you’ll see a menu-based interface. Use the arrow keys to navigate and the Enter key to select options.
Navigating to Power Settings
In the BIOS menu, look for a tab or option labeled “Power” or “Advanced”. Use the arrow keys to highlight this option and press Enter. You should now see a list of power-related settings.
Find an option called “After Power Failure” or “AC Power Recovery”. This setting controls how the NUC behaves when power is restored after an outage.
| Setting Option | Behavior |
|---|---|
| Power Off | NUC stays off when power returns |
| Power On | NUC automatically turns on |
| Last State | Returns to the state before power loss |
Enabling Power On After Power Failure
To enable auto power-on, select the “Power On” option under “After Power Failure”. Use the arrow keys to highlight this choice and press Enter to select it.
After making this change, you need to save your new settings. Press the F10 key to bring up the save and exit menu. Select “Yes” to save changes and exit BIOS.
Your NUC will now restart. The next time you experience a power outage, your device will automatically turn on when power is restored.
Remember to test this feature by unplugging your NUC and plugging it back in. It should power on without you pressing the button.
Troubleshooting Auto Power-On Issues
Intel NUC auto power-on problems can be frustrating. These issues often stem from BIOS settings, power failures, or hardware connections. Let’s explore common irregularities and their solutions.
Common Power-On Irregularities
Intel NUCs may unexpectedly power on after a shutdown. This can happen due to incorrect BIOS settings or power failures. Check if your NUC turns on randomly or after power outages.
Another issue is the NUC failing to power on automatically as set. This might occur if the BIOS settings were reset or changed unintentionally.
To address these problems:
- Update your BIOS to the latest version
- Check power settings in BIOS
- Ensure stable power supply
- Verify Wake-on-LAN settings
| Issue | Possible Cause | Solution |
|---|---|---|
| Random power-on | Incorrect BIOS setting | Adjust ‘After Power Failure’ option |
| No auto power-on | Reset BIOS | Reconfigure power settings |
| Power-on after outage | Normal behavior if set | Change if undesired |
Resolving BIOS Configuration Conflicts
BIOS settings play a crucial role in auto power-on functionality. To resolve conflicts:
- Enter BIOS by pressing F2 during startup
- Navigate to Power > Secondary Power Settings
- Find ‘After Power Failure’ option
- Select ‘Power On’ to enable auto power-on
- Choose ‘Last State’ to restore previous power state
- Pick ‘Power Off’ to keep NUC off after power loss
Save changes and exit BIOS. Test the new settings by simulating a power failure.
If issues persist, try resetting BIOS to default settings. Then reconfigure power options as needed.
Checking Hardware and Power Connections
Hardware issues can also cause auto power-on problems. Inspect these components:
- Power adapter: Ensure it’s properly connected and functional
- Power button: Check for sticking or damage
- Internal connections: Verify all cables are secure
Test with a different power outlet to rule out electrical issues. If using a power strip, try plugging directly into the wall.
For persistent problems, consider updating drivers and BIOS. Check Intel’s support site for your specific NUC model.
If all else fails, contact Intel support for further assistance. They can help diagnose hardware faults or provide model-specific advice.
Frequently Asked Questions
Intel NUC devices offer convenient auto power-on features. Users often have questions about configuring these settings and troubleshooting power-related issues. Here are answers to common queries about Intel NUC auto power-on functionality.
Why does my Intel NUC unexpectedly power on by itself?
Unexpected power-ons can occur due to Wake-on-LAN settings or scheduled tasks. Check your BIOS settings and Windows power options. Disable Wake-on-LAN if not needed. Review scheduled tasks that might be waking your device.
How can I set my Intel NUC’s BIOS to automatically power on the system?
To set auto power-on:
- Press F2 during startup to enter BIOS
- Go to Power > Secondary Power Settings
- Set “After Power Failure” to “Power On”
- Press F10 to save and exit
Your NUC will now turn on automatically when power is connected.
What steps are involved in setting up an Intel NUC to turn on automatically after a power outage?
The process is similar to auto power-on:
- Enter BIOS (F2 at startup)
- Navigate to Power settings
- Find “After Power Failure” option
- Choose “Power On” or “Last State”
- Save and exit
This ensures your NUC restarts after power loss.
How do I enable and use Wake on LAN on an Intel NUC device?
To enable Wake-on-LAN:
- Enter BIOS settings
- Find Power > Wake on LAN from S4/S5
- Enable the option
- Save changes and exit
Then configure your network adapter in Windows to allow wake-up. Use WoL software to send magic packets and wake your NUC remotely.
What are the causes and solutions for an Intel NUC that powers on and then turns off immediately?
Common causes include:
- Faulty power supply
- Loose RAM or storage
- Overheating
- Dead CMOS battery
Solutions:
- Check power connections
- Reseat RAM and storage
- Clean dust from vents
- Replace CMOS battery if needed
How do I properly update the BIOS on my Intel NUC?
To update BIOS:
- Download latest BIOS from Intel’s website
- Create a bootable USB drive with the BIOS file
- Restart NUC and press F7 for BIOS flash update
- Follow on-screen instructions
- Wait for completion and restart
Always use a stable power source during BIOS updates to prevent issues.
| Auto Power-On Feature | Location in BIOS | Options |
|---|---|---|
| After Power Failure | Power > Secondary Power Settings | Stay Off, Last State, Power On |
| Wake on LAN | Power > Wake on LAN from S4/S5 | Enabled, Disabled |


