Taking screenshots on HP and Lenovo laptops is a simple process. These handy tools let you capture images of your screen for various purposes. Both HP and Lenovo laptops offer multiple ways to take screenshots, including keyboard shortcuts and built-in tools.
Windows provides standard methods for capturing screenshots across different laptop brands. The Print Screen key is a quick way to snap the entire screen. For more control, the Snipping Tool lets users select specific areas to capture.
Some Lenovo laptops have unique features for screenshots. Pressing the Print Screen key alone may open the Snip & Sketch tool instead of copying the screen to the clipboard. This tool offers more options for editing and saving screenshots directly.
How to Capture Your Screen: A Guide to Screenshots on HP and Lenovo Laptops
In today’s digital world, taking screenshots is a common task for many people. Whether you need to capture an error message, save an online recipe, or share something funny with a friend, knowing how to take a screenshot is a valuable skill. This guide will walk you through the process of taking screenshots on HP and Lenovo laptops.
Method 1: Using the Print Screen Key
Both HP and Lenovo laptops have a dedicated “Print Screen” key on their keyboards. This key is usually located in the upper-right corner of the keyboard and may be labeled as “PrtScn,” “Prt Scr,” or something similar.
To take a screenshot of your entire screen, simply press the “Print Screen” key. This will capture an image of everything on your screen and save it to your clipboard. You can then paste the image into an image editor like Microsoft Paint or a document editor like Microsoft Word.
Method 2: Using the Windows Key + Print Screen
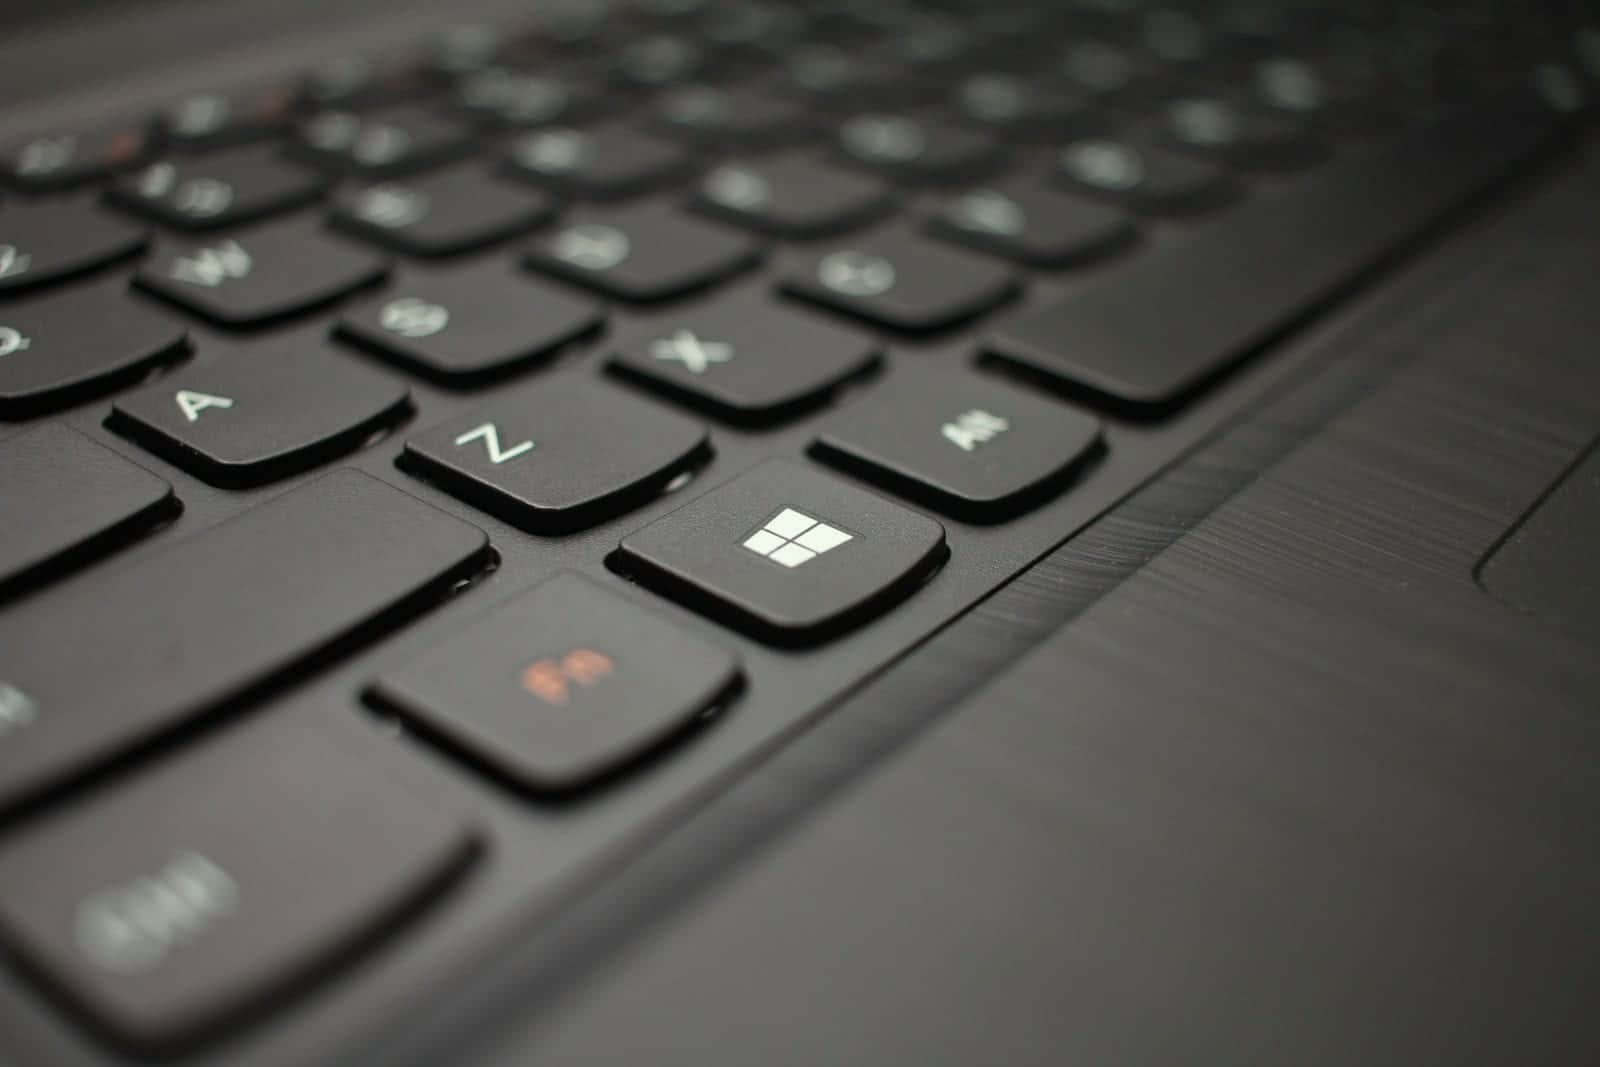
For a more streamlined approach, you can use the “Windows Key + Print Screen” shortcut. Press and hold the Windows key (the key with the Windows logo) and then press the “Print Screen” key. This will take a screenshot of your entire screen and automatically save it as a PNG file in your “Pictures” folder, in a subfolder called “Screenshots.”
Method 3: Using the Snipping Tool

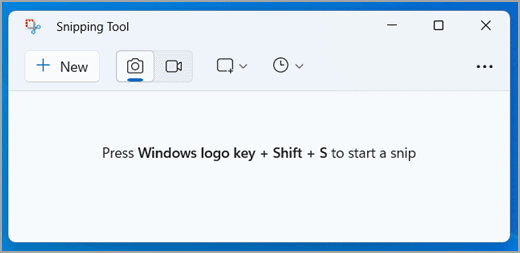
Windows has a built-in tool called the Snipping Tool that allows you to take more customized screenshots. You can use it to capture a specific region of your screen, a window, or the entire screen. You can also use it to annotate your screenshots with highlights, pen marks, and text.
To use the Snipping Tool, type “Snipping Tool” in the Windows search bar and open the application. Click the “New” button to start a new screenshot. You can then select the type of snip you want to take and capture the desired area of your screen.
Method 4: Using the Snip & Sketch Tool
Windows 10 and 11 include a newer tool called Snip & Sketch, which offers similar functionality to the Snipping Tool with a more modern interface. You can access Snip & Sketch by pressing “Windows Key + Shift + S.” This will bring up a small menu where you can choose the type of snip you want to take. After capturing a snip, it will be copied to your clipboard, and you can then paste it into any application.
Table: Screenshot Shortcuts for HP and Lenovo Laptops
| Action | Shortcut | Description |
|---|---|---|
| Capture entire screen to clipboard | Print Screen | Copies an image of the entire screen to the clipboard. |
| Save screenshot of entire screen | Windows Key + Print Screen | Saves a screenshot of the entire screen as a PNG file. |
| Open Snipping Tool | Type “Snipping Tool” in Windows search bar | Opens the Snipping Tool for customized screenshots. |
| Open Snip & Sketch | Windows Key + Shift + S | Opens the Snip & Sketch tool for capturing and annotating screenshots. |
Key Takeaways
- Screenshots can be taken using keyboard shortcuts or built-in tools
- The Print Screen key captures the entire screen on most laptops
- Lenovo laptops may have special screenshot features like Snip & Sketch
Screen Capture Basics on HP and Lenovo Laptops
HP and Lenovo laptops offer several easy ways to take screenshots. Users can capture full screens, active windows, or custom areas using keyboard shortcuts and built-in tools.
Understanding Key Functions for Screenshots
The PrtScn key is the main button for taking screenshots. It’s usually at the top right of the keyboard. Pressing PrtScn alone captures the whole screen. For just the active window, use Alt + PrtScn. These shortcuts copy the image to the clipboard.
Windows + PrtScn saves a full-screen shot directly to the Pictures folder. This is handy for quick captures without extra steps. The Windows key is often near the bottom left of the keyboard.
Clipboard history in Windows 10 stores multiple screenshots. Press Windows + V to see recent captures. This feature helps when taking several shots in a row.
Utilizing Built-in Tools for Taking Screenshots
The Snipping Tool is a handy program for custom screenshots. It’s been part of Windows for years. Open it from the Start menu to select capture options.
Windows 10 introduced a newer tool called Snip & Sketch. Press Windows + Shift + S to open it. This shortcut brings up a small menu at the screen’s top. Users can pick from different snip types.
Both tools let users draw on screenshots. They also offer ways to delay captures. This is useful for grabbing menus or tooltips that vanish when moving the mouse.
Selecting the Right Screenshot Method
Full-screen captures work best for showing everything at once. They’re good for tech support or saving entire web pages. Use PrtScn or Windows + PrtScn for these.
Window snips are perfect for focusing on one program. They cut out distractions from other apps or the desktop. Alt + PrtScn is the fastest way to grab active windows.
Rectangular snips offer the most control. They let users select exactly what they want to show. This is great for highlighting specific parts of the screen.
Delayed screenshots help capture tricky elements. Set a timer in Snipping Tool or Snip & Sketch. This gives time to open menus or prepare the screen before the capture.


