Audio problems on a computer can range from minor annoyances to major productivity hurdles. Whether it’s a quick hiccup in playback or ongoing issues with sound quality, resolving these frustrations is crucial. This article addresses common digital audio output problems on computers and provides a methodical approach to fixing them.
The troubleshooting process begins with the basics, such as checking that cables and connections are secure and the output device is functioning properly. Software considerations are also key, with steps including using the built-in audio troubleshooter in Windows systems, ensuring audio drivers are up to date, and verifying correct audio output settings. Tackling audio issues effectively means methodically diagnosing hardware and software elements to pinpoint and address the underlying cause.
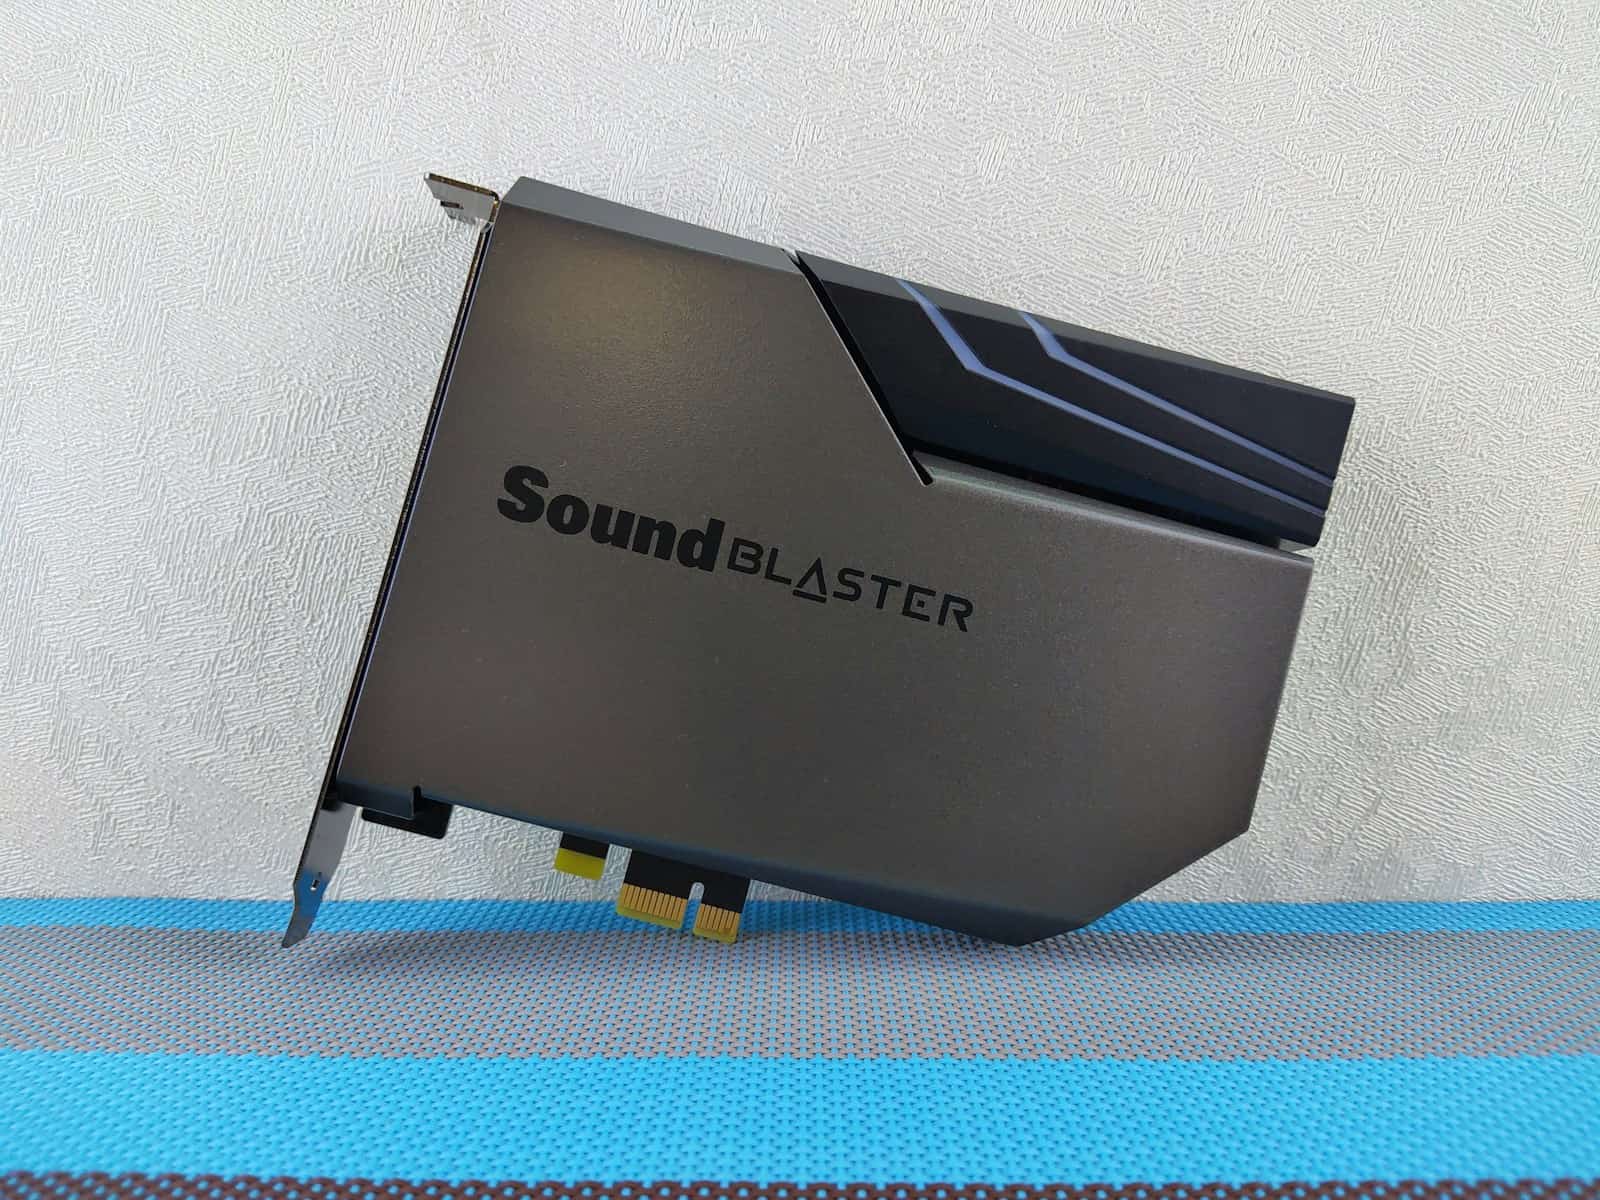
Step-by-Step Fixes for Digital Audio Out Problems
If you’re stuck staring at your screen with no sound coming out of your speakers or digital output device, don’t worry—you’re not alone. Digital audio out issues are incredibly common across Windows desktops, laptops, and even some Mac setups. Fortunately, in most cases, you can fix them with a few targeted troubleshooting steps. Below is a curated, no-nonsense guide to get your sound back without diving into endless forums or wasting time on unhelpful suggestions.
1. Check Your Output Device Settings
The first thing to do is verify that your system is actually trying to send audio to the correct device. This is one of the most common reasons why audio output seems to vanish.
How to Do It (Windows)
- Right-click the speaker icon in your system tray and choose Sounds.
- Click the Playback tab.
- Find your digital audio device (e.g., “Realtek Digital Output” or “HDMI”).
- Right-click it and select Set as Default Device.
- Click OK to save your settings.
Still nothing? Don’t move on yet—try unplugging and replugging any HDMI or optical cables. That can sometimes force the system to re-recognize the device.
2. Use the Built-in Audio Troubleshooter
Modern operating systems include built-in tools that can automatically find and resolve common audio issues.
Run It Like This:
- Open Settings > System > Sound.
- Scroll down and click Troubleshoot under the Output section.
- Follow the steps it recommends. It may reset settings or reinstall drivers as needed.
In some cases, this is all it takes. The troubleshooter might fix incorrect audio routing, restore disabled services, or correct other system-level misconfigurations.
3. Update or Reinstall Your Audio Drivers
Drivers are the behind-the-scenes code that lets your operating system talk to your audio hardware. If they’re broken or outdated, you’ll run into problems.
Steps to Update or Reinstall:
- Open Device Manager (right-click Start and select it).
- Expand Sound, video and game controllers.
- Right-click your audio device (e.g., “Realtek High Definition Audio”) and choose Update driver.
- If that doesn’t help, choose Uninstall device, then reboot. Windows will usually reinstall the correct driver automatically.
If it doesn’t reinstall after rebooting, download the latest driver manually from your motherboard or laptop manufacturer’s website.
4. Turn Off Audio Enhancements
Audio “enhancements” sometimes cause more problems than they solve. If you’re using digital output, these enhancements might interfere with pass-through audio or bitstream output.
Disable Them Like This:
- Right-click the speaker icon and choose Sounds.
- Go to the Playback tab and double-click your default device.
- Click the Enhancements tab.
- Check the box for Disable all enhancements (or “Sound Effects”).
- Click OK.
In some systems, this can instantly bring your sound back—especially if you’re passing audio through HDMI or optical connections.
5. Verify Physical Connections
Before diving too deep into software fixes, double-check the obvious. Loose cables, half-inserted HDMI plugs, or dust in your optical port can lead to no signal getting through.
- Unplug and re-plug any HDMI, DisplayPort, optical (TOSLINK), or coaxial connections.
- Try different ports if your device supports them.
- If you’re using an A/V receiver or soundbar, ensure it’s powered on and not muted.
If possible, test the cable and device with another source to rule out hardware failure.
6. Switch Audio Format Settings
Sometimes, your system is outputting audio in a format your speakers or receiver can’t understand. Switching to a more universally supported sample rate or bit depth can fix this.
To Change the Format:
- Open the Sound settings (right-click speaker icon > Sounds).
- Under the Playback tab, select your device and click Properties.
- Go to the Advanced tab.
- Choose a common format like 16 bit, 44100 Hz (CD Quality) from the dropdown menu.
- Click Test to see if audio plays.
Bitstreaming formats like Dolby Digital and DTS might need to be enabled separately in some media apps or playback software.
7. Inspect BIOS/UEFI Settings
This is a rare fix, but it matters: if your integrated sound card is disabled in your BIOS or UEFI settings, nothing in Windows will work.
- Restart your PC and enter BIOS/UEFI (usually by pressing DEL, F2, or ESC during boot).
- Look for a setting related to HD Audio or Onboard Audio and make sure it’s Enabled.
- Save changes and reboot into Windows.
8. Check for Windows Audio Service Problems
Sometimes the issue isn’t hardware or drivers—it’s Windows itself. If the Windows Audio service is off or stuck, your sound won’t work no matter what you try above.
Restart Audio Services:
- Press Windows + R, type services.msc, and hit Enter.
- Scroll down to Windows Audio.
- Right-click it and choose Restart.
- Do the same for Windows Audio Endpoint Builder.
If either service fails to start or restart, you may need to repair corrupt system files using sfc /scannow in Command Prompt.
9. Use HDMI Audio Pass-Through Settings (Advanced)
If you’re using HDMI for digital audio, especially with a home theater receiver, some setups require pass-through to be explicitly enabled. This might be in the system settings, graphics driver control panel, or your media player’s audio output configuration.
- In VLC or Kodi, go to the audio settings and select HDMI or Digital Out.
- Enable passthrough for Dolby, DTS, or other surround formats if supported.
- On NVIDIA or AMD GPUs, open their control panel and verify that HDMI audio is active and selected.
This is often needed for surround sound formats or high-fidelity setups.
When All Else Fails: Try External Solutions
If you’re still having issues after all of the above, it might be time to test with an external USB sound card or digital-to-analog converter (DAC). These devices often bypass flaky internal audio drivers or hardware limitations.
You can find USB-to-optical or USB-to-3.5mm audio devices that are plug-and-play and can serve as a solid backup or even a long-term solution for systems with unreliable onboard sound.
Whether your sound vanished after a Windows update, new driver install, or seemingly out of nowhere, these steps cover every major cause of digital audio out issues—and should get you back to hearing things loud and clear.
Key Takeaways
- Check connections and ensure the audio device is working.
- Use Windows audio troubleshooter to detect issues.
- Update audio drivers and verify output settings.
Diagnosing and Resolving Hardware and Software Issues
When digital audio stops working on a computer, it is important to carefully check both hardware and software. This section helps diagnose and resolve these issues.
Checking Physical Connections and Hardware Functionality
Make sure all cables are firmly connected. Check if the speakers, headphones, and any other audio output devices work by trying them with another device.
Utilizing Built-in Troubleshooting Tools
Windows PCs come with a sound troubleshooter. Access it by right-clicking the speaker icon in the taskbar and selecting ‘Troubleshoot sound problems‘.
Updating and Managing Audio Drivers
Audio issues may arise from outdated drivers. Go to Device Manager, find the audio device and select ‘Update driver’. If problems persist, ‘Roll Back Driver’ may revert to a previous version that worked.
Configuring Sound Settings in the Operating System
Sound settings can impact audio output. In Control Panel, choose ‘Sound’ to check volume levels and ensure the correct playback device is set as default.
Restoring System to Previous State
A recent change might cause audio problems. System Restore can revert the system to a point when the audio was functioning properly.
Seeking Professional Assistance
If the above steps fail, it may be time to consult a professional. They can provide more advanced diagnosis and solutions for complex hardware or software issues.


