Installing a new graphics card can boost your computer’s performance for gaming and other visual tasks. A graphics card upgrade can make a big difference in how well your PC runs games and other graphics-heavy programs. To install a graphics card, you’ll need to open your computer case, remove the old card if present, insert the new card into the proper slot, and connect the power cables. By following these steps and taking necessary precautions, you can successfully install your new graphics card and enjoy smoother visuals and enhanced performance.
The process takes some care but isn’t too hard. You’ll want to make sure you get a card that fits your case and works with your power supply. Having the right tools ready, like a screwdriver, also helps the job go smoothly.
Installing a Graphics Card
Installing a new graphics card can significantly boost your computer’s performance for gaming, video editing, and other graphics-intensive tasks. While it might seem intimidating, the process is actually quite straightforward. With a little preparation and careful handling, you can easily install a graphics card yourself.
Before You Begin
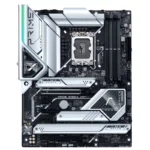
- Check Compatibility: Ensure the graphics card is compatible with your motherboard’s PCIe slot and your power supply has enough wattage and the correct connectors.
- Gather Tools: You’ll need a Phillips head screwdriver, an anti-static wrist strap, and your computer’s user manual.
- Back Up Your Data: It’s always a good idea to back up important files before making any hardware changes.
- Power Down and Unplug: Turn off your computer and unplug it from the power outlet.
Installation Steps
- Open the Case: Remove the side panel of your computer case. Refer to your user manual if you’re unsure how to do this.
- Ground Yourself: Put on the anti-static wrist strap and connect it to a grounded metal object to prevent static electricity from damaging your components.
- Remove the Old Card (If Applicable): If you have an existing graphics card, uninstall its drivers, then unscrew it from the case and carefully remove it from the PCIe slot.
- Locate the PCIe Slot: Identify the appropriate PCIe x16 slot on your motherboard. It’s usually the longest slot and closest to the CPU.
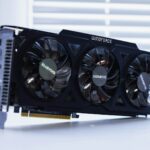
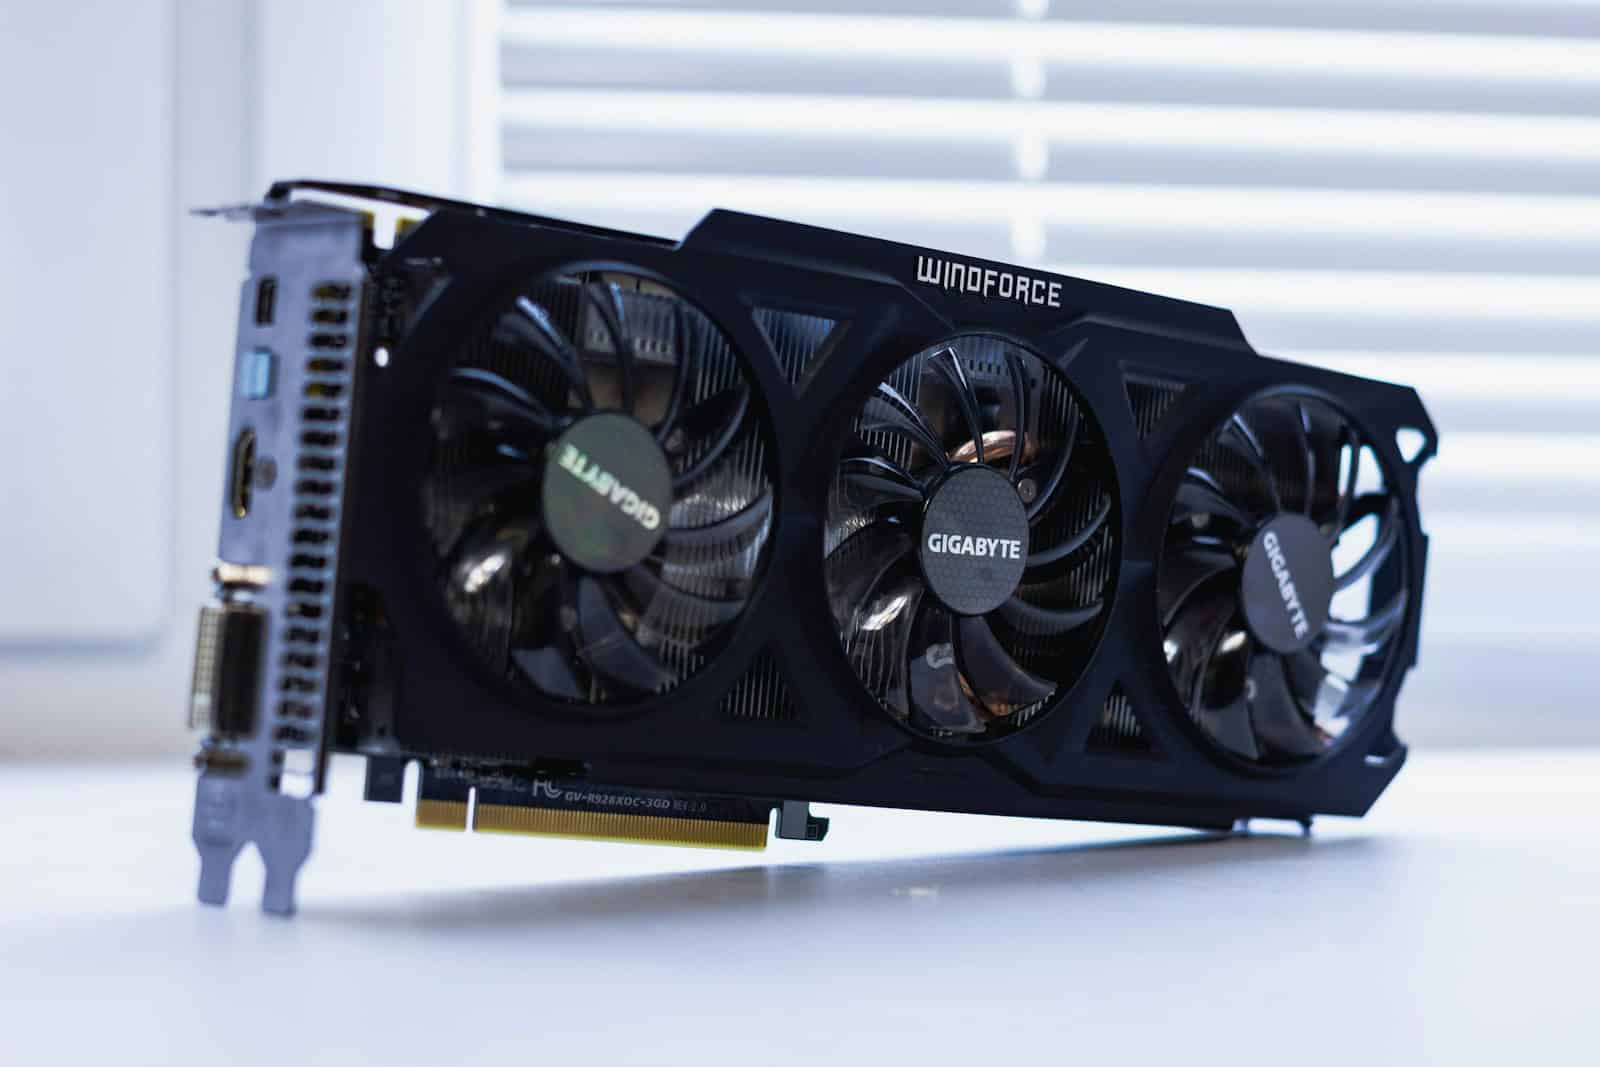
- Install the New Card: Align the graphics card with the PCIe slot and gently push it down until it clicks into place. Secure it with the screws you removed earlier.
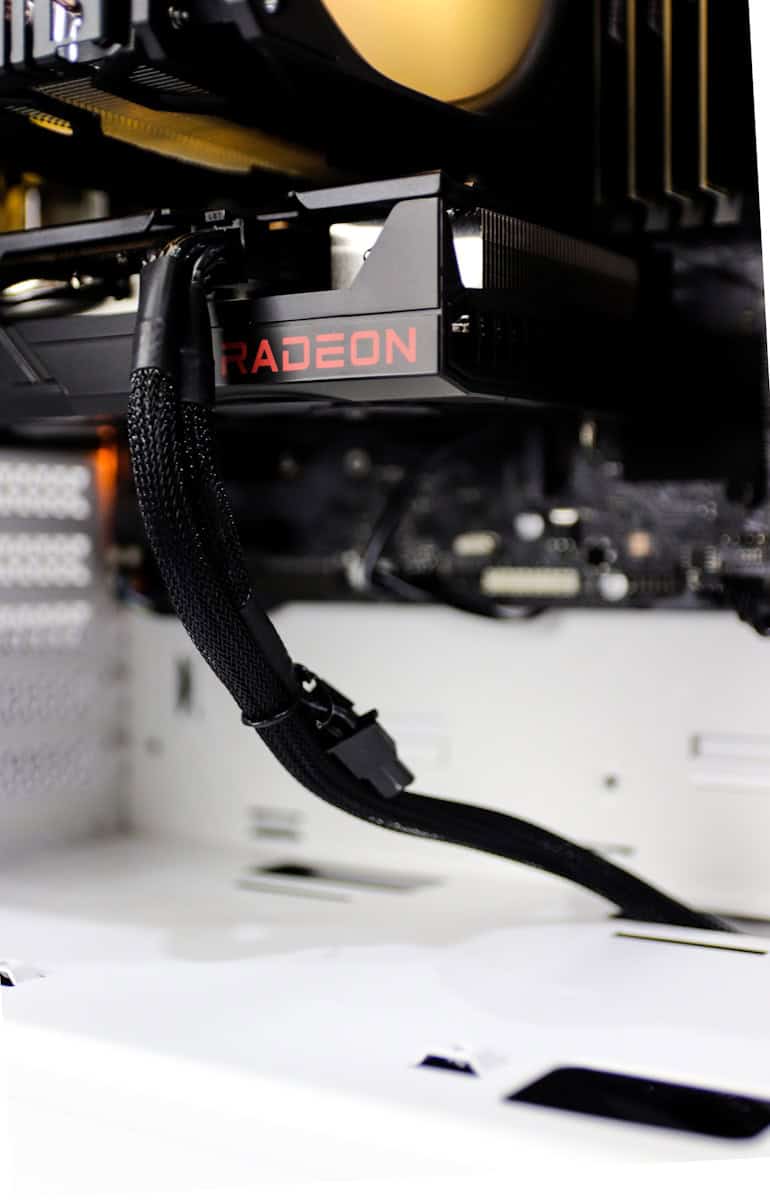
- Connect Power Cables: Connect the necessary power cables from your power supply to the graphics card.
- Close the Case: Replace the side panel of your computer case.
- Connect Monitor: Connect your monitor cable to the graphics card’s output port.
- Power On and Install Drivers: Turn on your computer and install the latest drivers for your graphics card from the manufacturer’s website.
Troubleshooting
| Problem | Solution |
|---|---|
| No display after installation | Ensure the monitor is connected to the graphics card, not the motherboard. Reseat the card and check power connections. |
| Graphics card not detected | Make sure the card is properly seated in the PCIe slot. Try a different PCIe slot if available. |
| Performance issues | Update to the latest graphics card drivers. Check for BIOS updates for your motherboard. |
Choosing the Right PCIe Slot
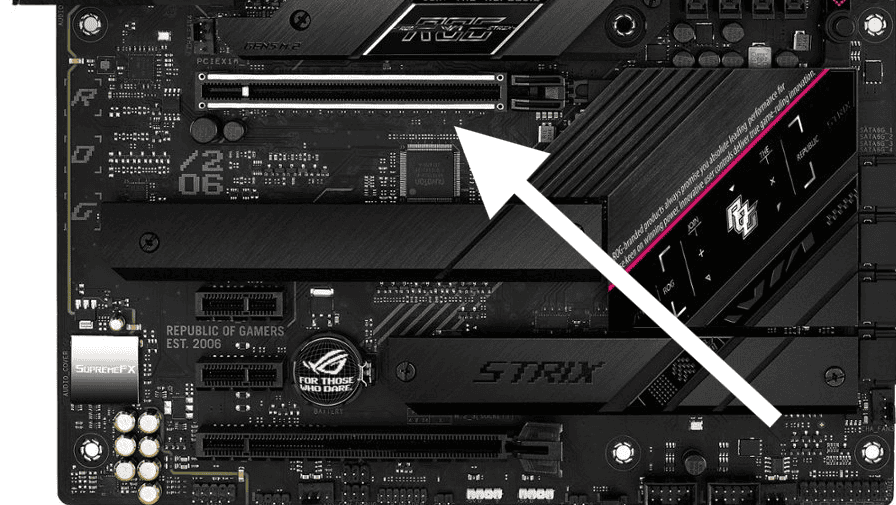
Wondering which motherboard slot should you install a new high-end graphics card in? Modern motherboards often have multiple PCIe slots, but they’re not all created equal. For a high-end graphics card, you’ll want to use the primary PCIe x16 slot, which typically offers the fastest data transfer speeds and is usually located closest to the CPU. This slot is often labeled as “PCIe_1” or “PCIE x16_1” in your motherboard manual.
Using the primary PCIe x16 slot ensures your graphics card has the bandwidth it needs to perform at its best. Avoid using PCIe x1 or x4 slots, as these are designed for different types of expansion cards and won’t provide sufficient bandwidth for a high-end graphics card.
If you’re unsure which slot is the primary PCIe x16 slot, consult your motherboard manual. It will provide a diagram of your motherboard and identify the correct slot for your graphics card.
Key Takeaways
- Opening your computer case is the first step to installing a new graphics card
- Check that your new card fits your case and power supply before buying
- Have tools like a screwdriver ready to make installation easier
Preparation for Installation
Before installing a graphics card, you need to check a few things. You also need the right tools and safety measures. Let’s look at what you need to do.
Compatibility Checks
Check if your new graphics card fits your computer. Look at your motherboard’s PCI-E slot. Make sure it’s the right size for your card. Check your PC case too. Some cards are very long and might not fit.
Look at your power supply. Graphics cards need a lot of power. Use a power supply calculator to see if yours is strong enough. If not, you may need a new one.
Check the card maker’s website. They often list what you need. This includes things like how much power it uses and what connections it needs.
Safety Precautions
Turn off your PC and unplug it before you start. This keeps you safe from electric shocks. Touch a metal part of your case to remove static electricity from your body.
Work in a clean, well-lit area. This helps you see what you’re doing and avoid mistakes. Keep food and drinks away from your work area.
Be gentle with your computer parts. They can break if you’re too rough. If something doesn’t fit, don’t force it. Stop and check if you’re doing it right.
Required Tools and Accessories
You’ll need a few tools to install your graphics card. A Phillips head screwdriver is the main tool you’ll use. It helps you open your case and secure the card.
You might need new power connectors. Some cards need special plugs from the power supply. If yours doesn’t have these, you may need adapters.
Anti-static wrist straps can help protect your parts from static. They’re not a must, but they add extra safety. A flashlight can be helpful to see inside your PC case better.
FAQs
Can I install a graphics card myself?
Absolutely! Installing a graphics card is a surprisingly manageable task, even for those with limited computer experience. The process involves opening your computer case, locating the correct PCIe slot on the motherboard, carefully inserting the graphics card, securing it with screws, and connecting the necessary power cables. While it’s important to handle the components with care and take precautions against static electricity, the steps themselves are quite straightforward. Numerous online resources and tutorials can guide you through the process, making it a feasible DIY upgrade for most users.
Are graphics cards hard to install?
Not really! Installing a graphics card is generally easier than you might think. It’s more about being careful and methodical than having advanced technical skills. The process involves a few simple steps: opening your computer case, finding the right slot, inserting the card, and connecting the power cables. As long as you handle the components gently and take precautions to avoid static discharge, you can successfully install a graphics card yourself. There are plenty of online tutorials and guides to walk you through the process step-by-step.
Do I need to uninstall drivers before installing a new GPU?
It’s generally a good idea to uninstall your old graphics card drivers before installing a new GPU, especially if you’re switching between different brands (like NVIDIA to AMD or vice versa). This helps prevent potential conflicts and ensures a clean installation of the new drivers. You can uninstall the drivers through the Device Manager in Windows or use a dedicated driver removal tool for a more thorough cleaning.
Do I need to install drivers before a graphics card?
No, you don’t need to install drivers before installing a graphics card. In fact, it’s best to install the drivers after you’ve physically installed the card in your computer. This ensures that the drivers correctly recognize and interact with the new hardware. You can typically find the latest drivers for your graphics card on the manufacturer’s website (NVIDIA or AMD).
How do I know if my graphics card driver is installed?
There are a few ways to check if your graphics card driver is installed:
- Device Manager: In Windows, open the Device Manager and look for “Display adapters.” If your graphics card is listed there with no error symbols, the driver is likely installed.
- Screen resolution: Right-click on your desktop and select “Display settings.” You should see the name and model of your graphics card listed, indicating that the driver is working.
- Software: If you have the graphics card manufacturer’s software installed (like NVIDIA GeForce Experience or AMD Adrenalin), it will usually show you the driver version and status.