Updating to Windows 11 is a straightforward process that brings a host of new features and improvements to your computer. If your PC meets the necessary requirements, an upgrade can enhance your computing experience with a new design and better performance. Before starting the update, it’s wise to run the PC Health Check App, which confirms if your device can handle the new system.
It’s important to ensure that your files and data are backed up before initiating the upgrade. This precaution guards against any potential data loss. With preparations complete, you can start the upgrade to Windows 11 through Windows Update, which can be accessed in the settings of your current Windows system.
Keeping Your Windows 11 PC Up-to-Date: A Simple Guide
Microsoft regularly releases updates for Windows 11 to fix bugs, improve security, and add new features. Keeping your system updated ensures optimal performance and protection. Here’s how to do it:
Check for Updates
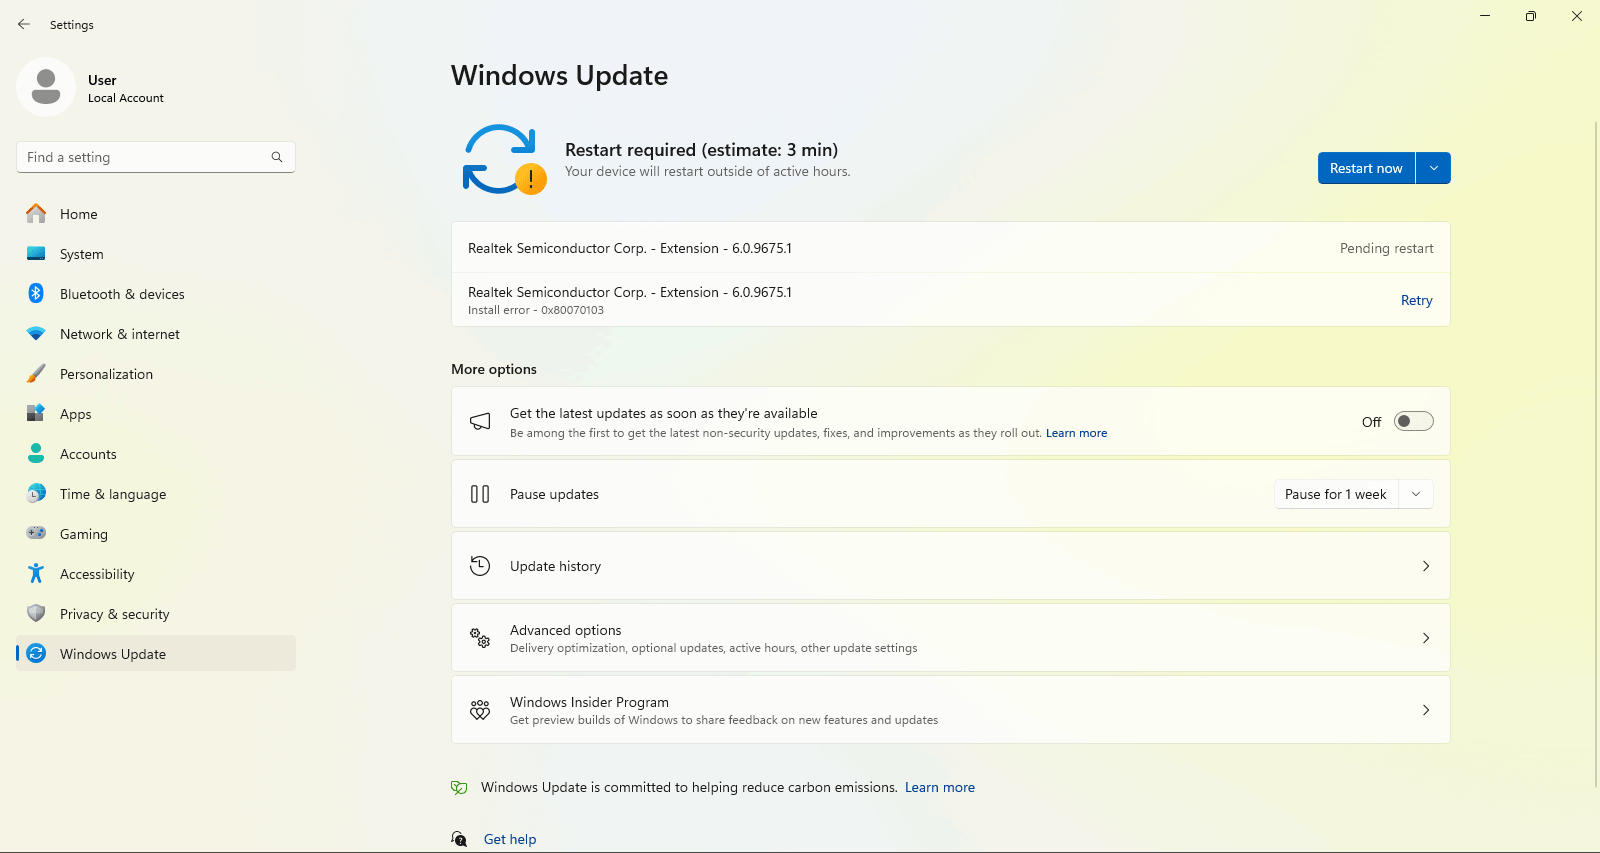
- Open Settings: Click on the Start button and select “Settings” (the gear icon).
- Go to Windows Update: Click on “Windows Update” in the left sidebar.
- Check for Updates: Click the “Check for updates” button. Windows will automatically search for and download any available updates.
Install Updates
- Restart Your Computer: If updates are found and downloaded, you’ll be prompted to restart your computer to install them. You can schedule the restart for a later time if you prefer.
- Automatic Updates: By default, Windows 11 is set to automatically download and install updates. You can adjust these settings in the “Windows Update” section of the Settings app.
Advanced Update Options
If you want more control over the update process, you can:
- Pause Updates: Temporarily pause updates for up to 7 days.
- Choose Active Hours: Set the hours when you’re typically using your computer, and Windows will avoid restarting during those times.
- View Update History: See which updates have been installed and their details.
Troubleshooting Update Issues
| Issue | Possible Solutions |
|---|---|
| Updates not downloading | Check your internet connection, restart your computer, run the Windows Update troubleshooter. |
| Updates failing to install | Free up disk space, disable antivirus software temporarily, try installing updates manually. |
| Error messages during update | Look up the specific error code online for troubleshooting steps, or contact Microsoft support. |
Key Takeaways
- Upgrading to Windows 11 can provide a fresh computing experience with new features
- The PC Health Check App determines if your computer can support the new operating system
- Backup your data before updating to safeguard against any loss
Preparing for Windows 11 Update
When updating to Windows 11, it’s crucial to confirm your PC meets system requirements and your data is secure.
Checking System Requirements
Before downloading Windows 11, use the PC Health Check tool to ensure your device’s compatibility. Key hardware requirements include:
- RAM: 4GB or more
- CPU: 1GHz or faster with 2 or more cores on a compatible 64-bit processor
- TPM: Version 2.0
- System Firmware: UEFI and Secure Boot capable
- Drive: 64GB or larger storage device
Your PC’s manufacturer may also have specific guidelines.
Ensuring Data Safety
Back up your files before an OS update. You can use OneDrive or an external drive to keep them safe. This step helps avoid data loss.
Update Tools and Licensing
Before the update, gather the necessary tools such as the Media Creation Tool for creating installation media. Ensure your device has a valid license to install Windows 11, which you can verify through the Volume Licensing Service Center if needed.
Windows 11 Installation Process
Follow these steps to install Windows 11:
- Download and Install: Find ‘Windows Update’ in your system settings and check for the Windows 11 upgrade.
- Restart: Your PC will need to restart to apply the upgrade.
- Personalize: After installation, sign in to your Microsoft account and customize your settings.
Follow manufacturer instructions closely during the installation. Slim down to just what’s needed, and the update should be smooth.