Backing up your computer to an external hard drive is a crucial step in protecting your valuable data. Using your computer’s built-in backup features, you can easily save your files, folders, or entire system to an external USB hard drive. This process safeguards your information from hardware failures, accidental deletions, or malware attacks.
Windows and Mac users have access to simple backup tools. Windows 10 and 11 offer File History, while Macs use Time Machine. These programs let you set up automatic backups or manually transfer files when needed. By connecting an external drive and following a few steps, you can create a safety net for your digital life.
Regular backups are quick and easy compared to the time and stress of trying to recover lost data. Whether you choose to back up specific folders or your whole system, taking action now can save you from future headaches.
Backing Up Your Computer to an External Hard Drive
Why Backups Matter
Regular backups are your safety net against data loss due to hardware failure, accidental deletion, or even malware attacks. An external hard drive offers a reliable and convenient way to store a copy of your important files and system settings, ensuring you can recover them in case of an emergency.

Windows 11 Instructions
While Windows 11 Home simplified the backup process for some, users will need to utilize the built-in File History tool or opt for third-party software for a comprehensive backup solution.
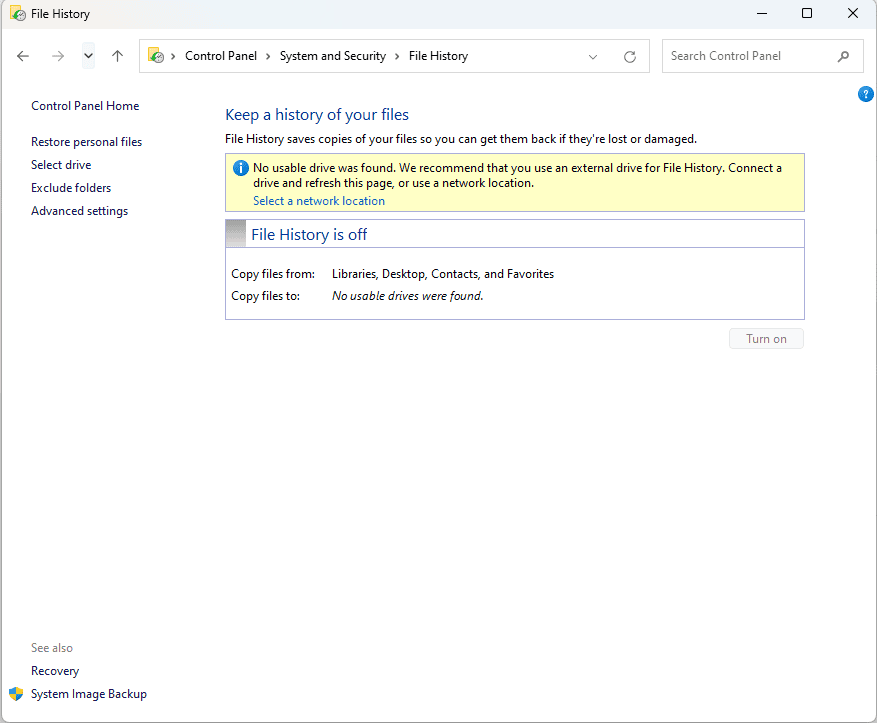
File History
- Connect your external hard drive: Plug your external hard drive into an available USB port on your computer.
- Open File History:
- Click on the Start button.
- Type “Control Panel” and open it.
- Click on System and Security.
- Click on File History.
- Turn on File History:
- If File History is off, click on “Turn on”.
- Select your drive:
- Under “Back up to a different drive,” click “Select Drive“.
- Choose your external hard drive from the list and click “OK“.
- Customize your backup (optional):
- Click on “More options” to adjust backup frequency, which folders to include or exclude, and how long to keep saved versions.
- Start the backup:
- Once you’ve configured your settings, click “Back up now” to initiate the first backup.
- File History will continue to run in the background, automatically backing up your files according to your chosen schedule.
Important Notes:
- Ensure your external hard drive has enough storage space to accommodate your backup.
- Regularly back up your data to protect against unexpected data loss.
- Store your backup drive in a safe and secure location.
- Consider using third-party backup software for additional features and flexibility.
General Windows Backup Instructions
File History:
- Go to Settings > Update & Security > Backup.
- Under “Back up using File History,” click Add a drive.
- Select your external hard drive.
- Turn on “Automatically back up my files.”
System Image Backup:
- Search for “Control Panel” in the Start menu and open it.
- Click on System and Security > Backup and Restore (Windows 7).
- Click Create a system image on the left pane.
- Choose your external hard drive as the backup location.
- Follow the prompts to complete the backup.
Easy Steps for Mac Users
Mac users can rely on Time Machine for effortless backups:
- Connect your external hard drive.
- Open System Preferences and click on Time Machine.
- Click “Select Backup Disk” and choose your external drive.
- Turn on Time Machine.
Time Machine will automatically create hourly backups for the past 24 hours, daily backups for the past month, and weekly backups for all previous months.
Third-Party Backup Solutions

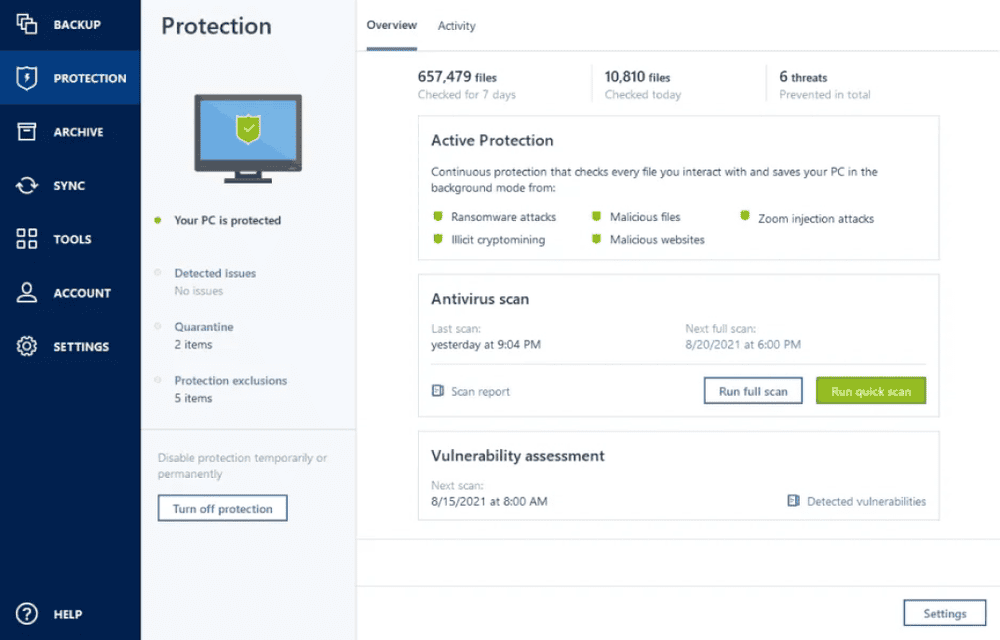
For more advanced features and flexibility, consider third-party backup software like:
- Acronis True Image
- Backblaze
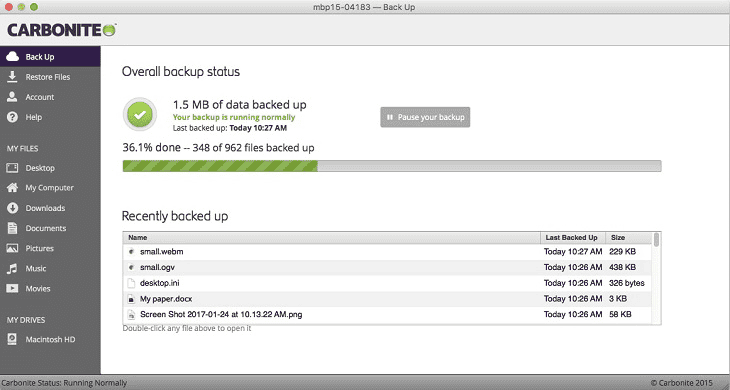
- Carbonite
- EaseUS Todo Backup
These tools often offer features like cloud backups, incremental backups, and file versioning.
Points to Remember
- Choose the right drive: Ensure your external hard drive has enough capacity to store your data.
- Regular backups: Set a schedule for automatic backups or perform them manually at regular intervals.
- Store the drive safely: Keep your backup drive in a secure location, separate from your computer, to protect it from theft or damage.
- Test your backups: Periodically restore a few files from your backup to ensure it’s working correctly.

Backup Frequency Recommendations
| Data Type | Backup Frequency |
|---|---|
| Critical data (financial records, irreplaceable photos) | Daily or weekly |
| Important data (documents, projects) | Weekly or monthly |
| Less important data (music, movies) | Monthly or less frequently |
Remember, data loss can happen to anyone. By regularly backing up your computer to an external hard drive, you can safeguard your valuable information and have peace of mind knowing you can recover it if needed.
Key Takeaways
- Built-in backup tools make saving data to external drives simple
- Regular backups protect against data loss from various threats
- Setting up automatic backups ensures ongoing data protection
Preparing to Backup Your Computer
Backing up your computer protects your important files and data. A good backup plan starts with the right equipment and settings.
Choosing the Right External Hard Drive
Pick an external drive with enough space for your files. Look at how much data you have on your computer. Get a drive with at least that much storage. Many people choose 1 TB or 2 TB drives. Make sure the drive connects to your computer’s USB port. USB 3.0 or higher gives faster transfer speeds. Some drives need their own power source. Others can run off the USB connection. Think about if you’ll move the drive around. Smaller, portable drives work well for travel.
Understanding Backup Options in Windows
Windows 10 and 11 have built-in backup tools. File History saves copies of your files over time. You can go back to old versions if needed. System Image Backup creates a full copy of your whole computer. This helps if you need to restore everything. Windows Backup and Restore is another choice. It lets you pick which folders to backup. You can also make a recovery drive. This helps fix problems if Windows won’t start.
Setting Up Your Backup Preferences
Open the Settings app in Windows. Go to Update & Security, then Backup. Click “Add a drive” to choose your external hard drive. Pick which folders to backup. By default, Windows backs up your main folders. You can add or remove folders from the list. Set how often backups happen. Daily backups work well for most people. Choose how long to keep backups. This affects how far back you can restore files. Decide if you want to use File History or a different backup method. Start your first backup once you’ve set your options.


