Building your own desktop computer can be a rewarding experience, giving you control over every aspect of the machine you use daily. It allows you to tailor your PC to your specific needs, whether you’re a gamer craving the latest graphics card, a content creator in need of robust rendering capabilities, or a business professional who requires a reliable and powerful workstation. With a step-by-step guide, the process is within reach for anyone willing to invest time in selecting the right components and assembling them.
The journey to a custom-built PC starts with planning and selecting the right parts. One must understand the purpose of their computer to choose components that match their performance and budgetary expectations. Compatibility between components is crucial; the motherboard must match the CPU, the power supply must provide adequate power, and the case needs to fit all the parts. Knowledge of how to assemble a modern desktop PC ensures that the process is efficient and the end result is a stable and high-performing machine.
Building a Desktop PC: Your Step-by-Step Guide
Planning Your Build:
Set a Budget:
Desktop computers can range from budget-friendly to high-end. Decide how much you’re willing to spend to avoid overspending.
Choose Your Components:
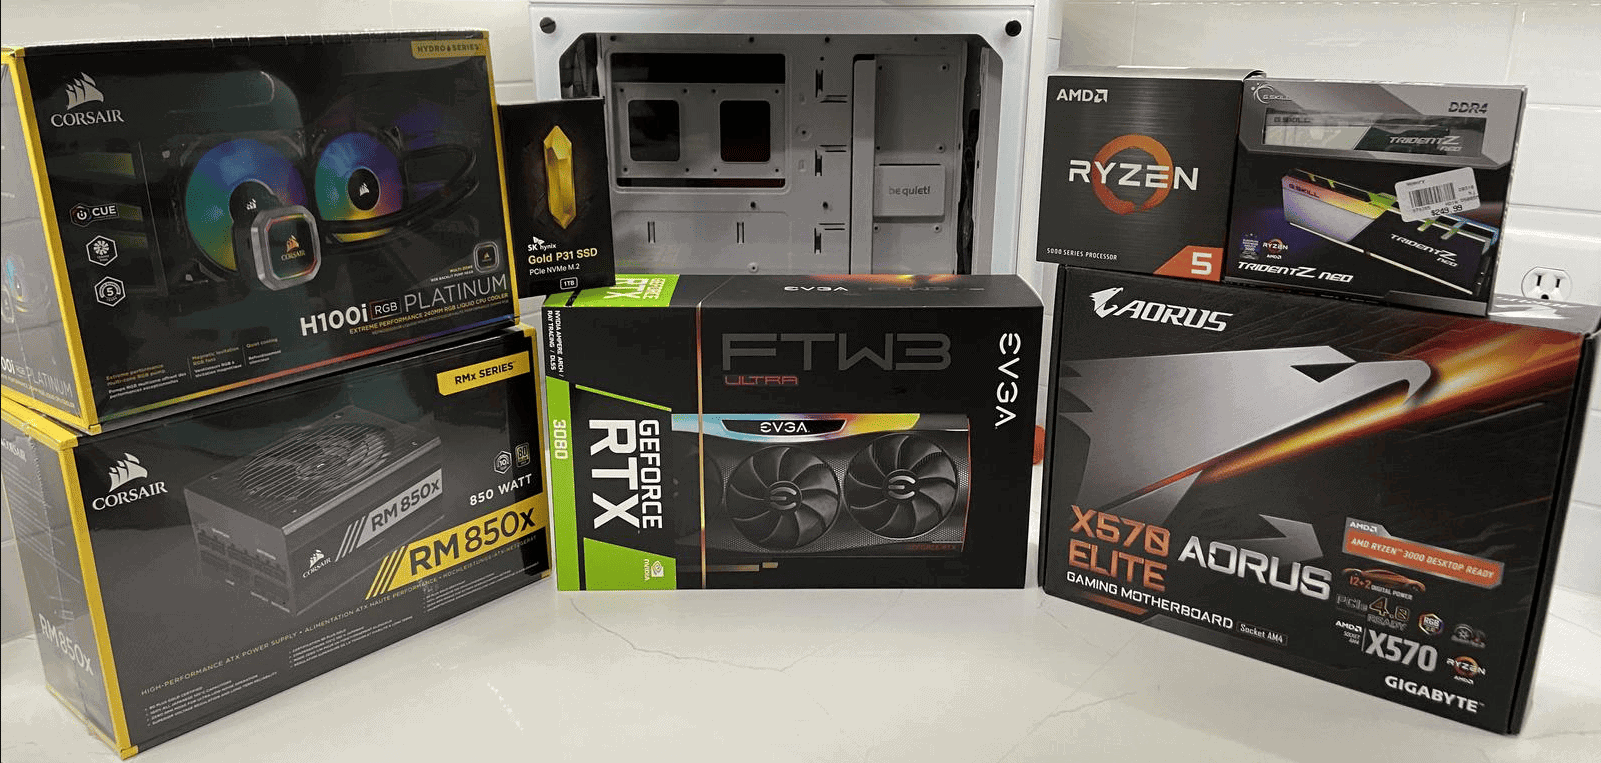
Research and select the core components for your build:
| Component | Description | Considerations |
|---|---|---|
| CPU (Central Processing Unit) | The brain of your computer, responsible for processing instructions. | Choose a CPU that matches your needs, whether it’s for gaming, content creation, or general use. |
| Motherboard | The foundation of your system, connecting all other components. | Select a motherboard compatible with your chosen CPU and other components. Consider features like the number of RAM slots, PCIe slots, and storage options. |
| RAM (Random Access Memory) | Temporary storage for data and instructions used by the CPU. | More RAM allows for smoother multitasking and better performance in demanding applications. Choose the amount and speed based on your needs and budget. |
| Storage (SSD or HDD) | Stores your operating system, programs, and files. | SSDs are faster and more expensive than HDDs. Consider a combination of both for optimal performance and storage capacity. |
| GPU (Graphics Processing Unit) | Handles the visual output of your computer, especially important for gaming and graphics-intensive tasks. | Choose a GPU that meets your performance requirements and budget. |
| PSU (Power Supply Unit) | Provides power to all components in your system. | Ensure the PSU has enough wattage to power all your components with some headroom for future upgrades. |
| Case | Houses and protects all your components. | Choose a case that fits your motherboard and other components, with good airflow for cooling. |
Assembling Your Computer:
Prepare Your Workspace:
Choose a clean, well-lit area with ample space to work. Gather all your tools, including screwdrivers, anti-static wrist strap, and thermal paste.
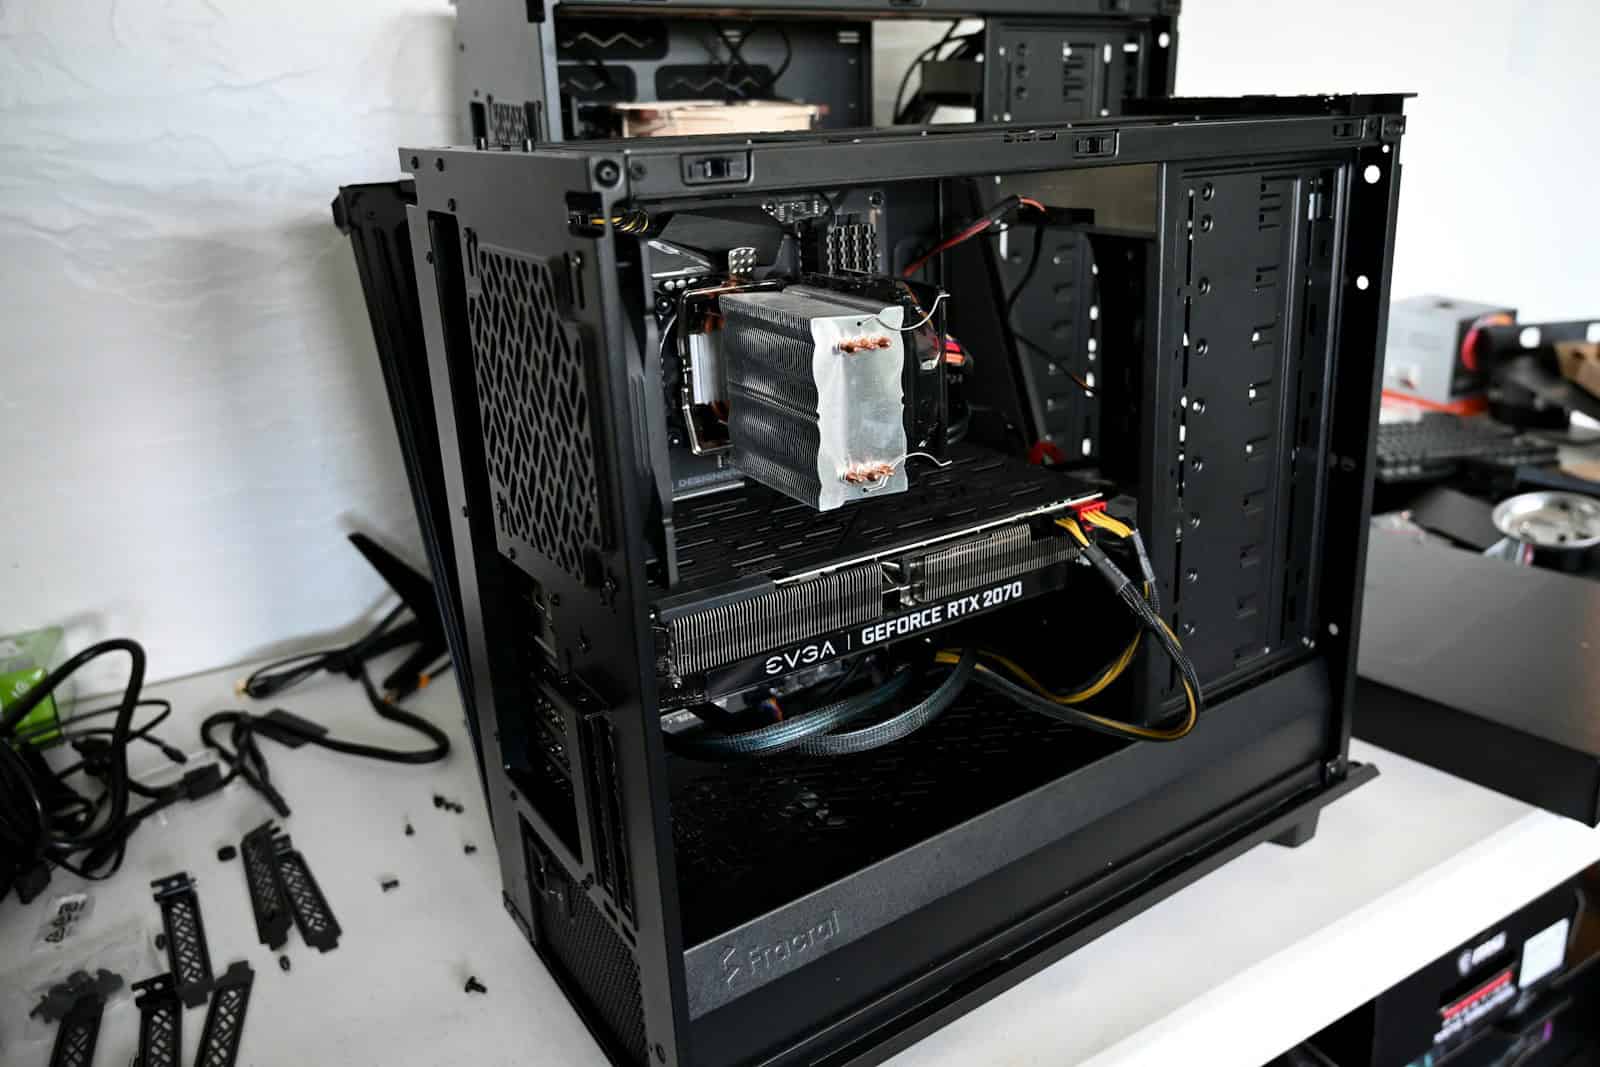
Install the CPU and Cooler:
Carefully follow the instructions in your motherboard manual to install the CPU and cooler. Apply thermal paste to the CPU before attaching the cooler.
Install the RAM:
Open the RAM slots on your motherboard and gently push the RAM modules into place until they click.
Install the Motherboard:
Place the motherboard into the case and screw it into place.
Connect Storage Drives:
Connect your storage drives (SSD or HDD) to the motherboard and power supply using SATA cables.
Install the GPU:
Insert the GPU into the PCIe slot on your motherboard and secure it with screws.
Connect the Power Supply:
Connect the necessary power cables from the PSU to the motherboard, CPU, GPU, and storage drives.
Cable Management:
Route the cables neatly to improve airflow and aesthetics. Use zip ties or Velcro straps to secure them.
Close the Case:
Once all components are installed and connected, close the case and secure it with screws.
Installing the Operating System:
Connect Peripherals:
Connect your monitor, keyboard, and mouse to your computer.
Boot Up:
Turn on your computer and enter the BIOS settings. Configure the boot order to prioritize your installation media (USB drive or DVD).
Install Windows:
Insert your Windows installation media and follow the on-screen instructions to install the operating system.
Installing Drivers and Software:
Update Drivers:
Download and install the latest drivers for your motherboard, GPU, and other components from the manufacturer’s websites.
Install Essential Software:
Install antivirus software, web browsers, productivity tools, and any other software you need.
Key Takeaways
- Customizing your PC allows you to meet personal performance needs.
- Understanding component compatibility is key to a successful build.
- Knowledge of PC assembly ensures efficiency and performance stability.
Planning and Selecting Components
Before one starts to build a PC, they must choose the right components. Each part must work well together to ensure a smooth building process and optimal performance.
Understanding Compatibility
It is crucial to ensure all components are compatible with each other. For example, some CPUs fit only certain motherboards. A handy tool for checking compatibility is PCPartPicker, which automatically flags incompatible parts.
Choosing the Right Hardware
The motherboard acts as the PC’s foundation. One should select a motherboard with the correct form factor and features. Seek CPUs and GPUs that meet performance needs, favoring brands like Intel, AMD, or Nvidia. Memory should also be matched, as DDR4 vs. DDR5 RAM influences Motherboard choice.
Specifying for Performance Needs
Define the PC’s purpose. For gaming, one should focus on a powerful GPU and a capable CPU. Workstations might need robust CPUs and large amounts of RAM. Storage is important as well: SSDs for the operating system and frequent apps and HDDs for large files.
Sourcing and Purchasing
One can buy parts from various retailers or online stores. Consider sales, warranty terms, and retailer reputation. Motherboard manuals can be found on the manufacturer’s websites and are helpful for pre-purchase review.
Preparation for the Build
Gather all tools such as screwdrivers and antistatic wristbands. Prepare a clear workspace with good lighting—a flashlight can help see inside the PC case. Read through all component manuals before starting to understand specific instructions.
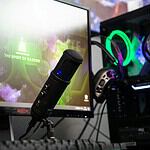
Selecting Peripherals
Peripherals include a keyboard, mouse, and monitor. For gamers, a high-refresh-rate monitor and mechanical keyboard can improve the experience. One might also add a gaming headset for immersive audio.
Additional Features
One may consider extra features like a Wi-Fi card for wireless internet access or aftermarket coolers for better CPU temperature regulation. NVMe SSDs offer faster storage speeds, and cases with good airflow help manage heat.