Data loss can be frustrating, but attempting recovery yourself is possible before contacting professionals. Here’s what to consider and the steps to take:
Basic Procedure
1. Check the Recycle Bin (or Trash)
It sounds obvious, but sometimes deleted files are just hanging out in the Recycle Bin or Trash. Take a look and see if your missing files are there. If they are, simply restore them to their original location.
2. Use File History or Backup and Restore
If you’ve been using Windows’ File History feature or have a backup of your system, you might be able to recover your files from there. * For File History, search for “Restore your files with File History” in the Windows search bar. * For Backup and Restore, search for “Backup and Restore (Windows 7)” in the Windows search bar, even if you’re using Windows 10 or 11.
3. Try Data Recovery Software
There are many data recovery software options available, both free and paid. These programs can scan your hard drive or storage device for deleted or lost files and attempt to recover them. Some popular choices include Recuva, Disk Drill, and EaseUS Data Recovery Wizard. Keep in mind that the free versions often have limitations.
Tips for Using Data Recovery Software:
- Act fast: The sooner you use the software after data loss, the better your chances of recovery.
- Install on a different drive: If possible, install the software on a different drive than the one you’re trying to recover data from to avoid overwriting any lost files.
- Preview before recovery: Most software allows you to preview files before recovering them. This helps ensure you’re recovering the correct data.
4. When to Call a Professional
DIY data recovery isn’t always successful. If your data is extremely important or you’ve tried the above steps without luck, it’s best to contact a professional data recovery service. They have specialized tools and expertise to handle more complex data loss situations, such as physical damage to your hard drive.
Important Notes:
- Prevent further data loss: Stop using the device or drive where you lost data to avoid overwriting the files you’re trying to recover.
- Be realistic: Data recovery isn’t always guaranteed, even with professional help.
Tips for DIY Data Recovery
Assess the Problem
- Type of Loss: Was the data accidentally deleted, is the hard drive corrupted, or has it physically failed? Understanding the situation guides your approach.
- Value of Data: Is the lost information crucial or easily replaceable? This influences the amount of effort and risk you’re willing to take.
Stop Device Use
Immediately cease using the affected device to prevent data overwriting. Continued use lessens the chance of a successful recovery.
Choose Your Approach
- Data Recovery Software: This is a suitable option for deleted files or logically damaged drives. Popular tools include:
- Recuva: Easy, free version available. May not recover all data types
- Disk Drill: User-friendly, multiple recovery options. Paid version required for full features
- TestDisk: Powerful, open-source tool. Demanding for less technical users
- Professional Service: If the drive is physically damaged or data is highly critical, consider professional help. They have specialized equipment and expertise, increasing your chances of success.
Steps for Software Recovery
- Download and install a chosen recovery software.
- Connect the affected drive to your computer.
- Run a scan with the software. Follow the program’s instructions.
- Preview recoverable data to confirm you found what you need.
- Save recovered data to a separate, safe drive to prevent overwriting the original data.
Warnings
- DIY data recovery has risks. Incorrect actions can further damage the drive.
- Do not attempt complex physical repairs yourself. If the drive is clicking or making unusual noises, seek professional help.
- Software recovery cannot always fix physically damaged devices.
Recovering Lost Data Yourself: Step-by-Step
| Step | Description | What to DO | What to AVOID |
|---|---|---|---|
| Identify the Issue: | Understand how you lost the data (deletion, formatting, software corruption, etc.). | – Clearly remember the events leading to data loss. | – Panicking or making further changes to the device. |
| Assess the Situation: | Evaluate the severity of the loss and data’s importance. | – Check if data backups exist or if it’s easily replaceable. | – Attempting complex recovery methods without understanding the process. |
| Stop Using the Device: | Prevent further data overwriting by minimizing device usage. | – Power down the device if possible. | – Saving new files, installing software, or formatting the storage. |
| Choose a Recovery Method: | Select the appropriate method based on the issue and your technical skills. | – Simple recovery software for deleted files or basic formatting issues. | – Advanced data recovery tools or professional services for complex situations. |
| Implement the Recovery: | Follow the chosen method’s instructions carefully. | – Download and install the chosen software (if applicable). | – Using untrusted or pirated software, as it can damage data further. |
| Scan and Recover Data: | Scan the storage for recoverable files and choose what to restore. | – Preview files to ensure successful recovery before permanently saving them. | – Recovering corrupt or damaged files without proper knowledge. |
| Save Recovered Data: | Store the recovered data on a separate drive to avoid overwriting. | – Choose a reliable external storage device, such as a USB drive or cloud storage. | – Saving recovered data back to the same location where it was lost. |
| Evaluate Success: | Assess the recovered data’s integrity and functionality. | – Test the recovered files to ensure they are usable. | – Assuming all data is fully recovered without verification. |
Additional Tips:
- Backup your data regularly: This is the best way to prevent data loss in the first place.
- Use reliable software: Choose reputable data recovery tools with good reviews and support.
- Start with simple methods: If you’re unsure, try basic recovery options before resorting to complex tools.
- Seek professional help if needed: Don’t hesitate to consult data recovery specialists for complex situations or high-value data.
Understanding Data Recovery
When encountering the misfortune of data loss, grasping the essentials of data recovery is crucial. This foundational knowledge empowers individuals to retrieve what may initially seem gone for good.
The Basics of Data Recovery
Data recovery is the practice of salvaging inaccessible data from damaged or failing storage devices. It hinges on the principle that when files are deleted or lost, they often remain on the hard drive or storage medium until new data overwrites them. Recovery is possible through different methods, such as using software that can piece together file remnants or restoring from backups.
- Software Recovery: It scans storage to find recoverable files and aims to reconstruct them.
- Restoration: Involves retrieving data from backup storage located elsewhere.
Common Causes of Data Loss
Data loss can strike in various ways, each with a potential solution to recover what was lost.
Accidental Deletion: Occurs when files are mistakenly erased.
- Recovery: Software can often restore these deleted files if not overwritten.
File Corruption: Happens when files become unusable due to errors.
- Recovery: Software tries to repair or rebuild information from the corrupt fragments.
Hard Drive Failure: A physical malfunction can cause data inaccessibility.
- Recovery: In cases like a head crash, professional recovery services might be needed as DIY methods may not suffice.
Underpinning each of these loss scenarios is the urgency of acting swiftly; the sooner recovery steps are taken, the better the chances of regaining valuable data.
Preparing for Data Recovery
Before attempting to reclaim lost files, understanding the process and ensuring you have the right tools is essential. This preparation increases the likelihood of a successful data recovery.
Assessing Data Recovery Needs
Identifying what types of files you need to recover is the first step. Ask yourself: Which files are crucial? Could you possibly have stored them in an uncommon place on your computer? Some data might not be as urgent and can wait. If you can’t locate an important file, it might still be in the Recycle Bin or hidden in an unexpected folder.
- Priority Data: List down the business-critical files.
- Location Checks: Confirm if the lost files are not simply misplaced.
- Type of Data: Determine whether you’re recovering documents, images, videos, or other file types.
Choosing the Right Data Recovery Software
Picking efficient data recovery software is crucial. There are various options available, ranging from free to premium services.
- Stellar Data Recovery: Known for its robust performance.
- Recuva: A free tool that’s useful for simple recovery tasks.
- Disk Drill: Offers advanced features and user-friendly interface.
- EaseUS Data Recovery Wizard: Combines ease of use with a powerful recovery capacity.
- Wise Data Recovery: A quick and lightweight option for minor recovery needs.
It’s important to compare these based on your specific requirements, such as:
- Usability: Is the software user-friendly?
- Compatibility: Does it support your operating system and file types?
- Performance: How effective is it at recovering different types of data?
By taking thoughtful steps to prepare, you can tackle data recovery with confidence.
Data Recovery Process
When someone loses valuable data, the efforts to get it back are both important and meticulous. This section walks through the essential steps and considerations involved in the data recovery process, ensuring that one knows what to do without making the situation worse.
Steps to Recover Data Yourself
First Steps:
- Cease using the device: Continuing to use the disk may overwrite data.
- Assess the damage: Identify whether it’s a physical hard drive problem or a logical data loss.
Recovery Process:
- Scan: Utilize data recovery software to perform an initial scan.
- Create a list of found files from the scan results.
- Preview and select the files to recover.
Next Actions:
- To recover data, follow instructions for recovery provided by the software.
- Save the recovered files to a different storage device.
Advanced Options:
- Should the basic scan not work, data recovery tools often have advanced options for a deeper search.
Recovering Different File Systems
Different file systems such as NTFS (common on Windows), HFS (used by macOS), and exFAT (ideal for flash drives) have unique structures and recovery methods.
NTFS Recovery:
- NTFS is robust and includes features like file encryption which can complicate DIY data recovery.
- Data recovery tools designed for NTFS can often recover file system metadata in addition to files and folders.
HFS Recovery:
- HFS and its successor, HFS+, are complex systems with journaling, which requires specially tailored recovery software.
- Reliable recovery also depends on whether the drive was partitioned or used in a Fusion Drive setup.
exFAT Recovery:
- exFAT is used for larger flash drives and SD cards and doesn’t have the journaling feature of NTFS or HFS.
- Recovery is typically straightforward with the right software, as the file system is designed for simplicity and compatibility.
Each file system needs a specific approach, and the right data recovery tool will have support for the particularities of each system. During the recovery process, software should guide one through reclaiming files from each file system with clear instructions. It’s important to follow these guidelines attentively to ensure the highest chances of getting data back safely.
Working with Different Storage Devices
When it comes to retrieving lost data, the approach varies significantly between different types of storage devices. Internal hard drives, for instance, require a methodical and cautious procedure to prevent further damage, while external media have their own set of challenges.
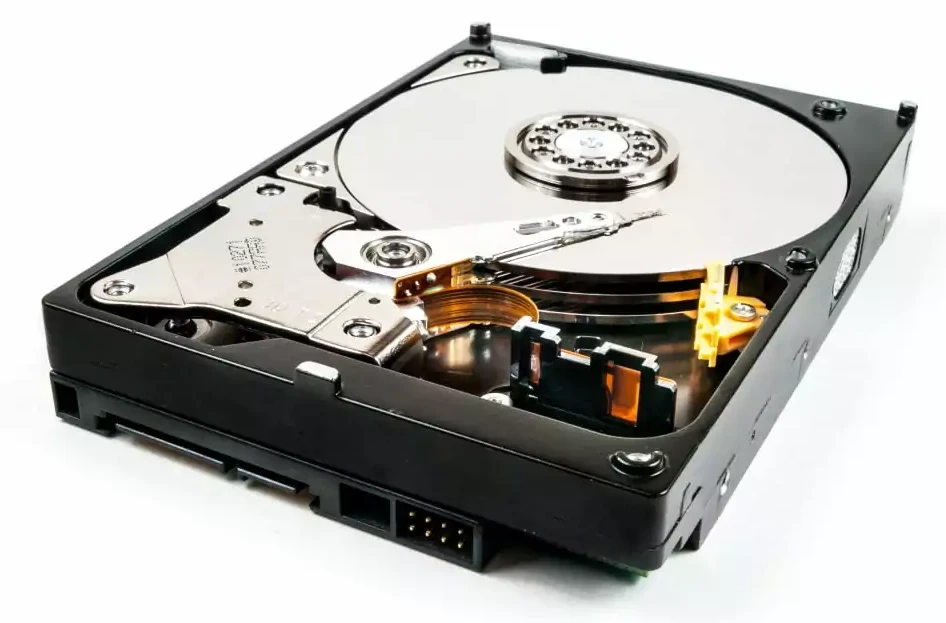
Recovering Data from Internal Hard Drives
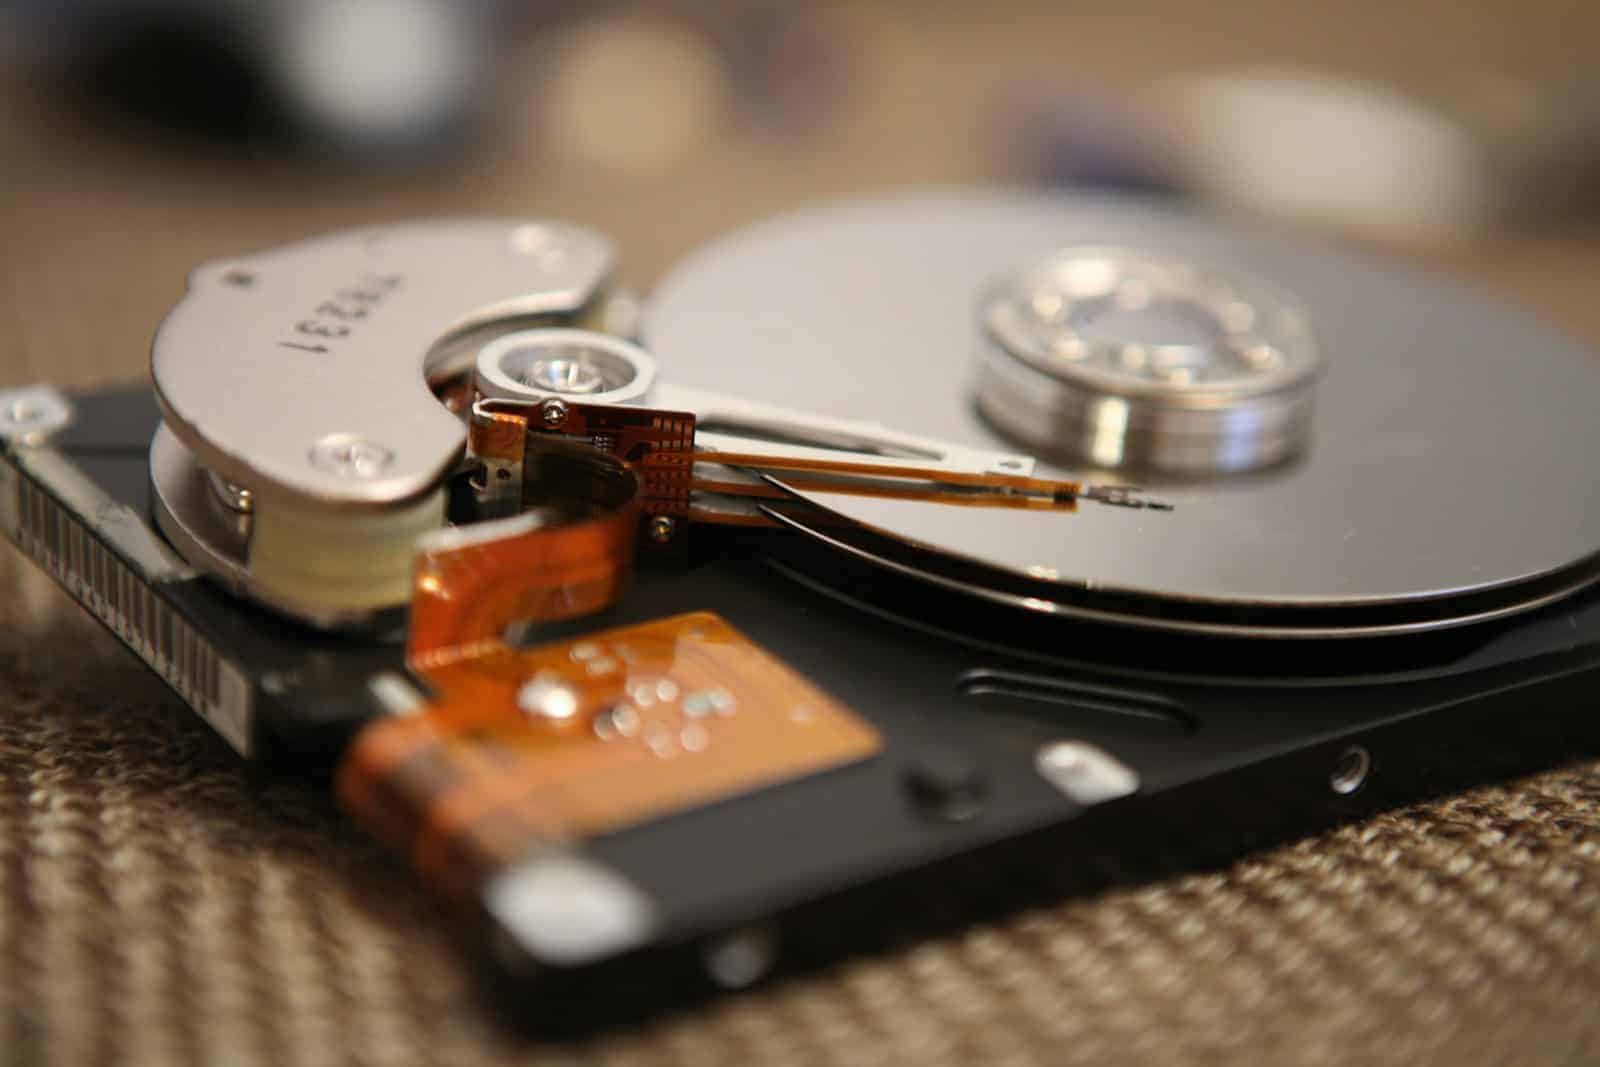
Internal hard drives are the backbone of data storage in computers. If they mess up, it’s a big headache, but not the end of the world. To begin the recovery process, it’s critical to check if the drive is physically functional. If it’s making strange noises or won’t spin up, professional help might be your best bet. But if it’s in working order, the first step is often to check the Recycle Bin or backup files, since files might just be hiding there. Detailed steps to recover data from an operational internal hard drive include:
- Check Drive Health: Use tools to read the Self-Monitoring, Analysis, and Reporting Technology (SMART) data . Analyze the drive’s state without running self-tests that write to the disk.
- Cloning: If possible, clone the drive. This step makes a bit-by-bit copy of your drive, leaving the original untouched—sort of like making a backup of your problem before digging in.
- Recovery Software: Use file recovery software on the clone to salvage as much data as possible. Pick software that’s known for good results.
Recovering Data from External Storage Media
External storage, like USB sticks, external hard drives, memory cards, and SD cards are super handy but can be prone to data loss too. The recovery steps are generally similar but take into consideration that these devices are often used on various machines, which can raise the risk of corruption.
- Connect Securely: Ensure the external device is properly connected to a computer. Faulty connections can lead to read errors which might be mistaken for data loss.
- Recovery Software: Similar to internal hard drives, use reliable recovery software designed for the type of external media you’re working with—be it an SSD or an external hard drive.
- SD Cards and Memory Cards: These tiny storage chips are used in phones and cameras. For solid-state drives (SSDs), which have no moving parts, the SSD data recovery process might differ; it often demands more specialized recovery software tailored to the nuances of these devices.
By following the specified steps, one can confidently attempt to retrieve important files from various storage devices. Remember, gentle and informed handling of these devices is key to achieving the best results.
Software and Tools
Data recovery is a process that becomes necessary when digital files are lost, deleted, or corrupted. The right software tools can help to retrieve this important data. Below are insights into using these utilities and navigating their interfaces.
Using Data Recovery Utilities
When you need to recover lost files, data recovery utilities are essential. These tools can search through hard drives, external drives such as USBs, and even memory cards to locate data that is not immediately accessible. Recuva is widely praised for its user-friendly interface and comprehensive features, making it suitable for both beginners and advanced users. It is lauded for its ability to restore files of all types. Other notable utilities include OnTrack EasyRecovery, which offers extensive recovery options for Windows systems, and Wondershare Recoverit, which is well-suited for Mac users.
Every utility comes with its own strengths. For instance, EaseUS Data Recovery Wizard stands out for its versatility across different platforms. Users looking for a straightforward tool that yields results swiftly might find utilities like these fitting their needs:
- Best for speed: Shorten the recovery process with quick scanning tools.
- Best for range: Seek utilities that can recover a wide variety of file formats.
Understanding the User Interface of Recovery Tools
A user-friendly interface in a file recovery tool is key for a smooth recovery process. A complex interface can make an already stressful situation worse, while a clear and intuitive interface can ease the recovery steps. The user interface (UI) of a recovery tool typically provides the following options:
- File Preview: Before recovering, users can preview files to confirm they’ve found the correct ones.
- Search and Filter: This helps users quickly locate specific files by name, date, type, or other attributes.
- Recovery Options: Tools provide different methods of recovery, such as quick scans for recently deleted files or deeper scans for more challenging recovery tasks.
As users navigate the UI of tools like EaseUS Data Recovery Wizard or Wondershare Recoverit, they find that these programs are often designed with a clean layout, guiding users step-by-step through the recovery process. From selection to recovery, the path is laid out clearly, often with helpful tips and prompts to assist even those who are not technically inclined.
Data Recovery Techniques
When your files vanish, don’t panic—there are ways to get them back. Data recovery techniques can range from simple software solutions to advanced lab procedures performed by professionals. Here’s a closer look at sophisticated methods and the mysteries of creating perfect copies of your storage devices.
Advanced Data Recovery Methods
For situations where standard recovery software doesn’t cut it, advanced methods step in. Data recovery specialists use these when the stakes are high—think critical business files or irreplaceable photos. Professional data recovery services can repair physically damaged drives, a level of expertise beyond the reach of most do-it-yourself solutions. Specialists in a recovery company might also employ exclusive software that can retrieve data even when the file system is majorly corrupted.
- Cleanroom Recovery: It’s crucial to perform certain repairs in a dust-free cleanroom environment to prevent further damage to the exposed internal components of a hard drive.
- Component Repair or Replacement: Specialists can sometimes replace faulty components like read/write heads to get the drive up and running just enough for data extraction.
Creating Disk Images and Clones
Creating exact disk images and clones is a fundamental step in professional data recovery. It’s like making a blueprint of your storage device, with all your data in its current state. This crucial step protects your data from being lost in the event an attempted recovery goes south.
- Disk Imaging: It involves making a sector-by-sector copy of the drive, including areas with potential damage that typical copying tools would skip.
- Cloning: This process not only copies the data but also replicates the storage device’s structure, allowing for a safer recovery attempt.
Creating a disk image or clone is something a user can do at home if they have the right software, but it’s also part of the arsenal used by recovery companies to ensure data isn’t lost during the recovery process. This step is often performed before any serious recovery attempts on the original drive.
theon the original drive.
Precautions and Prevention
When it comes to safeguarding digital content, taking preventative measures is just as crucial as knowing how to recover data. Let’s focus on two significant steps: ensuring you have consistent backups and selecting robust backup solutions.
The Importance of Regular Backups
Regular backups are your safety net against data loss. Imagine them as a lifeline for your digital files—they can save your work, memories, or important documents if things go wrong. But here’s the catch: backups need a schedule.
- Daily: Crucial for active projects.
- Weekly: Suitable for most personal and business files.
- Monthly: For less frequently changed data.
Creating a backup schedule and sticking to it makes sure your latest information is always available in case you need to restore it.
Choosing Reliable Backup Solutions
Selecting the right backup solution is like choosing the best safety equipment before a challenging hike—you want something reliable that won’t fail you. Here are some specifics:
- External Hard Drives: A solid start, but they can fail, get lost, or be damaged.
- Cloud Backup Services: Services like Google Drive, Dropbox, and iCloud offer remote storage spaces that are generally secure and accessible from anywhere.
When you’re choosing a cloud service, consider the following:
| Feature | Description |
|---|---|
| Capacity | Decide how much space you need to keep all your files secured. |
| Security | Look for services with strong encryption and good privacy policies. |
| Ease of Use | Pick something simple to navigate so that regular backups become a no-brainer. |
For peace of mind, combine physical storage with cloud services. That way, your data is safe even if one backup system fails.
Operating System Specific Recovery
When files go missing, knowing how to retrieve them on your specific operating system can save you a lot of stress. Both Windows and MacOS have built-in tools designed for this purpose, and it’s important to approach them differently.
Windows Data Recovery Procedures
In Windows, the first place to check for accidentally deleted files is the Recycle Bin. One can usually restore files from here with a simple right-click and select ‘Restore’. If that doesn’t help, Windows offers a variety of recovery options:
- Backup and Restore: Users can recover their systems and data by utilizing the ‘Backup and Restore’ feature found in the Control Panel. To use it, one should have previously created a backup.
- System Restore: This feature rolls the system settings and configurations back to a previous point in time. It does not affect personal files, but it can help if recent changes caused data loss.
- Recovery Partition: Many PCs come with a recovery partition which can restore the computer to its factory state. This is often accessed by pressing a key during startup, such as F11.
- Advanced Startup Options:
- Safe Mode: Boot the system with minimal drivers. It’s useful for troubleshooting.
- Startup Repair: It’s an automated tool that can fix certain system problems that might prevent Windows from starting.
MacOS Data Recovery Procedures
MacOS, too, provides several methods to recover lost or deleted files:
- Trash: Similar to the Recycle Bin in Windows, the Trash in MacOS holds deleted files and they can be restored easily unless it has been emptied.
- Time Machine:
- Backup: If Time Machine is set up, it can restore the entire system or selected files from the backups.
- Recovery Mode:
- Reinstall MacOS: It allows reinstalling the OS without losing data.
- Disk Utility: Useful for repairing disk permissions and errors, which can sometimes resolve data issues.
In addition, holding down Command+R during startup leads to Recovery Mode, where various tools can help fix issues and get lost data back.
Frequently Asked Questions
When attempting to recover data from a hard drive, it’s essential to follow correct procedures and use reliable tools. This FAQ section addresses common concerns and provides straightforward guidance for personal data recovery efforts.
What are the steps to manually recover data from a non-detecting hard drive?
To manually recover data from a hard drive that your computer doesn’t recognize, first check your hard drive connections and ensure the drive is properly seated. If it still won’t show up, use disk management tools to see if the drive is listed there, and try assigning it a new drive letter. If these steps fail, a data recovery software may be used to attempt a recovery.
Which tools are recommended for DIY hard disk data recovery?
For do-it-yourself data recovery, tools like Recuva or EaseUS Data Recovery Wizard are recommended. They’re designed for users without specialized knowledge and provide step-by-step guidance to help recover lost data efficiently.
How can I retrieve data from a damaged or corrupted hard drive without cost?
To retrieve data from a damaged or corrupted hard drive without incurring costs, you can try using free software options like TestDisk. It’s an open-source software that can recover lost partitions and make non-booting disks bootable again. Be sure to follow the instructions carefully to avoid further damage to your data.
Is it possible to recover data from a hard disk that has stopped working, and how?
Yes, it’s possible to recover data from a non-working hard disk. Begin by attaching the disk to another computer as a secondary drive. If it’s recognized, back up the data immediately. If it’s not recognized, use free data recovery tools to scan for recoverable data. In cases of mechanical failure, professional assistance may be necessary.
Can data be salvaged from a dead hard drive by oneself?
Data recovery from a dead hard drive is challenging but not impossible. If the drive has a logical error, such as a corrupt file system, self-recovery using data recovery software might be feasible. However, if the failure is mechanical, professional services are usually required as they have the necessary equipment and environment.
How can I access and recover files from an old hard drive?
To recover files from an old hard drive, connect it to a current computer via a USB to SATA/IDE adapter. Once connected, check whether the old drive is visible in ‘This PC’ or ‘Disk Management’ on Windows, or ‘Finder’ or ‘Disk Utility’ on macOS. If accessible, you can copy files over. For inaccessible drives, data recovery software may be your next step.


