Switching from an AMD to an NVIDIA graphics processing unit (GPU) may seem challenging, but it’s actually a straightforward process that can significantly enhance your PC’s performance, especially for gaming and graphic-intensive tasks. This guide will walk you through the steps, ensuring a smooth transition.
Preparing for the Switch
The first step in switching from an AMD to an NVIDIA GPU involves preparing your computer. This means ensuring your system is compatible with the new NVIDIA GPU. Check the power supply unit (PSU) to ensure it can handle the new GPU’s power requirements, and make sure there’s enough physical space inside your PC case. Also, consider the ports available on your motherboard and the new GPU.
- Back Up Your Data: Safeguard important files and settings before making any significant hardware changes.
- Gather Necessary Tools: A Phillips head screwdriver is typically required for removing and installing GPUs.
- Download Drivers: Obtain the latest NVIDIA drivers for your new GPU from the official NVIDIA website.
Step-by-Step Guide
| Step | Action |
|---|---|
| 1. Uninstall AMD Drivers | Use a driver removal tool like Display Driver Uninstaller (DDU) to completely remove AMD drivers and software. |
| 2. Power Off and Disconnect | Shut down your PC, unplug it from the power outlet, and open the case. |
| 3. Remove the AMD GPU | Unscrew and carefully remove the existing AMD GPU from the PCIe slot. |
| 4. Install the NVIDIA GPU | Gently insert the new NVIDIA GPU into the same PCIe slot and secure it with screws. |
| 5. Connect Power Cables | Connect the necessary power cables from your power supply to the NVIDIA GPU. |
| 6. Close the Case and Power On | Close the computer case, reconnect the power cable, and turn on your PC. |
| 7. Install NVIDIA Drivers | Run the downloaded NVIDIA driver installer and follow the on-screen instructions. |
| 8. Reboot | Restart your PC to complete the driver installation process. |
Uninstall Old AMD Drivers (Recommended)
Before installing the new NVIDIA GPU, it’s helpful to remove any existing AMD drivers. This prevents potential compatibility issues. Use a software like Display Driver Uninstaller (DDU) to thoroughly remove AMD drivers from your system. DDU ensures that all elements of the old drivers are completely wiped out, paving the way for a clean installation of NVIDIA drivers.
This step isn’t mandatory, but it’s a good practice to avoid conflicts:
- Use Display Driver Uninstaller (DDU): Download DDU, a free tool that thoroughly removes all traces of AMD drivers.
- Boot into Safe Mode: Restart your PC and press F8 repeatedly during startup to enter Safe Mode.
- Run DDU: Open DDU and follow the instructions to uninstall your AMD drivers.
Physical Installation
Once the drivers are uninstalled, power down your PC and unplug it from the power source. Open your PC case, locate your current AMD GPU, and carefully remove it from the PCIe slot. Then, gently insert the NVIDIA GPU into the same slot, ensuring it’s securely seated. Reattach any power cables and close the case.
- Power Off: Shut down your computer and unplug all cables.
- Open Case: Remove the side panel of your computer case.
- Remove Old GPU: Unscrew and carefully unplug your AMD graphics card.
- Install New GPU: Insert your NVIDIA card into the PCIe slot and secure it with the screws.
- Connect Power: Attach the necessary power cables from your power supply to the NVIDIA card.
- Close Case: Put the side panel back on and reconnect all cables.
Installing NVIDIA Drivers
With the new GPU installed, turn on your PC. The next step is to install the NVIDIA drivers. You can download the latest drivers from NVIDIA’s official website. During installation, choose the ‘Custom’ option and select ‘Perform a clean install.’ This ensures that any residual files from the old GPU are not interfering with the new installation.
- Restart: Power on your computer.
- Install Drivers: Run the NVIDIA driver installer you downloaded earlier. Follow the on-screen instructions.
- Restart (if prompted): If the installer asks you to restart, do so.
Verification and Troubleshooting
After installing the drivers, it’s time to configure your new NVIDIA GPU. Open the NVIDIA Control Panel to adjust settings like resolution, refresh rate, and 3D settings. Tailor these settings to your specific needs, whether it’s gaming, graphic design, or general use.
- Check Device Manager: Open Device Manager to ensure the NVIDIA card is recognized.
- Update Drivers: If needed, update the NVIDIA drivers to the latest version.
- Monitor for Issues: If you experience problems, try restarting your PC or reinstalling the drivers.
By following these steps, you can smoothly transition from an AMD GPU to an NVIDIA GPU and enjoy the benefits of your new graphics card.
Troubleshooting Tips
After installation, check if your system recognizes the new GPU and if it’s functioning correctly. Run some tests, like a benchmarking tool or a demanding game, to ensure the GPU is performing as expected. Monitor the temperatures and performance during these tests to ensure everything is working correctly.
- No Display After Installation: Ensure the monitor cable is connected to the NVIDIA GPU, not the motherboard.
- Driver Conflicts: If you encounter issues, try booting into Safe Mode and using DDU again to remove any leftover driver remnants.
- Performance Problems: Update your BIOS and other drivers to ensure compatibility with the new GPU.
FAQs
Do I need to uninstall AMD drivers before installing an NVIDIA GPU?
It’s highly recommended to uninstall your old AMD drivers before installing an NVIDIA GPU. This helps prevent potential driver conflicts and ensures a smooth transition. Using a driver removal tool like Display Driver Uninstaller (DDU) is the best way to completely remove all traces of the AMD drivers and software. Similarly, when switching from NVIDIA to AMD, uninstalling the NVIDIA drivers first is also recommended.
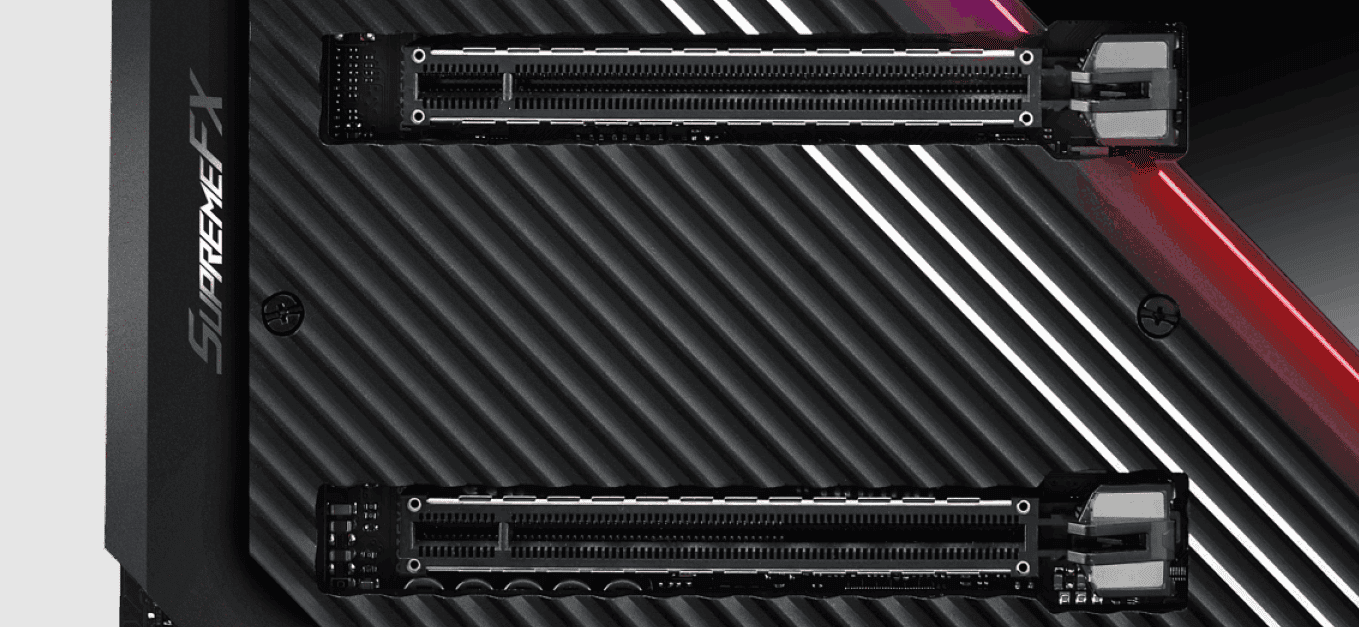
Can I use the same PCIe slot for the NVIDIA GPU that was used for the AMD GPU?
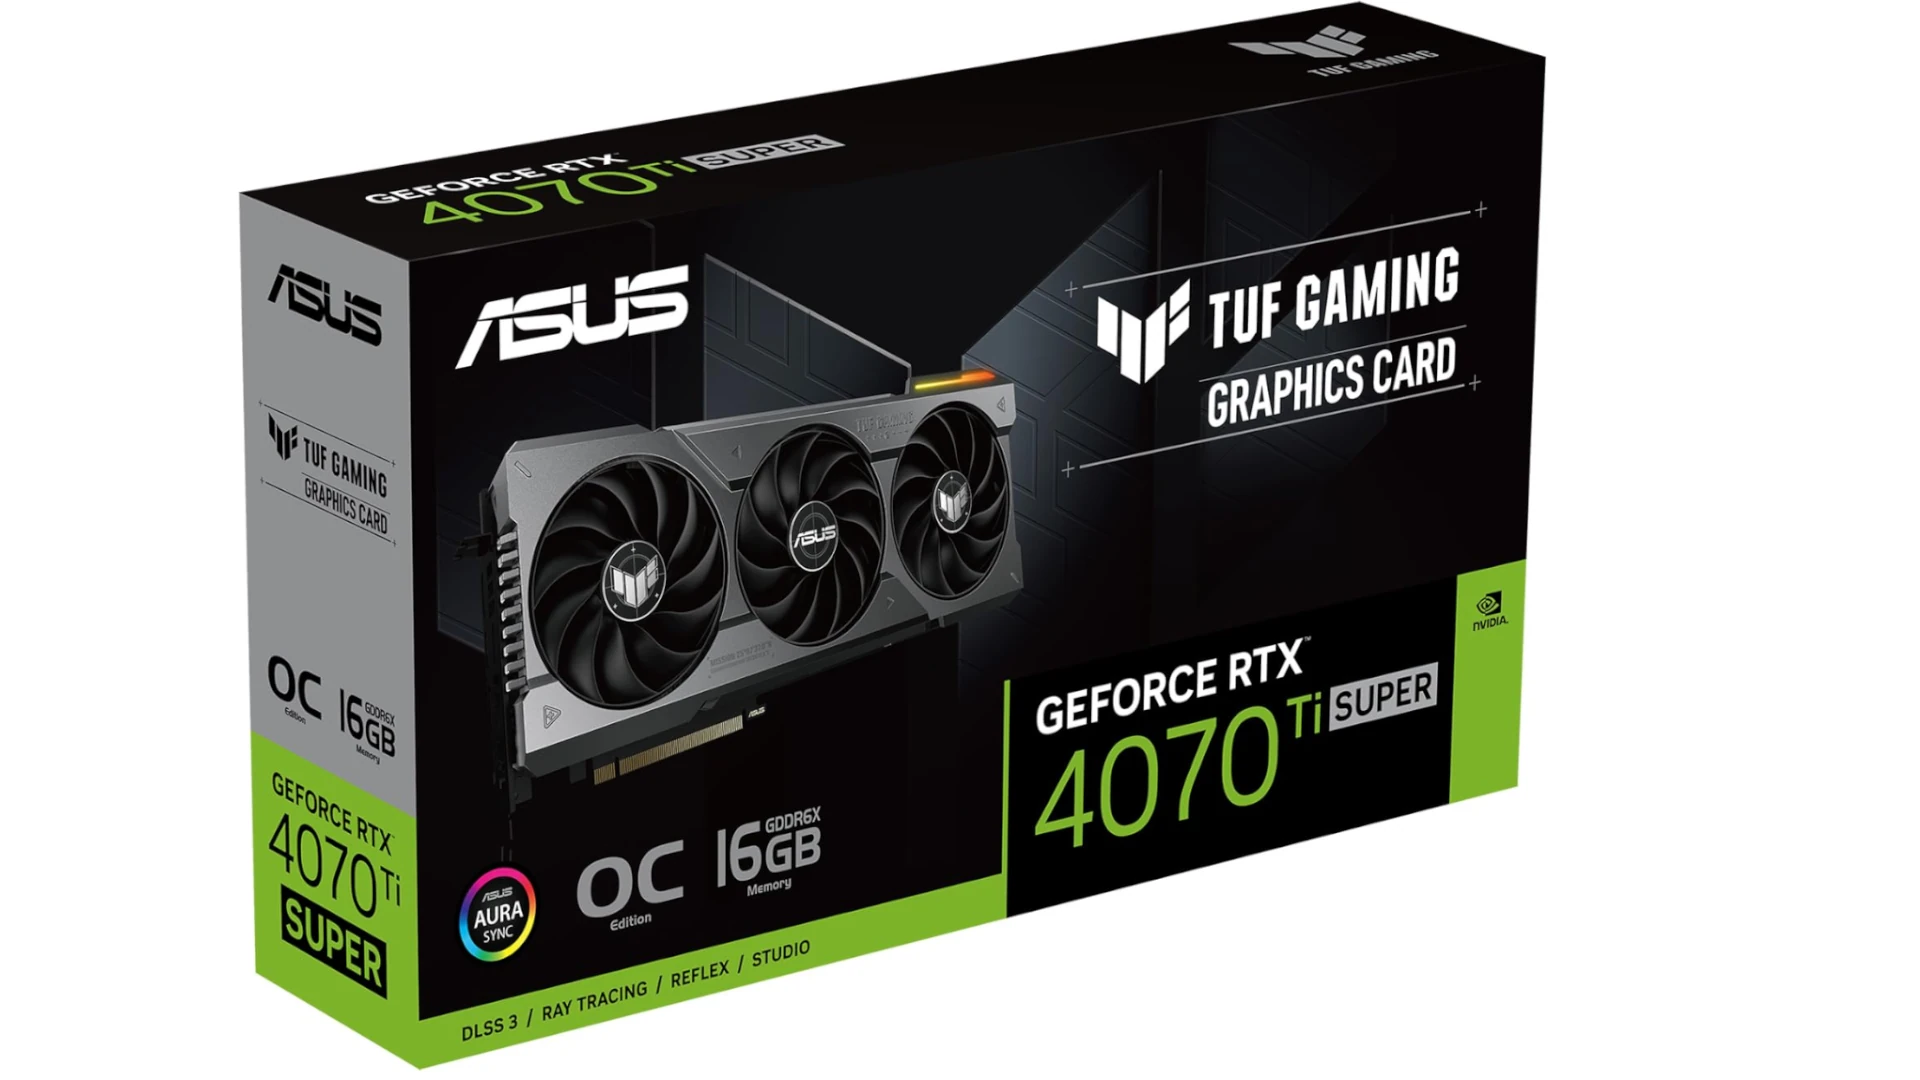
Yes, you can typically use the same PCIe slot for your new NVIDIA GPU as the one previously used for the AMD GPU. Most modern motherboards have multiple PCIe slots, but the primary x16 slot is usually the best choice for optimal performance. Ensure the slot is compatible with your new GPU’s size and interface.
Do I need a special tool to remove the old GPU?
No special tools are typically needed to remove an old GPU. A Phillips head screwdriver is usually sufficient to unscrew the GPU from the PCIe slot and any retention brackets. However, handle the GPU with care to avoid damaging its components.
How do I know if my power supply can handle the new NVIDIA GPU?
Check the power requirements of your new NVIDIA GPU and compare them to the wattage and available PCIe power connectors on your power supply. The GPU’s specifications will list its recommended PSU wattage and the type of power connectors it needs. Ensure your power supply meets or exceeds these requirements for stable operation.
What should I do if my PC doesn’t recognize the new GPU? How do I use Nvidia GPU instead of AMD?
If your PC doesn’t recognize the new GPU, try the following:
- Reseat the GPU: Make sure it’s properly seated in the PCIe slot and the power cables are securely connected
- Check BIOS settings: Ensure the PCIe slot is enabled in your BIOS settings.
- Update BIOS: If necessary, update your motherboard’s BIOS to the latest version for improved compatibility
- Reinstall drivers: Try reinstalling the NVIDIA drivers.
How often should I update my NVIDIA GPU drivers?
It’s recommended to update your NVIDIA GPU drivers regularly, ideally whenever a new driver version is released. New drivers often include performance improvements, bug fixes, and support for new games and features.
Can I use my old AMD drivers with the new NVIDIA GPU?
No, you cannot use AMD drivers with an NVIDIA GPU. Each brand requires its


