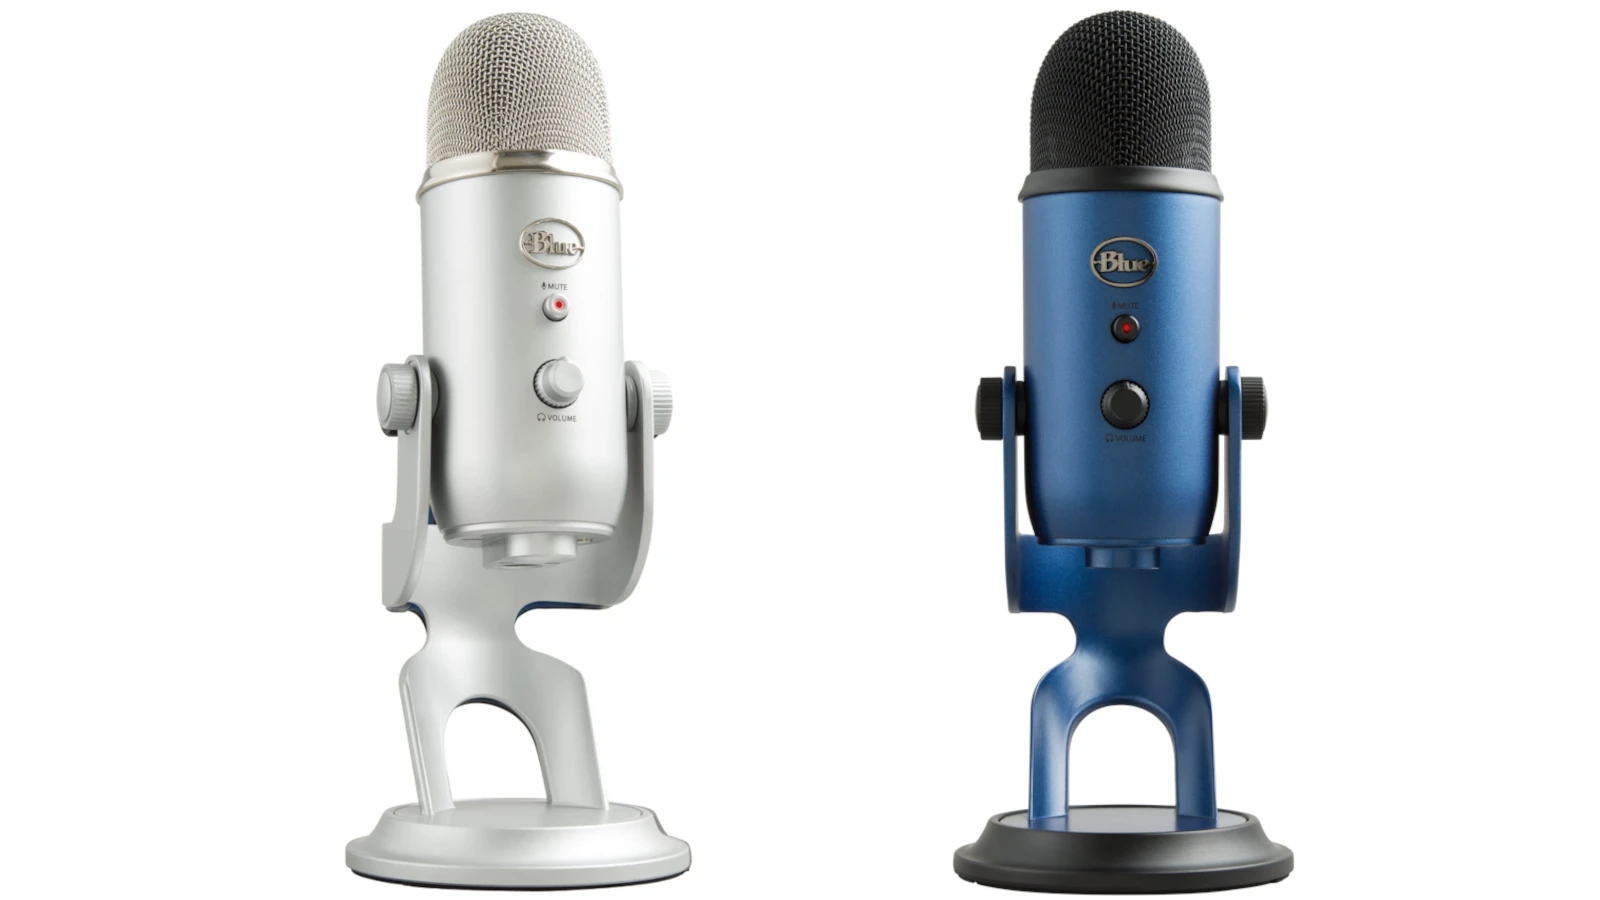
The Blue Yeti USB microphone has become a popular choice for streamers due to its excellent sound quality and versatility. Adjusting the settings of the Blue Yeti can significantly improve the audio experience for both the streamer and the audience. There are several key factors to consider, including gain levels, pickup patterns, and microphone placement. By fine-tuning these settings, streamers can achieve crisp, clear audio that enhances the overall streaming experience.
It is crucial to understand the right settings for the environment and type of content being created. The microphone’s gain controls the sensitivity; setting it correctly avoids unwanted background noise while capturing the speaker’s voice perfectly. The Blue Yeti offers multiple polar patterns that dictate how the microphone picks up sound, with the cardioid pattern often being the preferred choice for solo streaming due to its front-facing focus.
Get the Best Sound for Your Streams: Optimizing Your Blue Yeti Mic
The Blue Yeti is a popular mic, and for good reason. It’s great for streaming. However, getting the most out of your Blue Yeti requires adjusting a few settings. Here’s a breakdown of optimal settings and how to tweak them.
Gain: The Most Important Knob
The gain knob on your Blue Yeti controls how sensitive the mic is. Here’s the idea:
- Too Low: Your listeners won’t hear you clearly.
- Too High: Your audio might get distorted or pick up lots of background noise.
It’s best to start with the gain knob turned all the way down and gradually increase it while speaking until you find a comfortable sweet spot.
Polar Patterns
The Blue Yeti offers four polar patterns. Select them using the button on the back:
- Cardioid: Perfect for most streaming scenarios. This focuses on capturing sound from right in front of the mic while minimizing background noise.
- Stereo: Use this if you’re recording an instrument or want a wider sound field.
- Bidirectional: Great for interviews with two people sitting opposite each other.
- Omnidirectional: Captures sound from all around the mic. Might be useful for recording a group discussion.
Software Settings
Check these settings in your streaming software, like OBS or Streamlabs:
- Input Device: Make sure your Blue Yeti is selected as your audio input.
- Noise Suppression: Helps to reduce background hiss or fan noise.
- Noise Gate: Sets a threshold below which the mic won’t pick up sound. This cuts out very quiet background noise.
Table: Basic Guidelines
| Setting | Recommended Starting Point |
|---|---|
| Gain | Turn all the way down, gradually adjust while speaking |
| Polar Pattern | Cardioid |
| Noise Suppression | Experiment, but a moderate level is usually good |
| Noise Gate | Adjust until very quiet background noise is removed |
Other Tips
- Mic Positioning: Place the Yeti a few inches away from your mouth.
- Pop Filter: Consider investing in a pop filter to prevent harsh “P” and “B” sounds.
Remember, ideal settings can vary based on your voice and environment. Always do a test recording and adjust as needed!
Key Takeaways
- Stream quality improves with proper Blue Yeti settings.
- Gain and pickup pattern are critical settings.
- Correct setup enhances the streaming experience.
Optimizing Blue Yeti Settings for Stream Quality
Setting up your Blue Yeti microphone properly can greatly improve your live streaming audio quality. This section guides you through the basics, setup, and configurations needed for an optimal streaming experience.
Understanding Microphone Basics
The Blue Yeti is a condenser microphone that connects via USB. It offers different recording patterns like cardioid for solo podcasts, omnidirectional for group sessions, and bidirectional for interviews. Understanding these patterns helps you choose the right one for your stream.
Physical Setup and Positioning
Position your Blue Yeti on a steady surface using its stand or attach it to a boom arm. Keep the microphone about 2 to 7 inches away from your mouth. The Blue Yeti is a side-address mic meaning you should talk into the side, not the top of the microphone.
Technical Configuration for Streaming
Connect the microphone with a USB cable to your computer. Select the Blue Yeti as both the input and output device in your system’s sound settings. Adjust the gain knob to control sensitivity. A proper gain setting helps reduce background noise and avoids distortion.
Enhancing Audio Input Quality
Use windscreens or pop filters to minimize breath sounds or plosives. Consider setting up some soundproofing material in your room to cut down on echo. Noise suppression or audio filters can be applied from your streaming software to handle any unwanted background noise.
Sound Output and Monitoring
For monitoring, adjust the volume on your Blue Yeti to hear yourself without delay. Make sure your listeners receive clear audio by testing and adjusting the sound settings. Feedback from your stream can help you fine-tune this over time.
Advanced Blue Yeti Features for Different Scenarios
The Yeti offers more than just cardioid mode. Use Stereo mode for ASMR streams, Bidirectional when you’re interviewing a guest face-to-face, and Omnidirectional to capture sound from all around the mic during a live performance.


