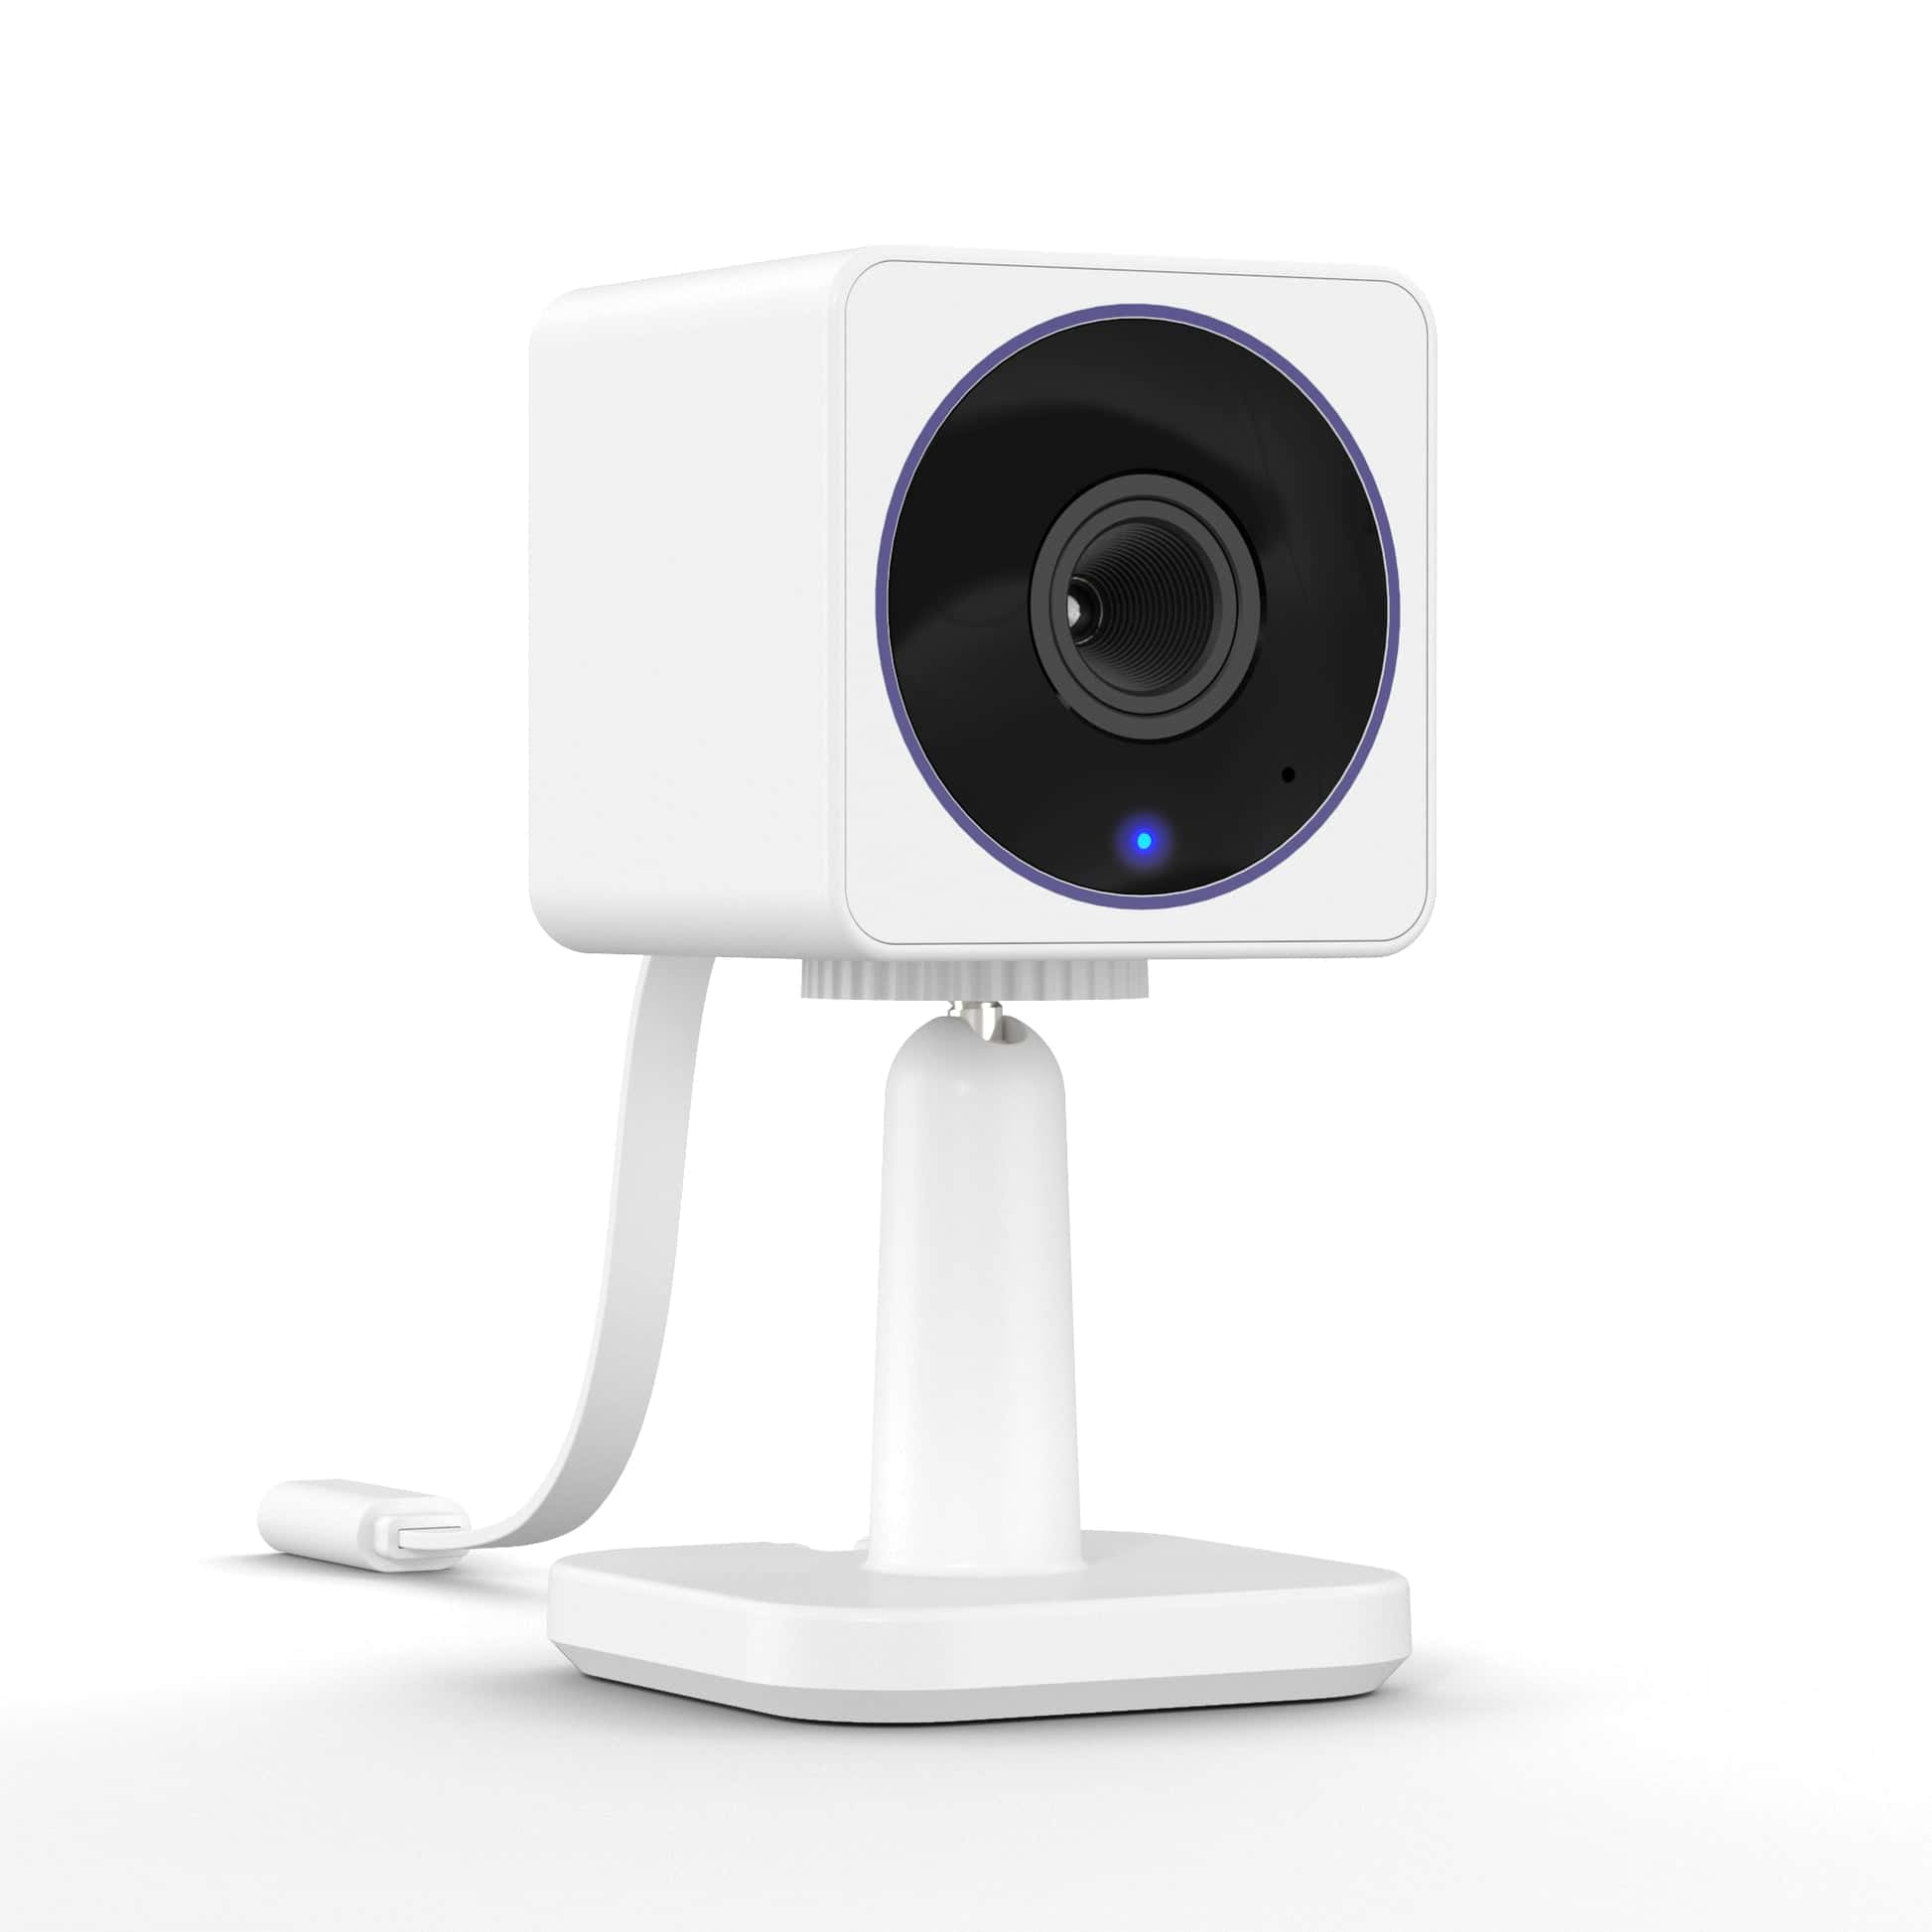
Installing a Wyze camera brings affordable home security to your fingertips. These compact devices offer live streaming and peace of mind without breaking the bank. Setting up a Wyze camera is straightforward and can be completed in just a few minutes.
The Wyze app guides users through the setup process step-by-step. After downloading the app, users simply add their new device and follow the on-screen instructions. The camera connects to Wi-Fi, allowing for remote viewing and control from anywhere with an internet connection.
Wyze cameras boast features like motion detection, night vision, and two-way audio. These capabilities enhance home security by alerting users to potential threats and allowing communication with visitors or family members. With easy installation and powerful features, Wyze cameras offer an accessible entry point into smart home security.
Setting Up Your Wyze Camera
Wyze cameras are popular for their affordability and ease of use. Here’s how to get yours up and running in no time.
Before You Begin
- Download the Wyze app: Find it on the Apple App Store or Google Play Store.
- Have your Wi-Fi info ready: You’ll need your network name and password.
- Power up your camera: Plug it into an outlet using the included power adapter.
Installation Steps
- Add a device: Open the Wyze app and tap the plus sign (+) to add a new device.
- Select your camera type: Choose the correct model from the list.
- Press the setup button: You’ll find this on the camera itself. The camera’s status light will change color, indicating it’s ready for setup.
- Connect to Wi-Fi: Follow the in-app instructions to connect your camera to your Wi-Fi network.
- Scan the QR code: A QR code will appear in the app. Hold your phone in front of the camera so it can scan the code.
- Name your camera: Give your camera a descriptive name, like “Front Door” or “Living Room.”
Placement Tips
- Consider the camera’s field of view: Make sure the camera has a clear view of the area you want to monitor.
- Avoid direct sunlight: This can cause glare and affect image quality.
- Think about mounting options: Wyze offers various mounts and stands for different placement needs.
Troubleshooting
- If you have trouble connecting to Wi-Fi, try moving the camera closer to your router.
- If the QR code doesn’t scan, make sure your phone’s screen is clean and bright.
- Check the Wyze app for troubleshooting tips or contact their customer support.
Key Takeaways
- Wyze cameras offer affordable home security with easy setup
- The Wyze app provides step-by-step guidance for installation
- Features like motion detection and night vision enhance home monitoring
Setting Up Your Wyze Cam
Setting up a Wyze Cam involves several key steps, from unboxing to configuring settings. The process is straightforward and can be completed quickly with the right guidance.
Unboxing and Initial Setup
The Wyze Cam package includes the camera, a power adapter, and a USB cable. Remove all items from the box and place them on a flat surface. Plug the USB cable into the camera and connect it to the power adapter. Insert the adapter into a nearby electrical outlet.
The camera’s status light will turn solid yellow, indicating it’s powered on. Wait for the light to start flashing yellow, which signals the camera is ready for setup. If the light doesn’t flash, press the setup button on the bottom of the camera for 3-5 seconds.
Connecting to the Wyze App
Download the Wyze app from the App Store (iOS) or Google Play Store (Android). Open the app and create an account or log in. Tap the “+” icon to add a new device. Select “Cameras” and choose your Wyze Cam model.
Follow the on-screen instructions to connect the camera to your 2.4 GHz Wi-Fi network. The app will generate a QR code. Hold your phone about 6 inches from the camera lens so it can scan the code. Once scanned, the camera will confirm with an audible “QR code scanned.”
Enter your Wi-Fi password when prompted. The camera will connect to your network, and the status light will turn solid blue.
Mounting and Positioning
Choose a suitable location for your Wyze Cam. Consider factors like power outlet proximity, Wi-Fi signal strength, and desired viewing angle. The camera can be placed on a flat surface or mounted on a wall.
For wall mounting:
- Use the included mounting plate as a template to mark screw holes.
- Drill pilot holes and insert wall anchors if needed.
- Attach the mounting plate with screws.
- Slide the camera base onto the mounting plate.
Adjust the camera angle by rotating the base or tilting the camera body. Ensure the lens has a clear view of the area you want to monitor.
Configuring Camera Settings
Access camera settings through the Wyze app. Tap on your camera’s live feed, then the gear icon to open settings. Key features to configure include:
- Motion detection: Adjust sensitivity and create detection zones.
- Night vision: Enable or disable automatic switching.
- Two-way audio: Test the microphone and speaker.
- Notifications: Set up alerts for detected motion or sounds.
- Recording options: Choose between continuous or event-based recording.
Explore advanced features like time-lapse recording and person detection if available for your model. Regularly update the Wyze app and camera firmware to access new features and security improvements.


