
Keeping audio messages on your iPhone is a simple task once you know the right steps. To save an audio message, open the Messages app, tap “Keep,” and the message will stay in your conversation until you delete it. This is a valuable feature for preserving important voice notes or memorable exchanges.
Many users find it frustrating when their audio messages disappear after a short period. By adjusting the settings in the Messages app, you can prevent them from expiring, ensuring they remain accessible for as long as needed. This can be especially useful for referencing important details later.
Whether you are keeping a funny voice note from a friend or an important instruction from a colleague, understanding how to save these messages can enhance your iPhone experience. Let’s look at the simple steps to making sure you never lose an important audio message again.
How To Keep Audio Messages On Your iPhone
By default, audio messages on your iPhone automatically disappear after two minutes once you’ve listened to them. This can be useful for saving storage, but frustrating if you want to keep important voice messages for future reference. Fortunately, there’s a simple way to change this setting so your audio messages stick around.
Here’s how to keep audio messages on your iPhone permanently:
🔧 Change the Expire Setting in Messages
- Open the Settings app on your iPhone.
- Scroll down and tap Messages.
- Scroll to the Audio Messages section.
- Tap Expire.
- Select Never instead of the default After 2 Minutes.
That’s it! Now, any audio messages you send or receive will remain in your Messages app unless you manually delete them.
🗑️ Already Lost an Audio Message?
If an audio message expired and you didn’t save it, unfortunately, there’s no way to retrieve it unless you backed up your iPhone before it was deleted (via iCloud or iTunes). For future messages, either change the setting as shown above or manually tap “Keep” underneath the audio message before it expires.
💡 Bonus Tip: Save Audio Messages Outside the Messages App
If you want to keep an audio message even more securely:
- Tap and hold the audio message bubble in the conversation.
- Choose More…, then tap the Share icon.
- Select Save to Files, Voice Memos, or send it to yourself via email for safekeeping.
This is especially helpful for voice messages with sentimental or important content.
Key Takeaways
- Save audio messages by tapping “Keep” in the Messages app.
- Adjust settings to prevent audio messages from expiring.
- Keep voice notes for future reference.
Managing Audio Messages on Your iPhone
Managing audio messages on your iPhone involves configuring settings, sending and receiving messages, and saving them to prevent accidental deletion or loss. Learn how to adjust settings, manage storage, and easily access your audio files.
Understanding Audio Messages
Audio messages let users send voice recordings through the Messages app. These files are useful for quick communication without typing. They work similarly to text messages but contain voice recordings. Users can record, send, and receive voice messages within any conversation.
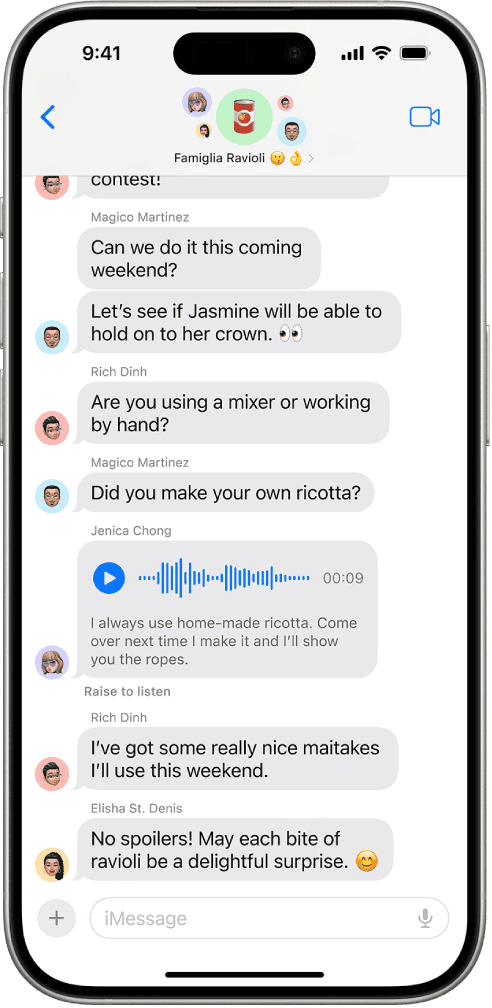
When you receive an audio message, it appears with a play button. It’s possible to listen to these messages by tapping the button. You may also choose to save important audio messages for future reference.
Configuring Message Settings
To keep audio messages from expiring, open the Settings app. Select Messages, then scroll down to Audio Messages and tap on Expire. By default, audio messages are set to expire after 2 minutes but can be changed to Never.
Make sure to check other relevant settings. The Raise to Listen feature allows users to listen to messages by simply raising the phone to their ear. Adjusting these settings ensures audio messages are managed according to your preferences.
Sending and Receiving Audio Messages
Open the Messages app to send an audio message. Start a new message or open an existing conversation. Tap the microphone icon, record your message, and tap the send arrow.
To listen to a received audio message, tap the play button. If you wish to add more to the audio message before sending it, record additional content before tapping send. Managing these steps makes exchanging audio messages easy and effective.
Saving Audio Messages
To save an audio message, tap Keep under the message. Doing so prevents it from being deleted automatically. This feature is useful for preserving important messages.
When you choose to save, the message remains in the conversation history. Users can delete it manually if needed. Saving messages helps retain important audio files on your device.
Access and Storage
Audio messages are saved in the conversation within the Messages app. You can access them anytime by opening the specific conversation. If storage becomes an issue, regularly check and manage your audio messages.
Go to Settings > General > iPhone Storage to get an overview of what is taking up space. Delete unnecessary files through the Messages app if needed. Stay on top of your storage to keep your device running smoothly.
Avoiding Automatic Deletion
By default, audio messages can auto-delete after 2 minutes. To prevent this, set the audio message setting to Never Expire in your Settings app. Tap Settings > Messages > Audio Messages > Expire and choose Never.
Regularly review your audio messages and manage them to avoid losing important recordings. This ensures critical information is always accessible whenever needed and avoids the risk of automatic deletion.


